|
|
Post by 406 Silverado on Dec 21, 2012 13:18:11 GMT -5
Hard to tell Oliver. Looks more like a primer at this stage, could just be the pics. I'm sure it will look more rusty once more is done.
|
|
|
|
Post by wbill76 on Dec 21, 2012 14:56:41 GMT -5
That's a good one Oli, have to save it for the future! Never know when a good Darth Vader reference will come in handy. As to the Waffentrager, the paintwork is progressing nicely, looking forward to more.  |
|
noll
Full Member
  
Member since: August 2012
Posts: 522
Aug 28, 2012 9:40:11 GMT -5
Aug 28, 2012 9:40:11 GMT -5
|
Post by noll on Dec 21, 2012 23:32:20 GMT -5
Thanks all! @ Andy - fair enough  @bull - thanks! I'm in agreement, I think it's a bit too shiny (looks like brass?). I will tone it down with pigments etc later. @rob - Its kinda a combo of primer/ rust. I HOPE it looks better LOL . @bill - I just found it on the Internet, but thanks  . I'm glad you like the model so far  . I wasn't able to get any work done today, as I was helping clear 2 feet of wet snow off our 70ft driveway and helping my little brother make a snow fort, but I'll try to get at least the clear coat on tomorrow after work. -Oliver |
|
Deleted
Member since: January 1970
Posts: 0
Nov 26, 2024 12:45:43 GMT -5
Nov 26, 2024 12:45:43 GMT -5
|
Post by Deleted on Dec 22, 2012 4:13:40 GMT -5
Oliver . Looks like your putting a lot of research into this build .....keep it up . ;D
|
|
noll
Full Member
  
Member since: August 2012
Posts: 522
Aug 28, 2012 9:40:11 GMT -5
Aug 28, 2012 9:40:11 GMT -5
|
Post by noll on Dec 30, 2012 19:14:43 GMT -5
MOAR PICTURES! I was finally able to spend some time working on the waffy - I added a coat of rust pigments. Here's the pics:  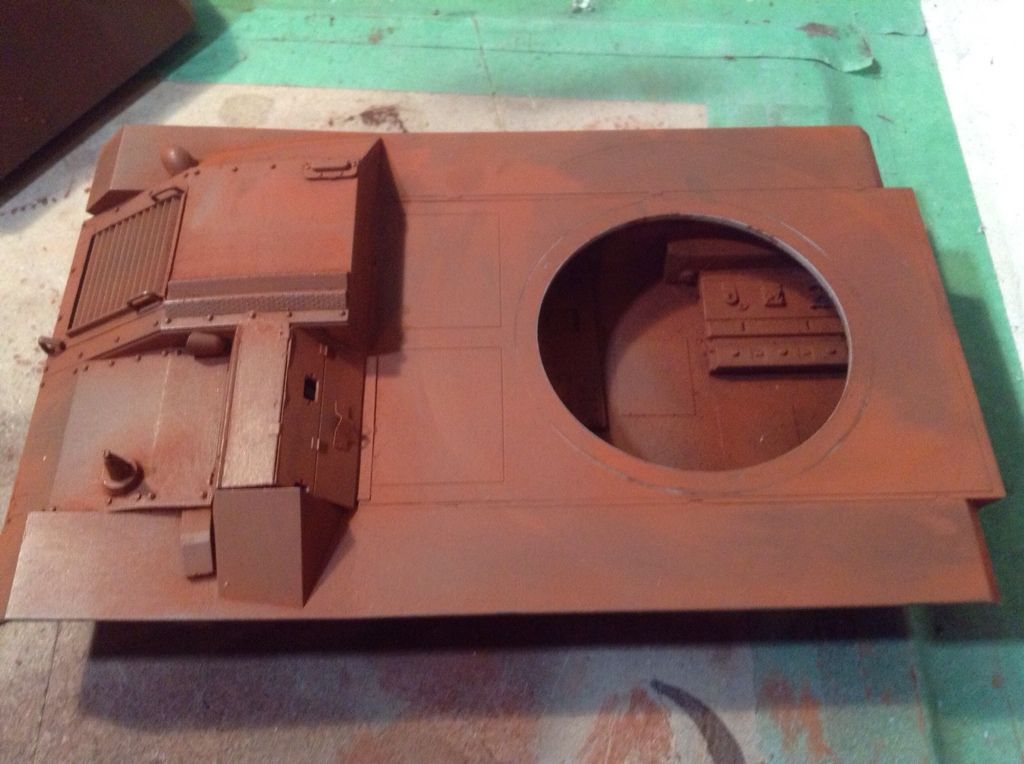 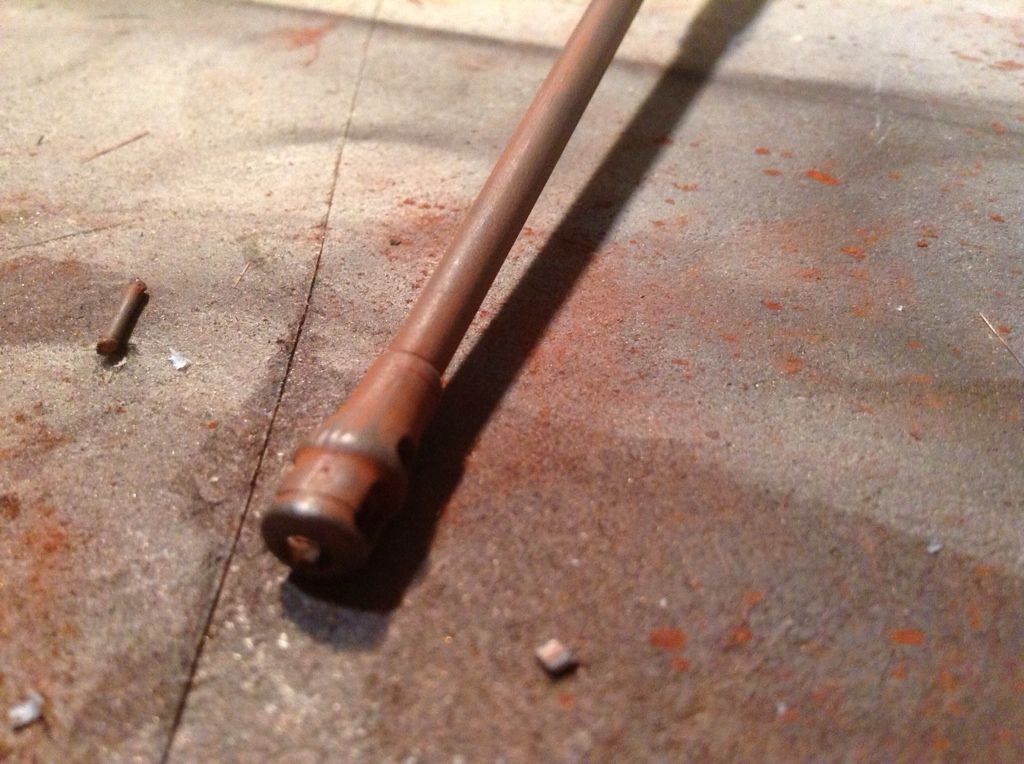 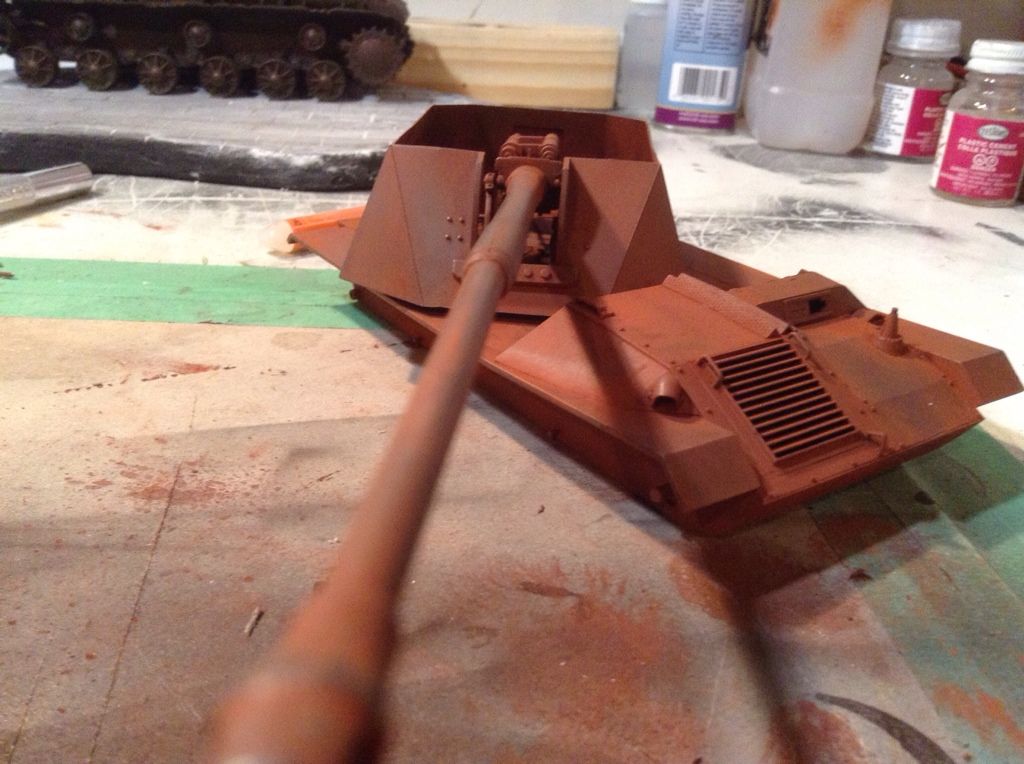 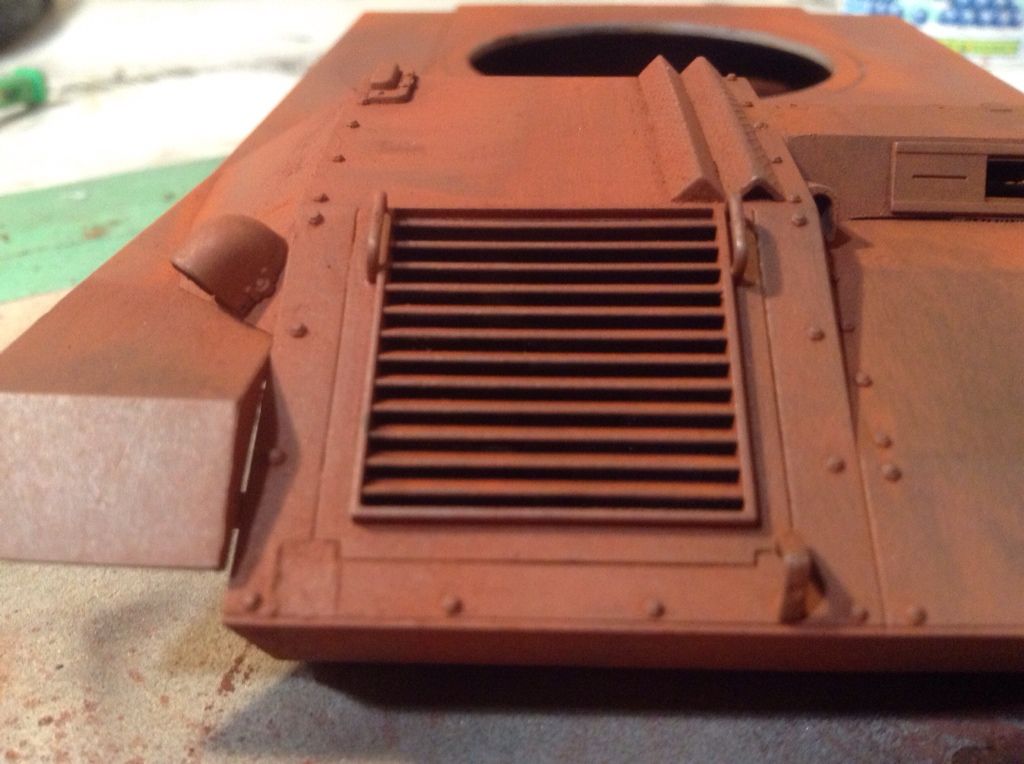 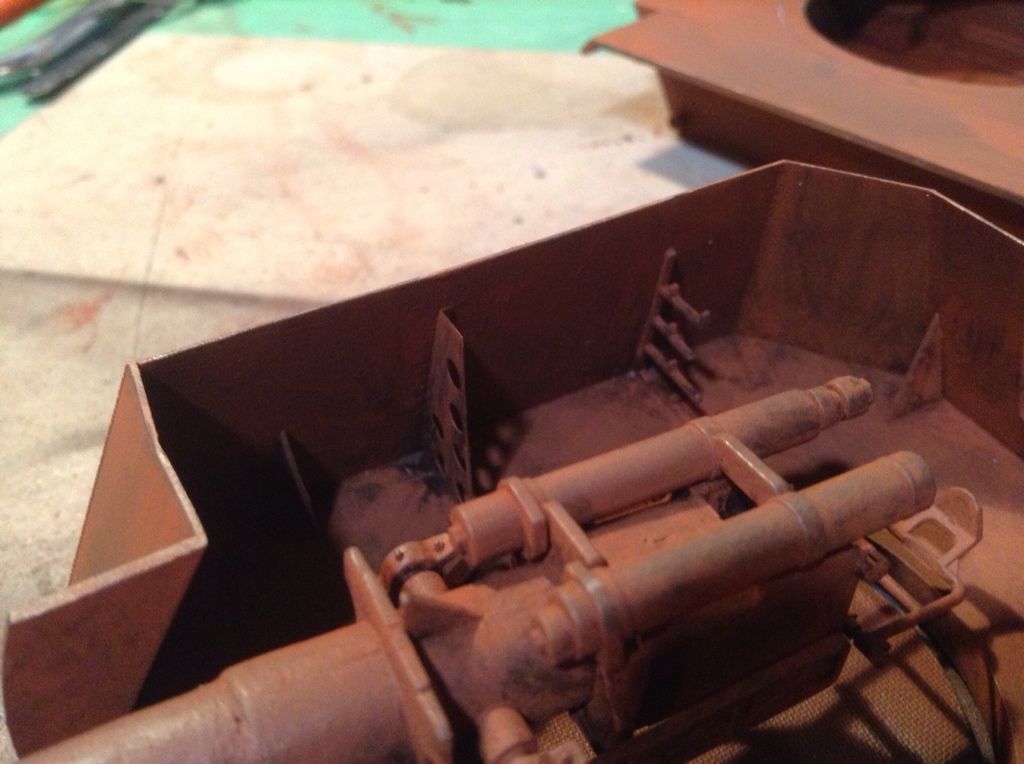  The little tubes that attached the floor of the turret broke, so I had to improvise. the plastic i put in there will never be seen in the finished tank. 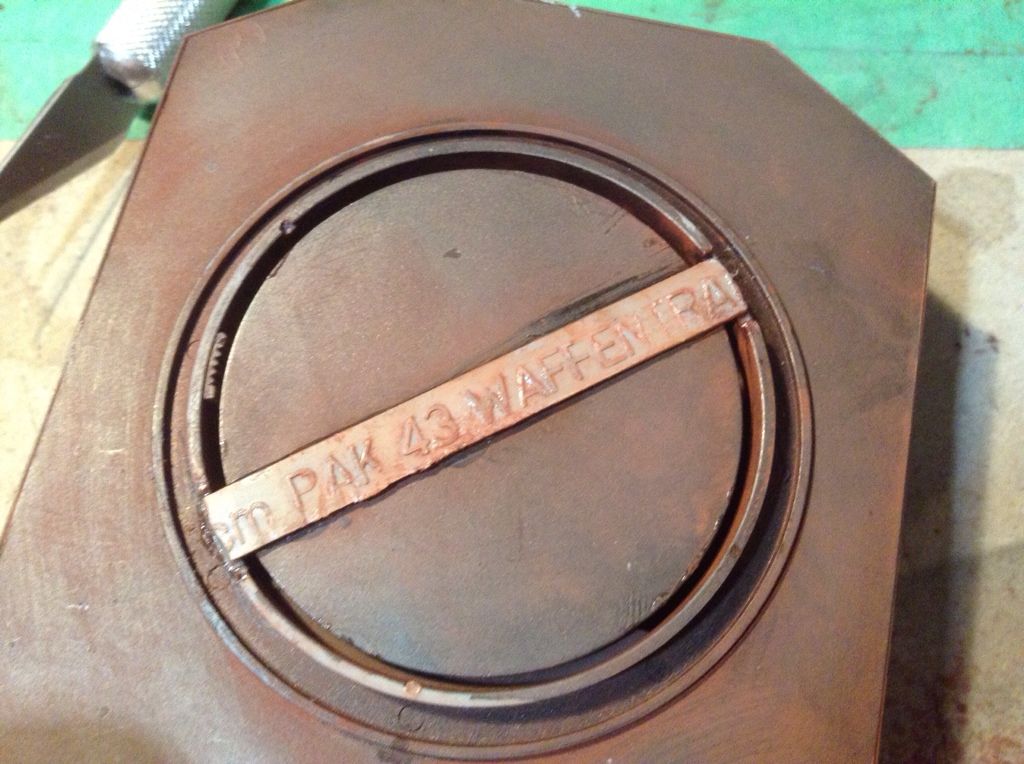 And, finally, what I'm doing next: 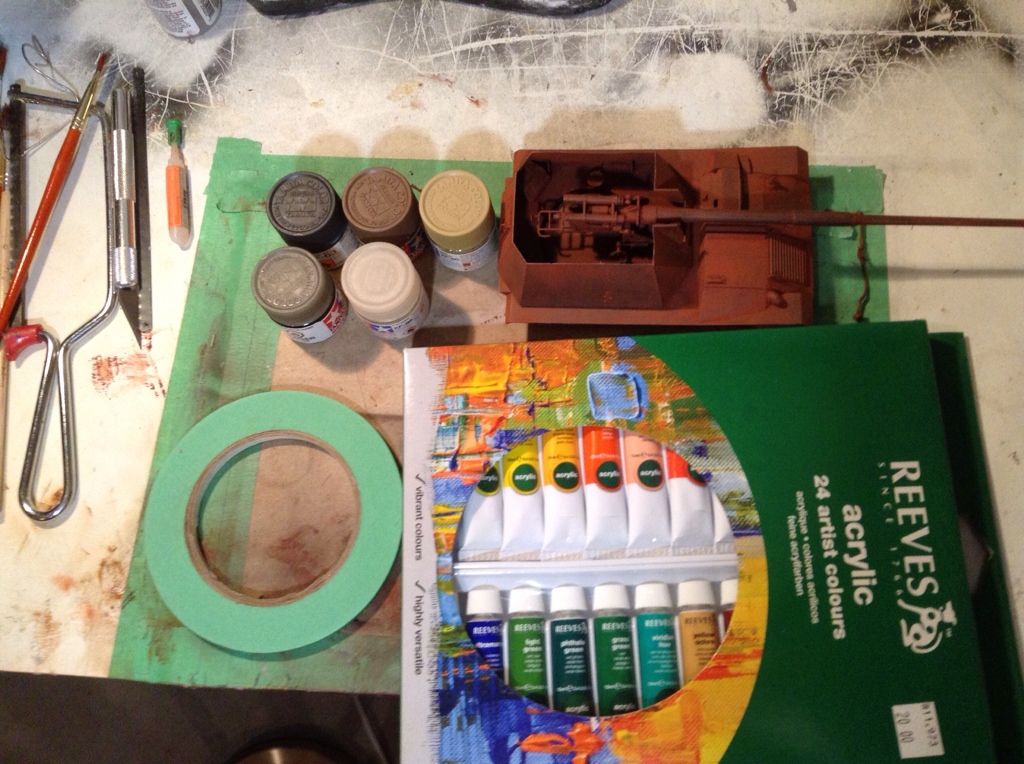 I'm not sure the exact colours that the tank will be, except for that it will probably have a basecoat of dunkelgleb and "shard" camo in brown, green, and grey (nos sure if i will use those exact colours). If anyone knows how i would go about applying multiple "hard-edged" colours over HS and salt, I'd be grateful (I dont want the tape to pull up the paint due to the HS weakening the bond). I will try to do the pigment treatment to the KV-1s soon as well. -Oliver |
|
|
|
Post by deafpanzer on Dec 30, 2012 19:40:52 GMT -5
Rust always look good! LOL Can't wait to see how it comes out next...
|
|
noll
Full Member
  
Member since: August 2012
Posts: 522
Aug 28, 2012 9:40:11 GMT -5
Aug 28, 2012 9:40:11 GMT -5
|
Post by noll on Jan 1, 2013 12:20:41 GMT -5
Thanks guys  . I just attempted to brush on an acrylic clear coat as my airbrush was acting up. It really toned down the rust, but it still looks good. I'll try to post pics later. By the way, does anyone know how well an acrylic (rather than laquer) clear coat will protect the paint from HS, etc? -Oliver |
|
noll
Full Member
  
Member since: August 2012
Posts: 522
Aug 28, 2012 9:40:11 GMT -5
Aug 28, 2012 9:40:11 GMT -5
|
Post by noll on Jan 3, 2013 0:16:58 GMT -5
Would anyone know about the above question (acrylic clear coat)?
-Oliver
|
|
|
|
Post by bbd468 on Jan 3, 2013 0:30:45 GMT -5
Hello Oliver, She comin' along nice fella. Lookin' forward to paint!  I use Pledge W/Future acrylic floor polish for my gloss on all my models. I have yet to have any problems with weathering tha crap out of it with Oils and mineral spirits. Decals go on like a dream and washes flow smoothly over it. Ive also used Tamiya Gloss thinned with lacquer thinner and had no issues aswell. What exactlly are you trying to protect from...enamels? I hope that helps fella!  Gary |
|
noll
Full Member
  
Member since: August 2012
Posts: 522
Aug 28, 2012 9:40:11 GMT -5
Aug 28, 2012 9:40:11 GMT -5
|
Post by noll on Jan 3, 2013 15:38:00 GMT -5
Thanks  ! I just did some looking around on the internet, and it would seem that the local Home Hardware carries it, so I will try to get some in the next few days so i can continue. Pics so far: 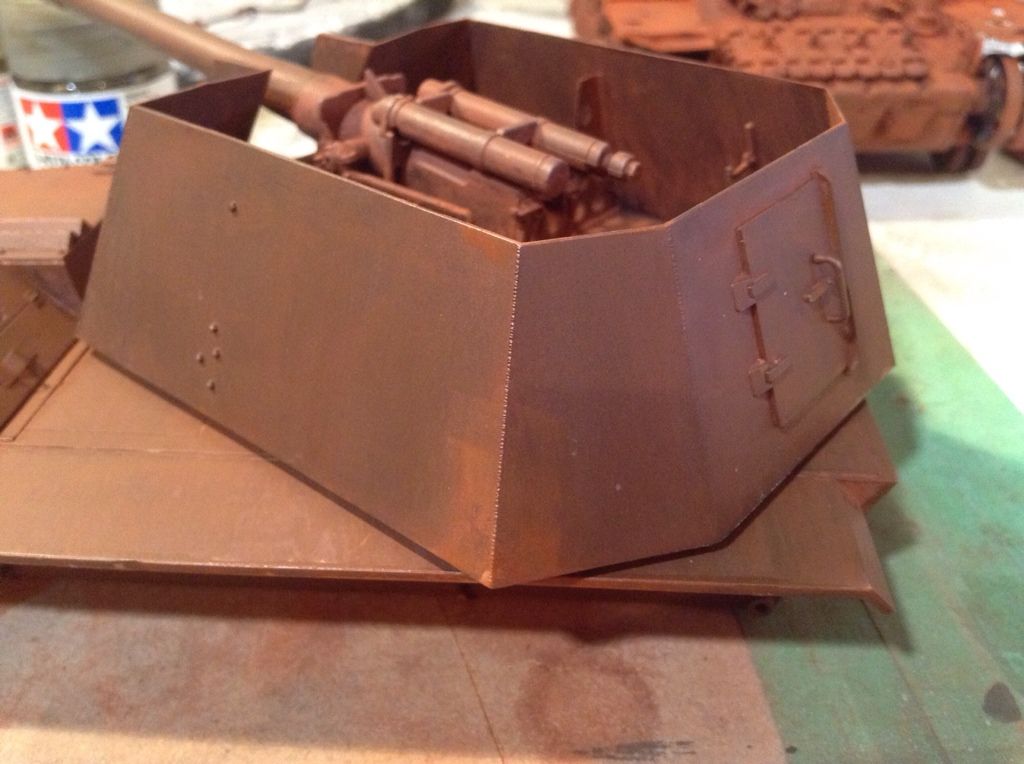 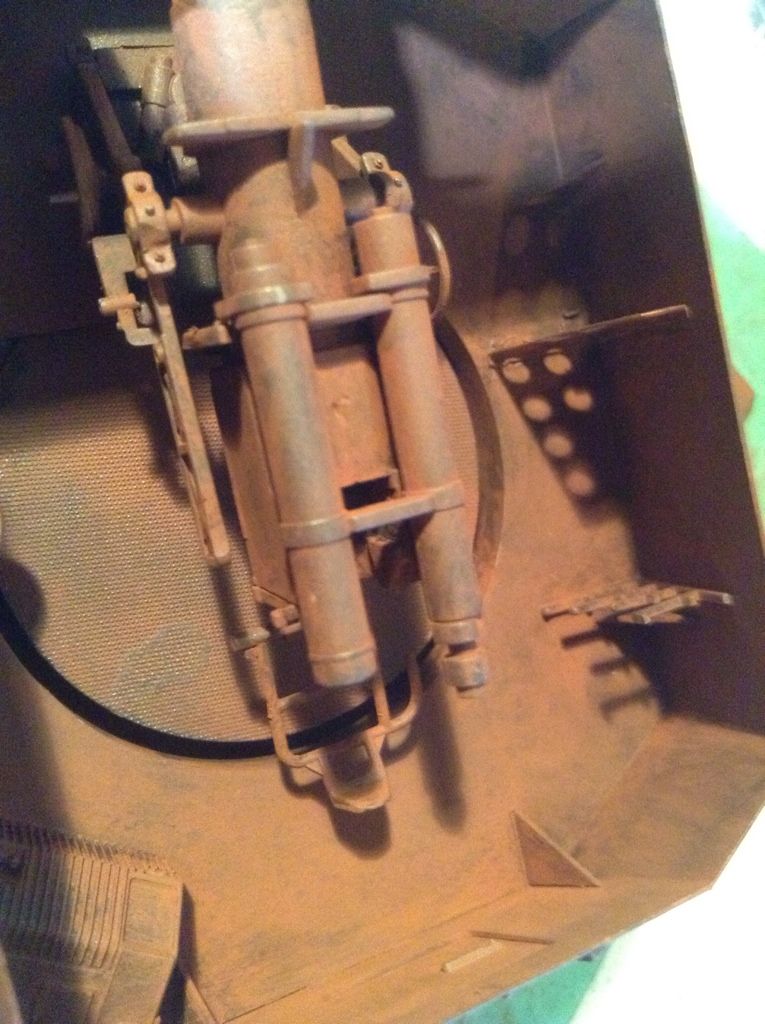 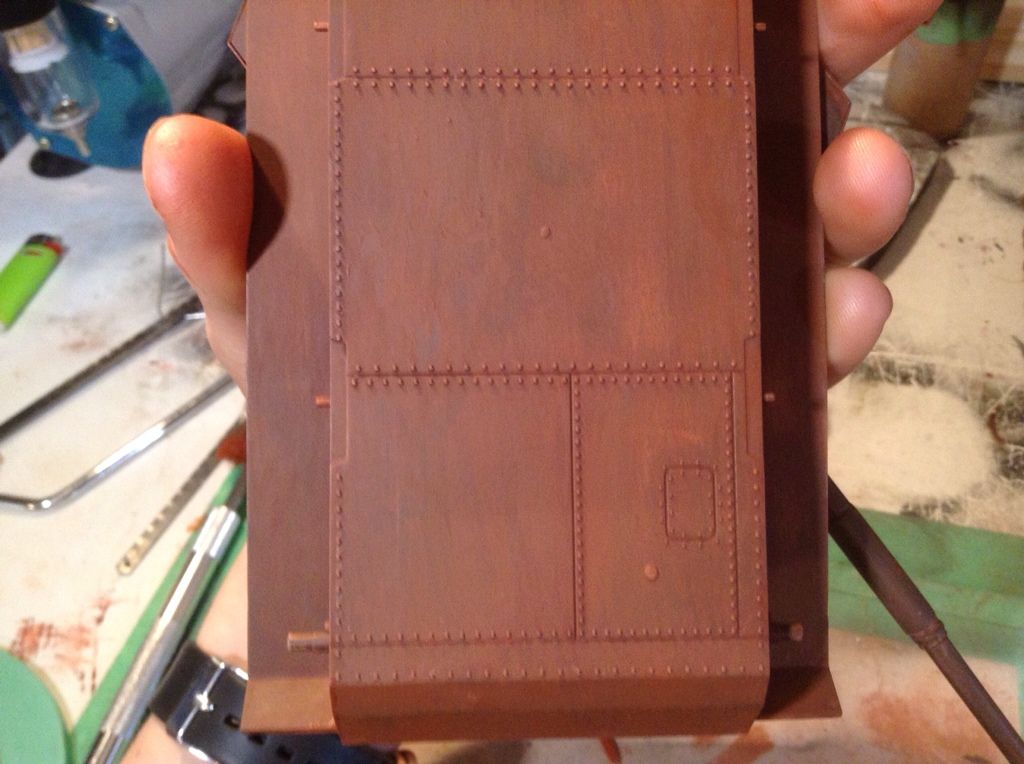  The splotchy bits (lighter rust colour) are the result of re-applying the pigment where it came off. They won't be visible in the finished model. Please feel free to comment and give suggestions  . -Oliver |
|
|
|
Post by fightnjoe on Jan 3, 2013 17:11:46 GMT -5
that looks very good.
joe
|
|
|
|
Post by deafpanzer on Jan 3, 2013 17:39:08 GMT -5
It is really looking good.
|
|
oliver
Full Member
  
Member since: December 2012
Good morning all!! I´ve start a new side on FB!!.facebook.com/oliskleinebastelecke !!
Posts: 191
Dec 13, 2012 3:06:27 GMT -5
Dec 13, 2012 3:06:27 GMT -5
|
Post by oliver on Jan 5, 2013 4:55:46 GMT -5
Moin Moin Nice work!!  looks realy good with the rust. And your location is the best!!  |
|
noll
Full Member
  
Member since: August 2012
Posts: 522
Aug 28, 2012 9:40:11 GMT -5
Aug 28, 2012 9:40:11 GMT -5
|
Post by noll on Jan 9, 2013 21:36:02 GMT -5
Thanks everyone  . Just wanted to let you all know that I probably won't be able to do much work on any of my models, as I have to get ready for exams (where I am, we do 4 classes for 1/2 the year, then exams, then another 4 and more exams at the end). I also need to get an extractor fan before i can AB anymore, so the KV and the waffy might be stalled for a little (although I can work on the dio for the KV-1s). -Oliver |
|
|
|
Post by bbd468 on Jan 9, 2013 21:50:13 GMT -5
Hey Oliver, Good luck with all your exams and the like...it all pays off in time fella! We will be right here when ya get back at it man. Droppin' by from time to time? I hope.  Later Oliver.  Gary |
|
noll
Full Member
  
Member since: August 2012
Posts: 522
Aug 28, 2012 9:40:11 GMT -5
Aug 28, 2012 9:40:11 GMT -5
|
Post by noll on Jan 23, 2013 20:32:02 GMT -5
Thanks all for comments  (belatedly that is  ). Just a small update; I have started on the roadwheels, as I'd forgotten about them until now. Pics: 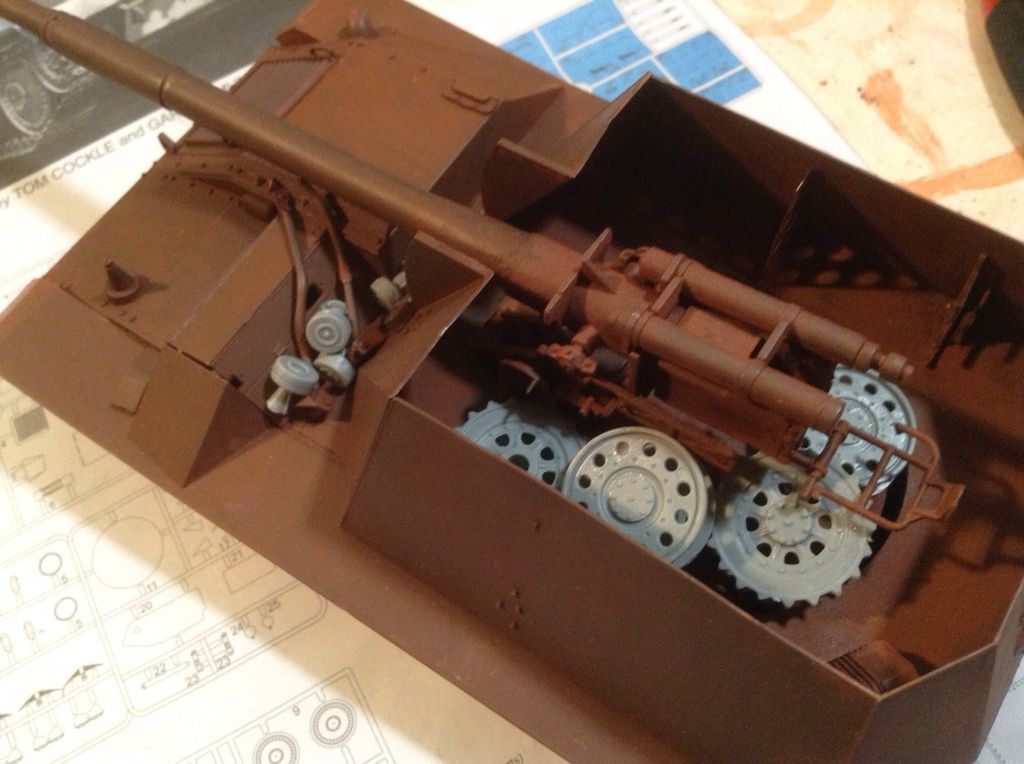 Some of the wheels. 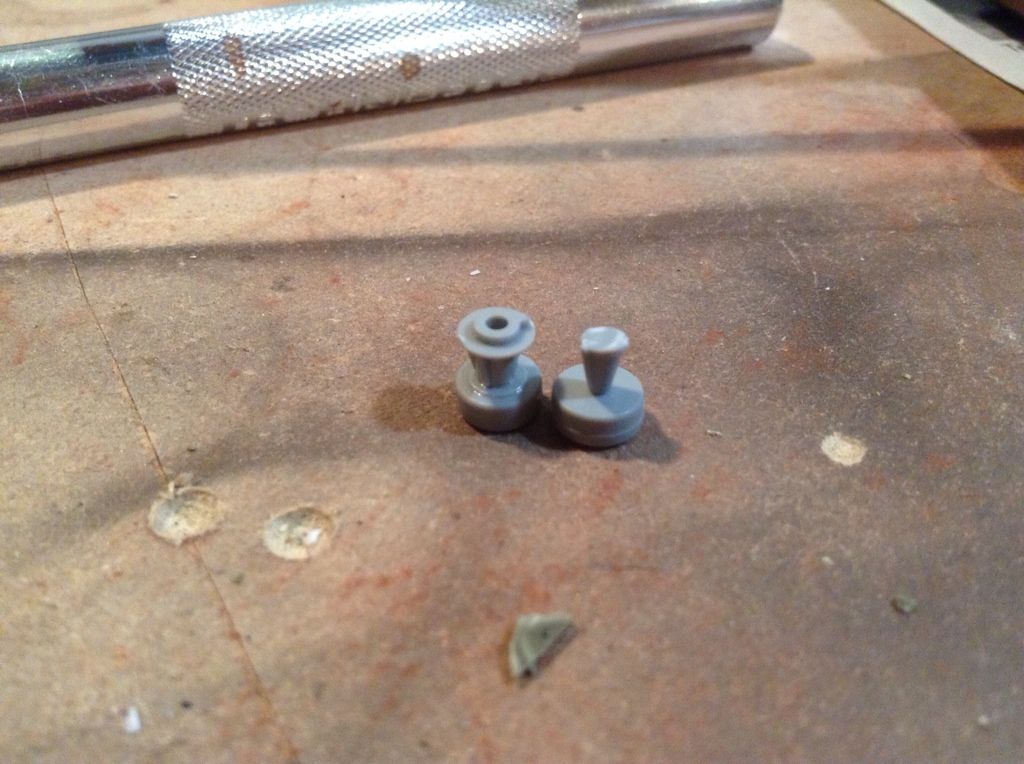 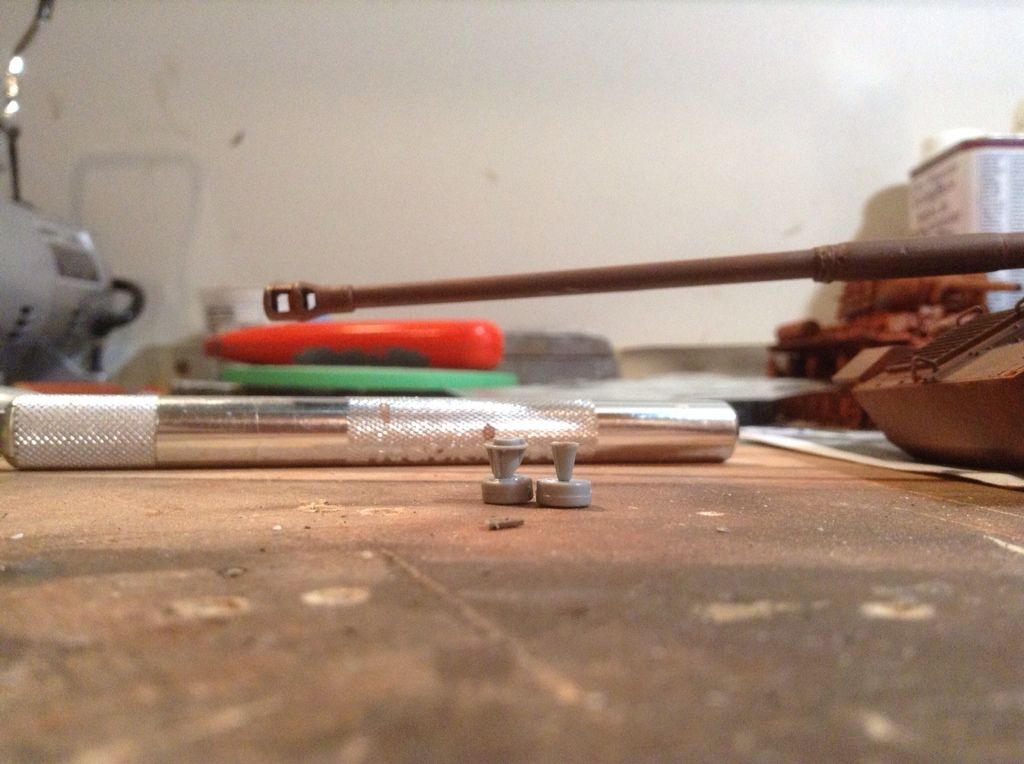 One of the return rollers also went missing, so i made one (it will never be seen, so no problem about looks  ). This will continue to be on hold after i finish the wheels, as I can't AB yet (need extractor fan), and have exams next mon and tues. On the plus side, I dont have to go to school for the rest of the week, and i got 92% on my math exam  -Oliver |
|
Deleted
Member since: January 1970
Posts: 0
Nov 26, 2024 12:45:43 GMT -5
Nov 26, 2024 12:45:43 GMT -5
|
Post by Deleted on Jan 23, 2013 20:40:25 GMT -5
Yup , you gotta get those fumes out b4 you go any further . ;D
|
|
|
|
Post by wbill76 on Jan 24, 2013 11:49:28 GMT -5
Congrats Olli on the exam score! Fumes and tests don't go well together, good luck on the remaining tests!
|
|
noll
Full Member
  
Member since: August 2012
Posts: 522
Aug 28, 2012 9:40:11 GMT -5
Aug 28, 2012 9:40:11 GMT -5
|
Post by noll on Jan 24, 2013 23:22:01 GMT -5
Hi all, I got a bit of work done today - superglued the wheel brackets on as well as re-attaching the "broken" gun mount. 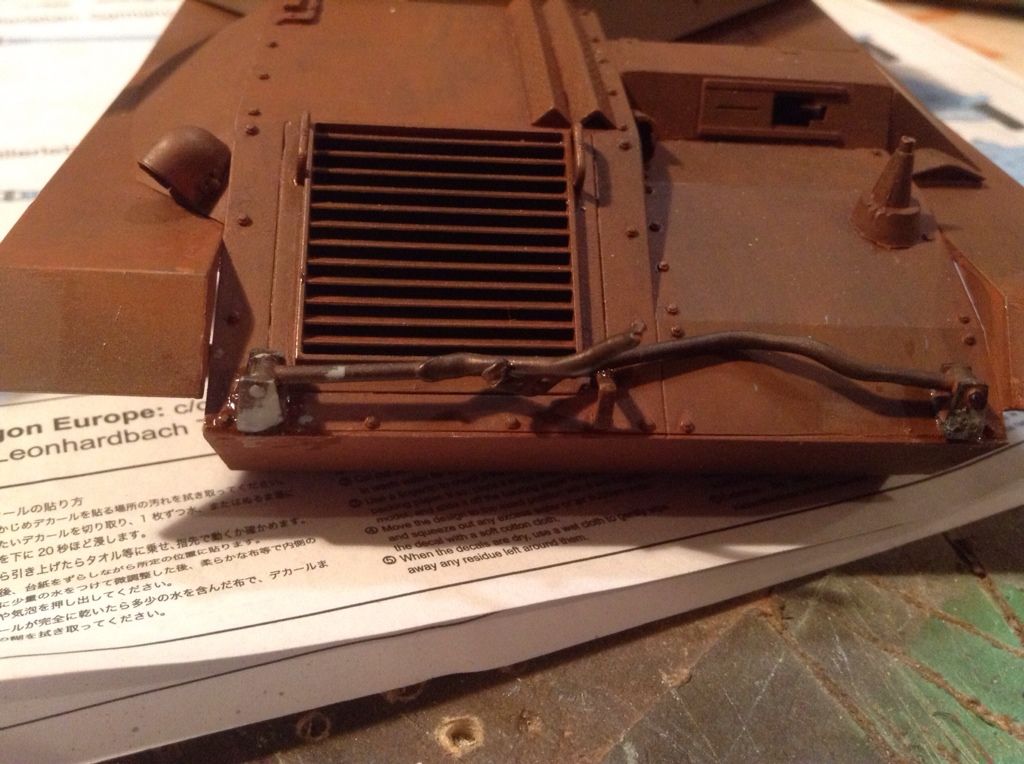 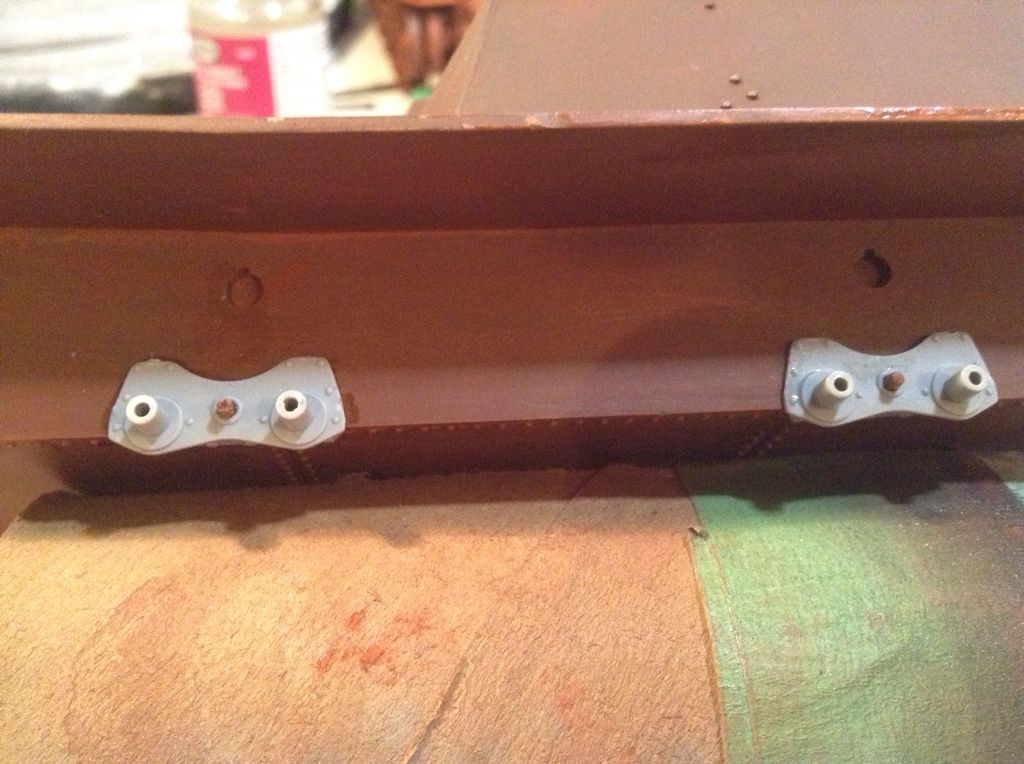 I also tested out making rubber rims with a sharpie. it turned out quite well, in my opinion: 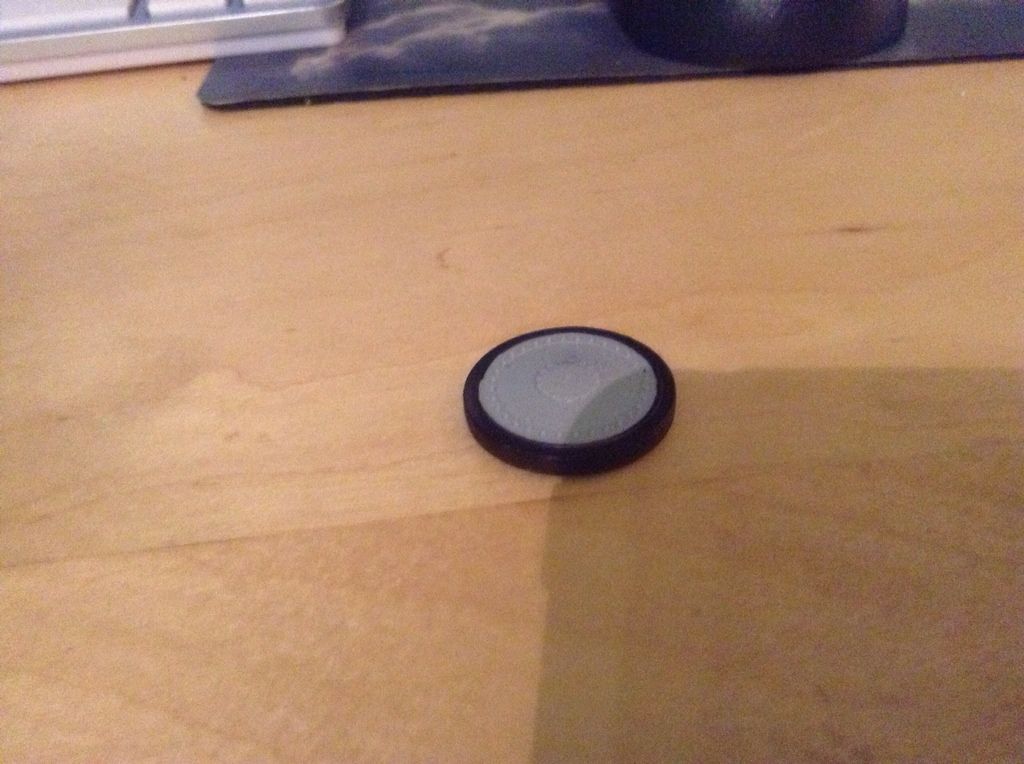 Thanks for looking! -Oliver |
|
|
|
Post by bbd468 on Jan 25, 2013 23:57:49 GMT -5
Great to see ya back on this one Oliver! 92% on a math test...that might as well be a 100% in my book...considering math is all greek to me!  ;D Gary |
|
Deleted
Member since: January 1970
Posts: 0
Nov 26, 2024 12:45:43 GMT -5
Nov 26, 2024 12:45:43 GMT -5
|
Post by Deleted on Jan 26, 2013 1:28:51 GMT -5
Good looking progress !  |
|
noll
Full Member
  
Member since: August 2012
Posts: 522
Aug 28, 2012 9:40:11 GMT -5
Aug 28, 2012 9:40:11 GMT -5
|
Post by noll on Feb 25, 2013 19:03:16 GMT -5
Alright, I'm going to bring this thread back from the dead  . I finally got some more work done on this - I completed the wheel assembly, and then decided to give it a coat of Gun-metal (my reasoning is that it wasn't in service long enough to get rusty). The AB-ing went pretty smoothly, except for me dropping the end-nozzely-bit once while trying to fix a clog that ended up just being the ab needle not being in the right spot. I found it after around 15 mins though, and it was fine. !@#$ dusty floor LOL. Alright, here's the pics: 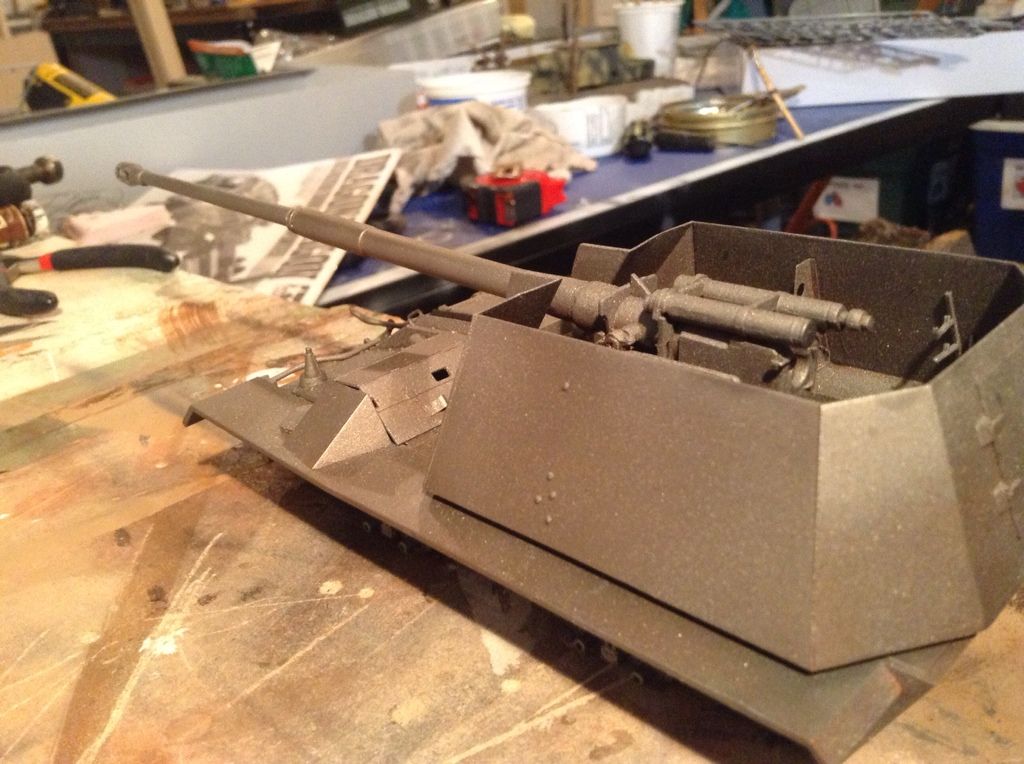  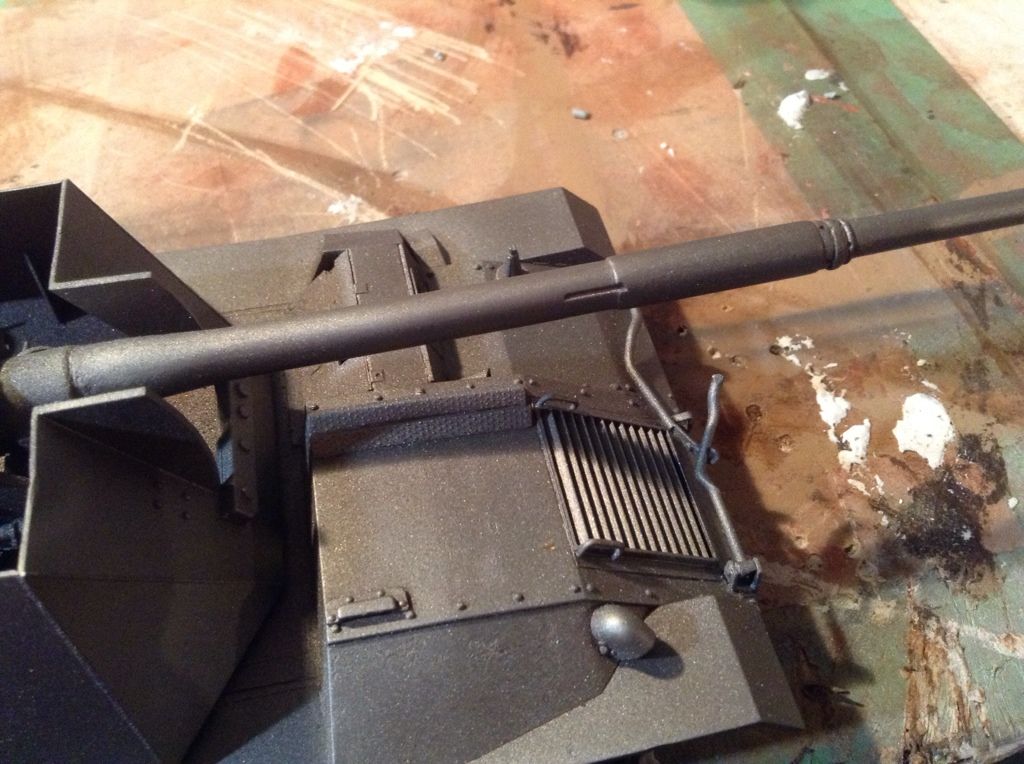  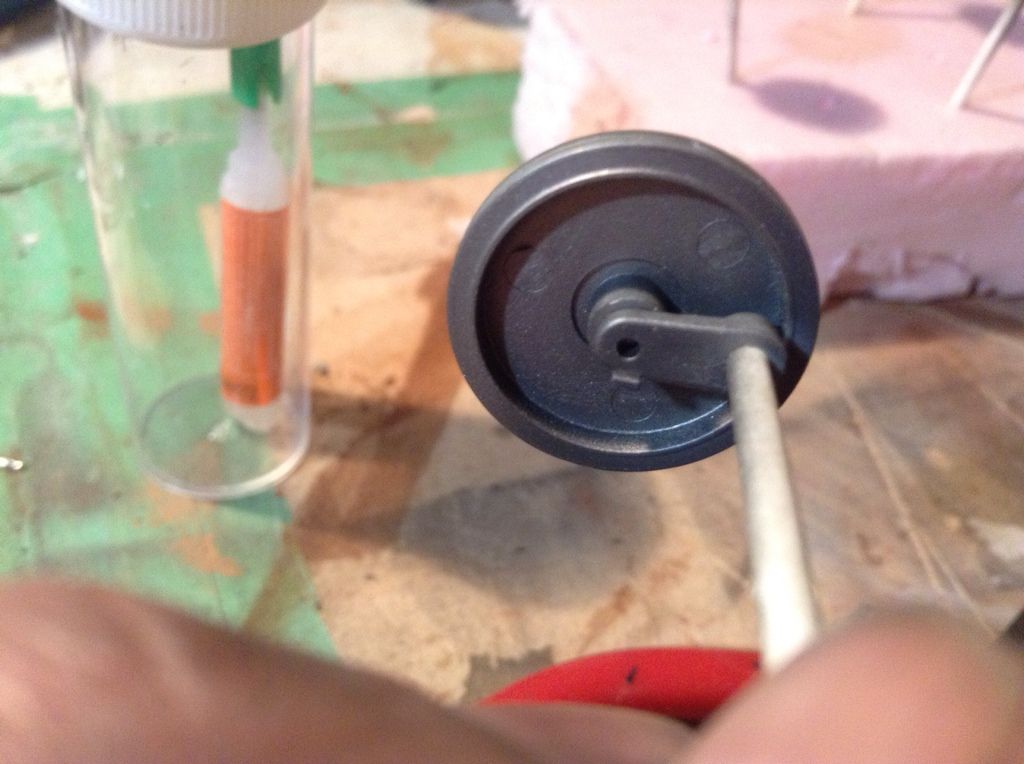 Sorry for the crummy pics. As you can see in the last one, the roadwheels are the ones from the old hetzer kit - 16 year old molds i think  . Next up I will be doing some painting and weathering, as well as ordering in some tracks, as the kit ones are also from the hetz. Thanks for looking! -Oliver |
|
noll
Full Member
  
Member since: August 2012
Posts: 522
Aug 28, 2012 9:40:11 GMT -5
Aug 28, 2012 9:40:11 GMT -5
|
Post by noll on Feb 25, 2013 19:31:14 GMT -5
Just a quick note; I will add rusty pigments then a clear coat to tone down the glaring shininess of the metal coat.
-Oliver
|
|
|
|
Post by Leon on Feb 25, 2013 19:46:31 GMT -5
Oliver i can't believe i missed this thread.That is one fine job fella..I'm in till you say it's finished.
|
|
|
|
Post by wbill76 on Feb 25, 2013 21:05:14 GMT -5
Nice to see this one make some more progress, looking good Oliver! You just need to sweep your floor more often to prevent mishaps in the future.  |
|
|
|
Post by wing_nut on Feb 26, 2013 6:26:06 GMT -5
Had forgotten this one. Good to see it's still going.
|
|
noll
Full Member
  
Member since: August 2012
Posts: 522
Aug 28, 2012 9:40:11 GMT -5
Aug 28, 2012 9:40:11 GMT -5
|
Post by noll on Feb 26, 2013 15:47:08 GMT -5
Thanks guys  . Have to go to work in a sce but here's a quick update: 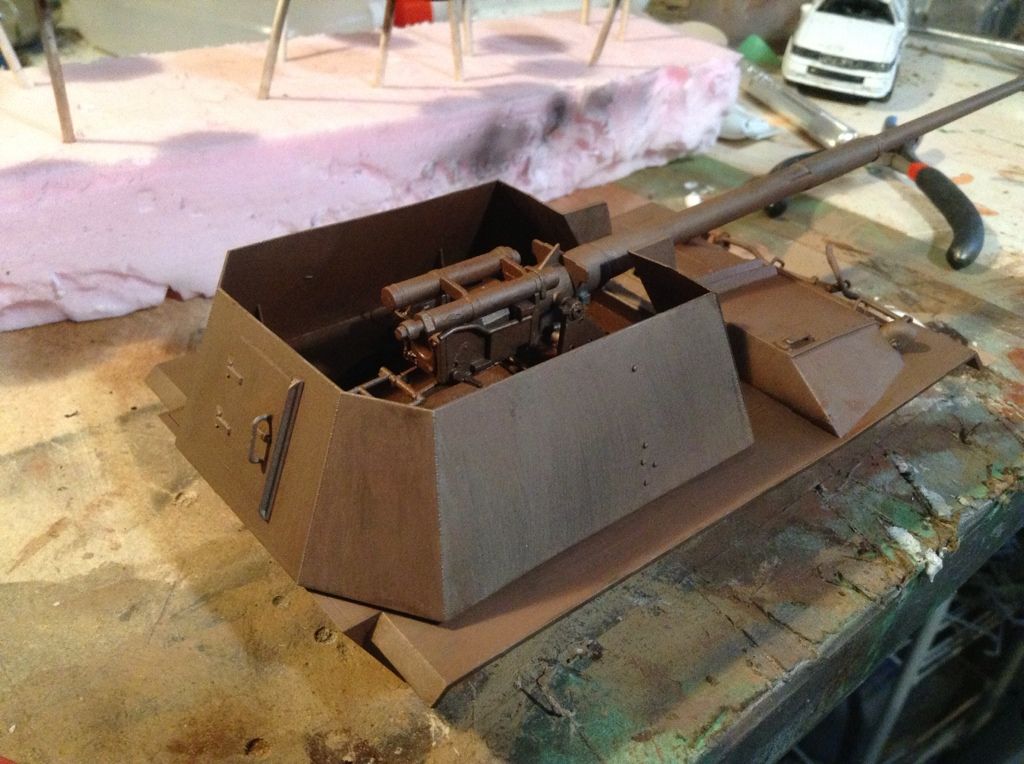 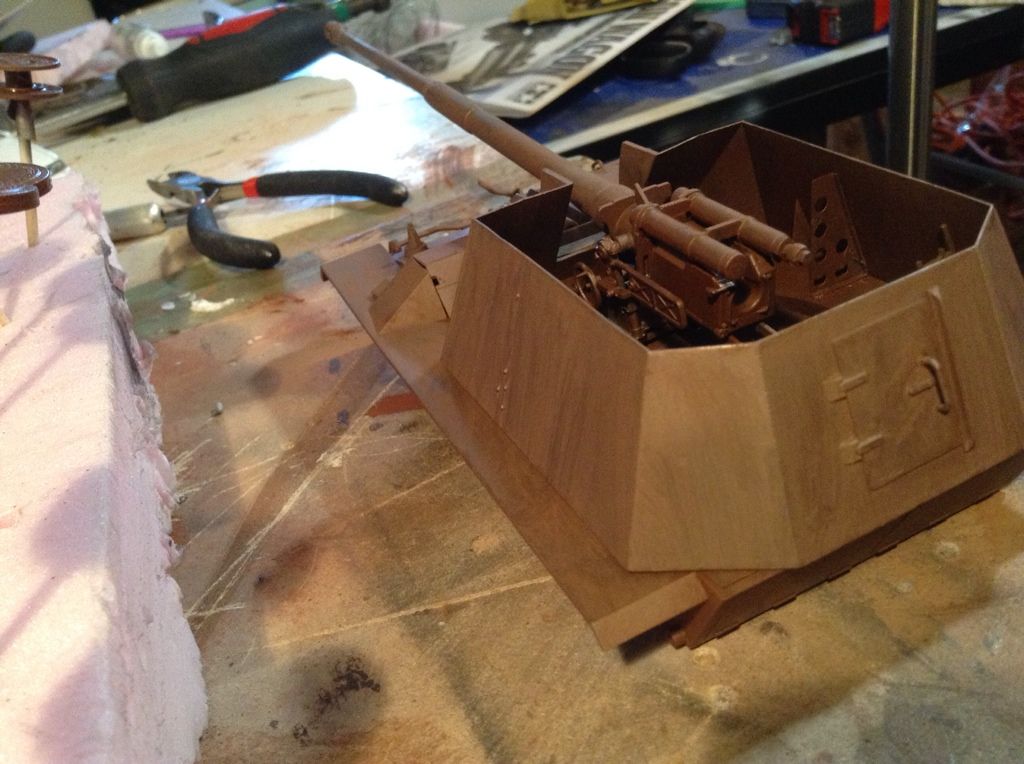 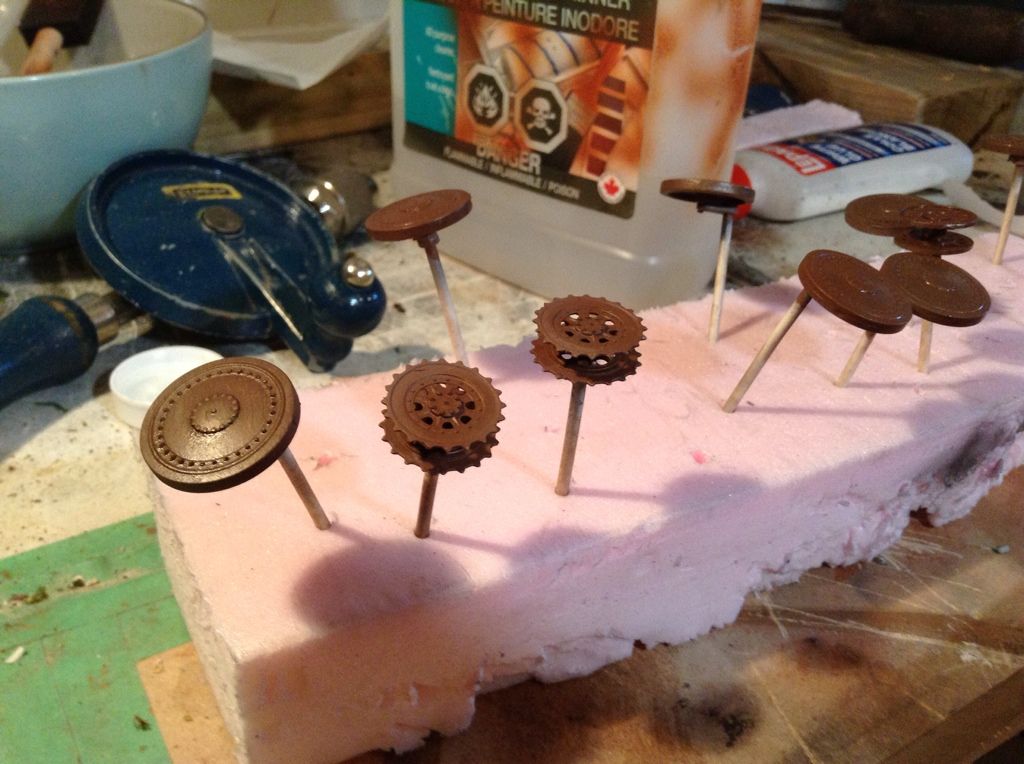 Next ill add a clear coat, then HS and paint. Thanks for looking and commenting! -Oliver |
|
noll
Full Member
  
Member since: August 2012
Posts: 522
Aug 28, 2012 9:40:11 GMT -5
Aug 28, 2012 9:40:11 GMT -5
|
Post by noll on Mar 21, 2013 19:26:56 GMT -5
Alright, sorry it took so long for an update. I've just clear coated (thanks Gary for flat/gloss ratio  ), and will start Hs +paint soon. Next up is tracks. 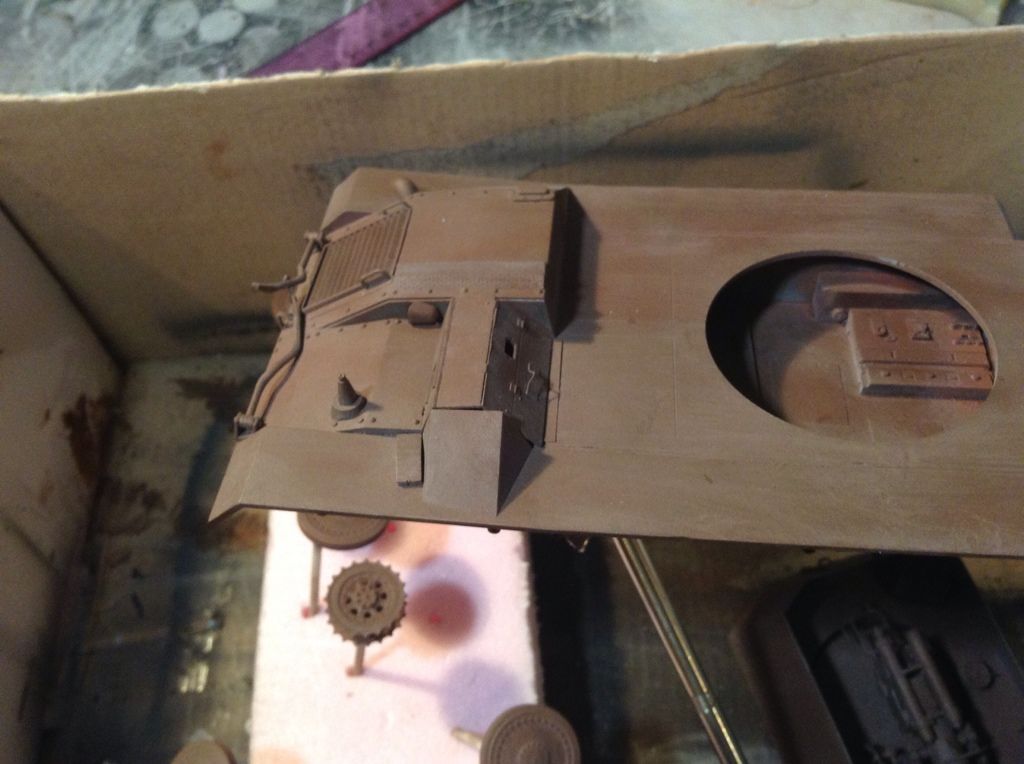 On a completely unrelated not, how d'you think these are for a dio with my Emil?: store.spruebrothers.com/product_p/amwlw35071.htm-Oliver |
|
noll
Full Member
  
Member since: August 2012
Posts: 522
Aug 28, 2012 9:40:11 GMT -5
Aug 28, 2012 9:40:11 GMT -5
|
Post by noll on Mar 22, 2013 12:11:00 GMT -5
Just a quick question; how well does hs+s work under multicolour camo (layers of paint)?
If it doesn't work as well, would adding hs between each layer help?
Thanks!
|
|
noll
Full Member
  
Member since: August 2012
Posts: 522
Aug 28, 2012 9:40:11 GMT -5
Aug 28, 2012 9:40:11 GMT -5
|
Post by noll on Mar 22, 2013 21:49:37 GMT -5
Alright, time for another update. I have now painted and HS chipped the gun, AB'd the bottom of the turret (as it sticks over the side when turned), and AB'd the inside of the turret. As you can see in the pics, I detached the gun for ease of aainting - couldn't AB the inside of the turret properly, etc. Tomorrow I will clear coat everything i've done, and start weathering (once the inside of the turret is done, i'll mask it off and start on the outside). If i have time, I'll HS and basecoat the tank and wheels. Pics: 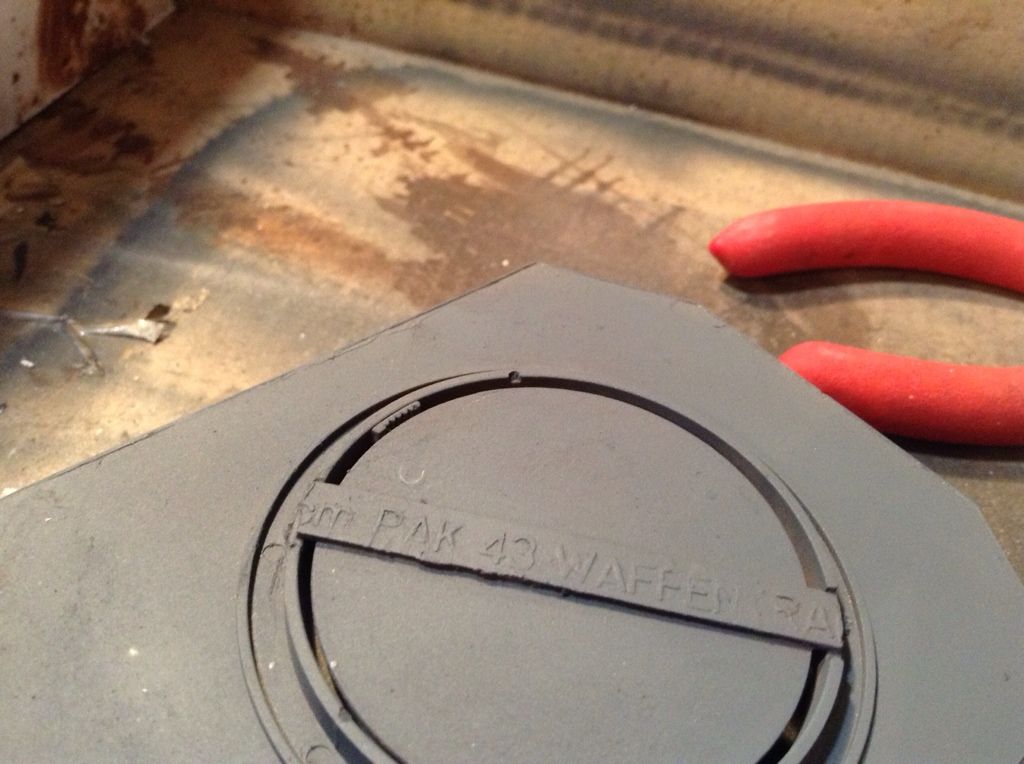 V 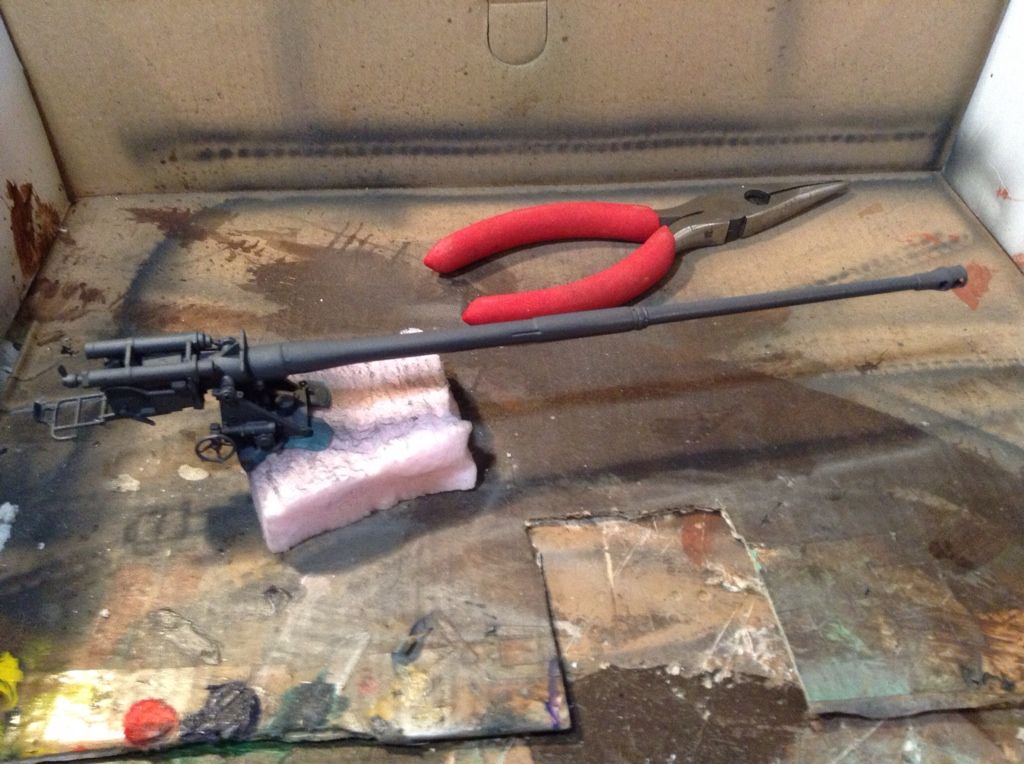 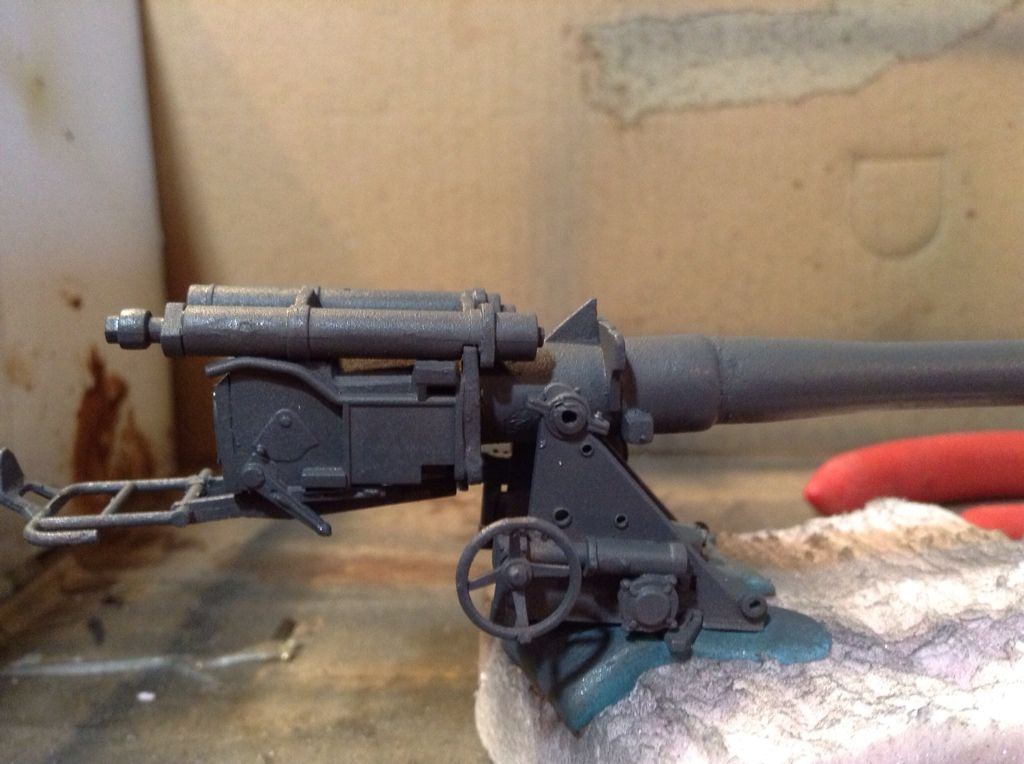 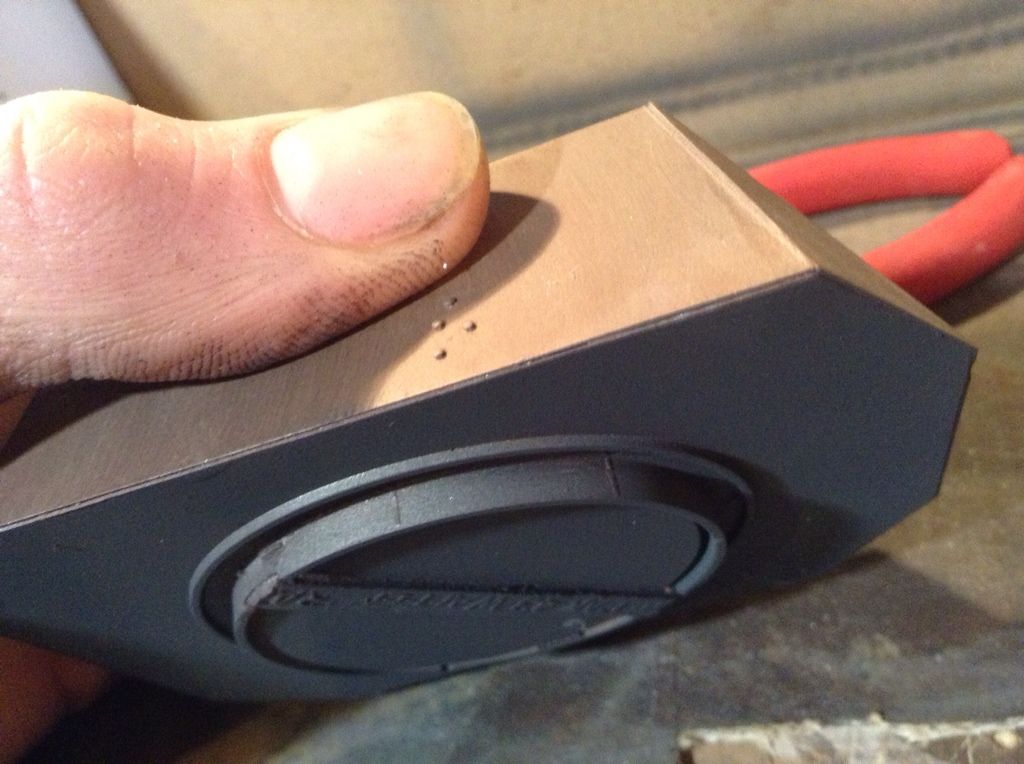  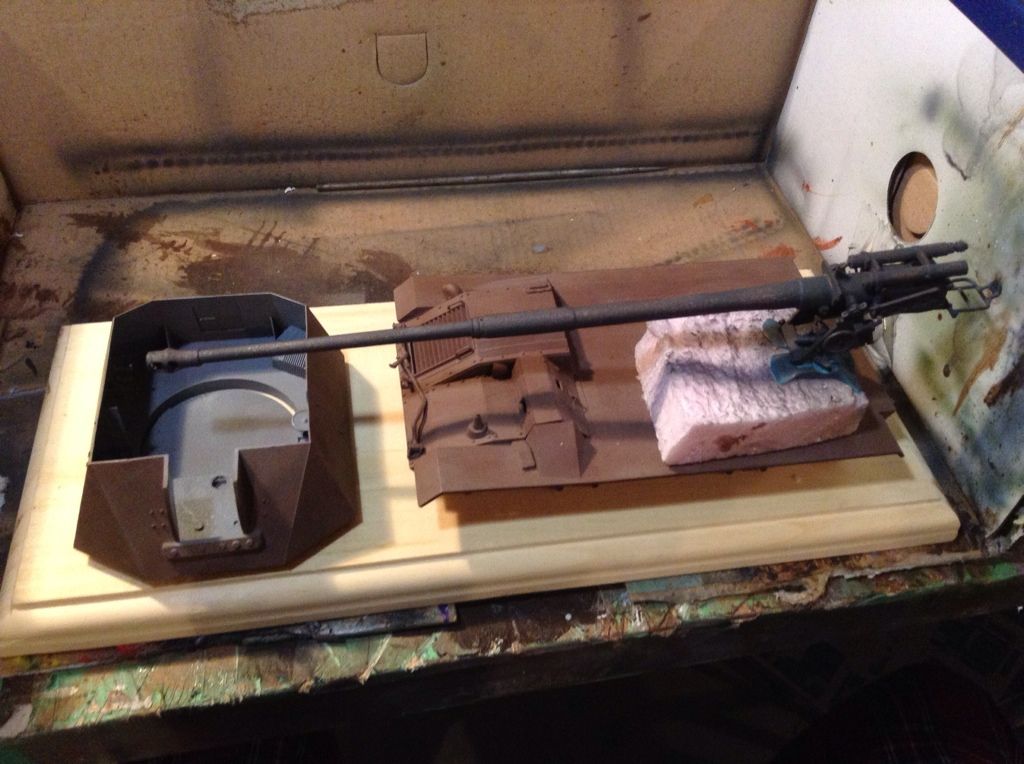 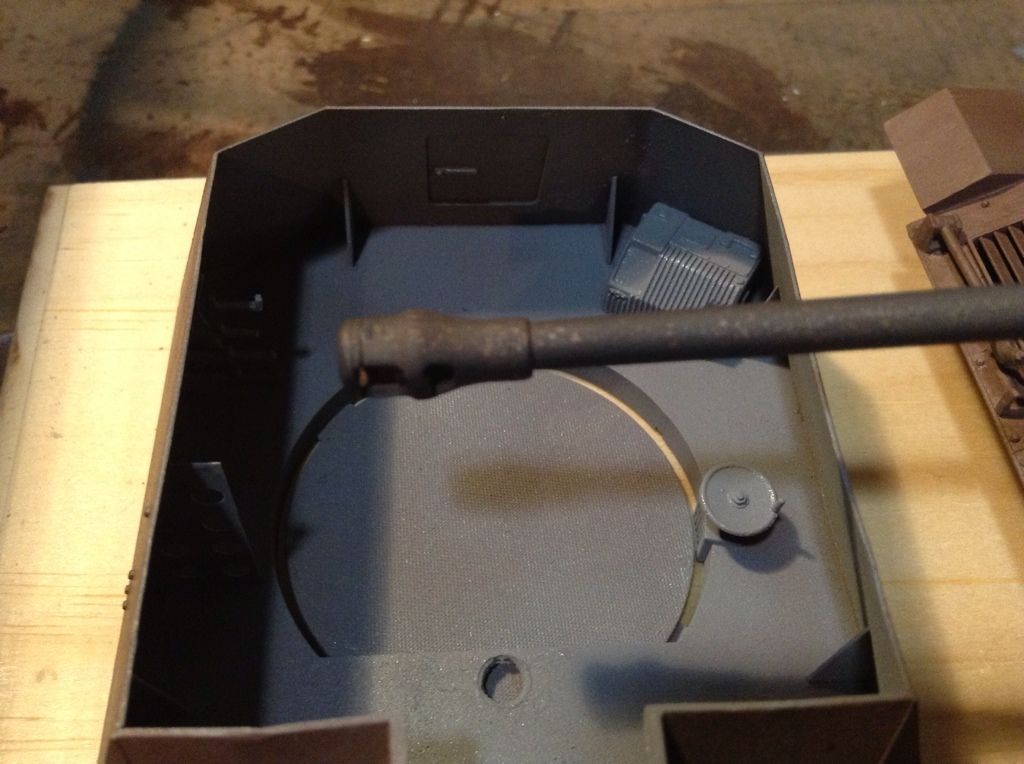 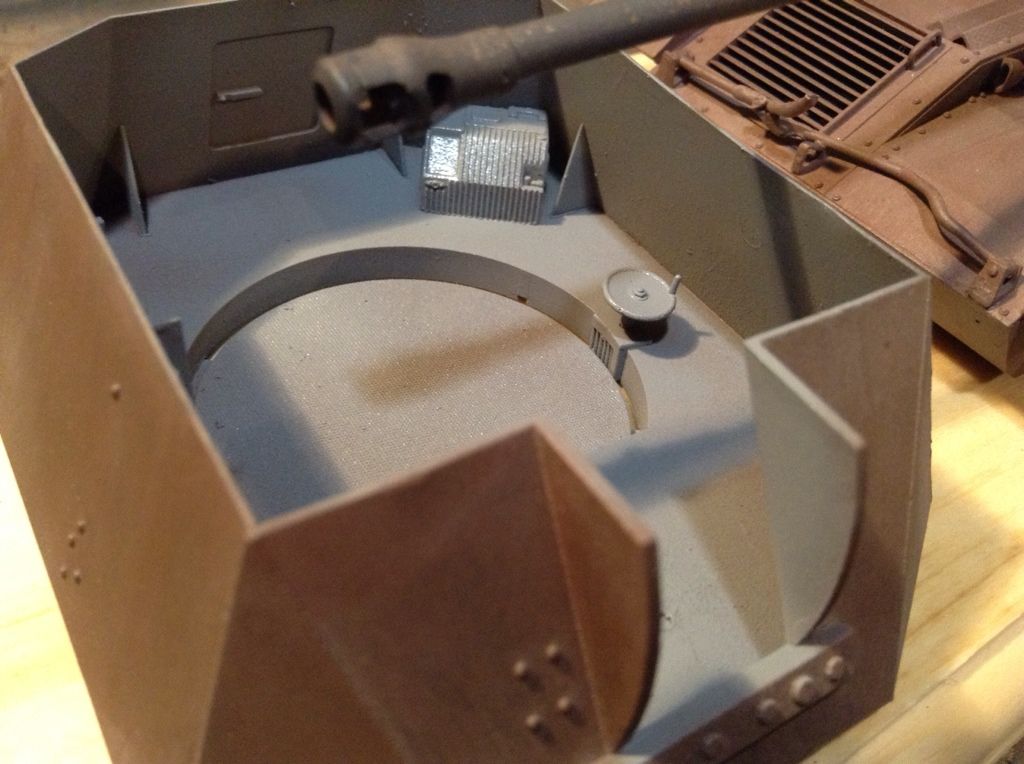 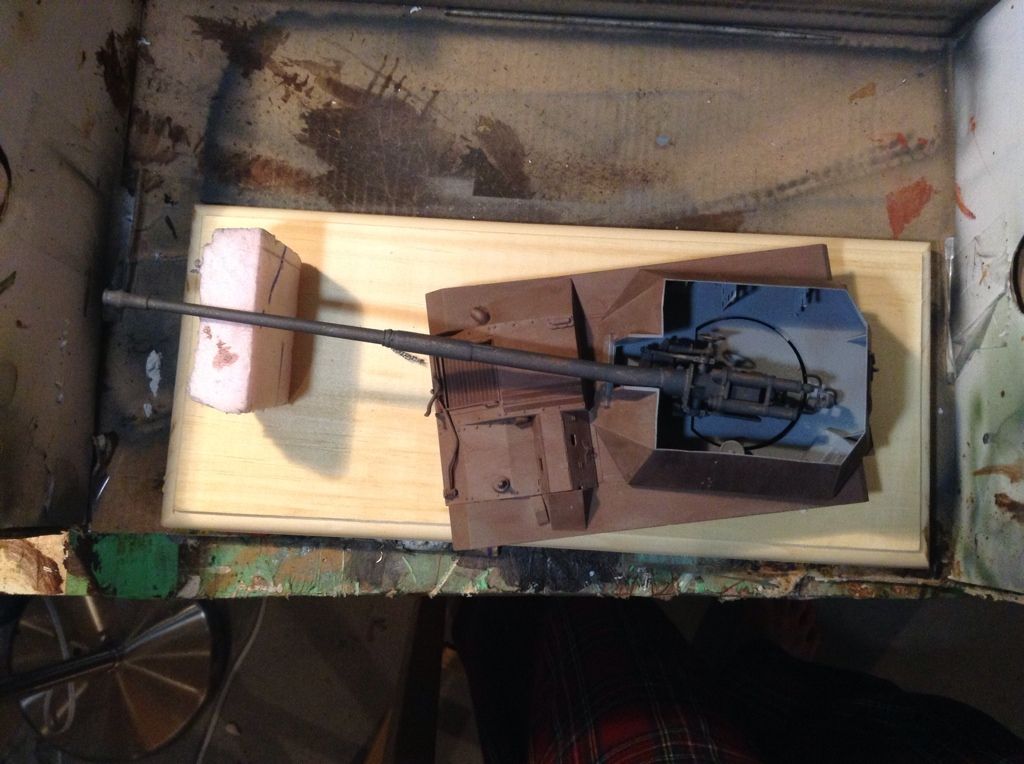 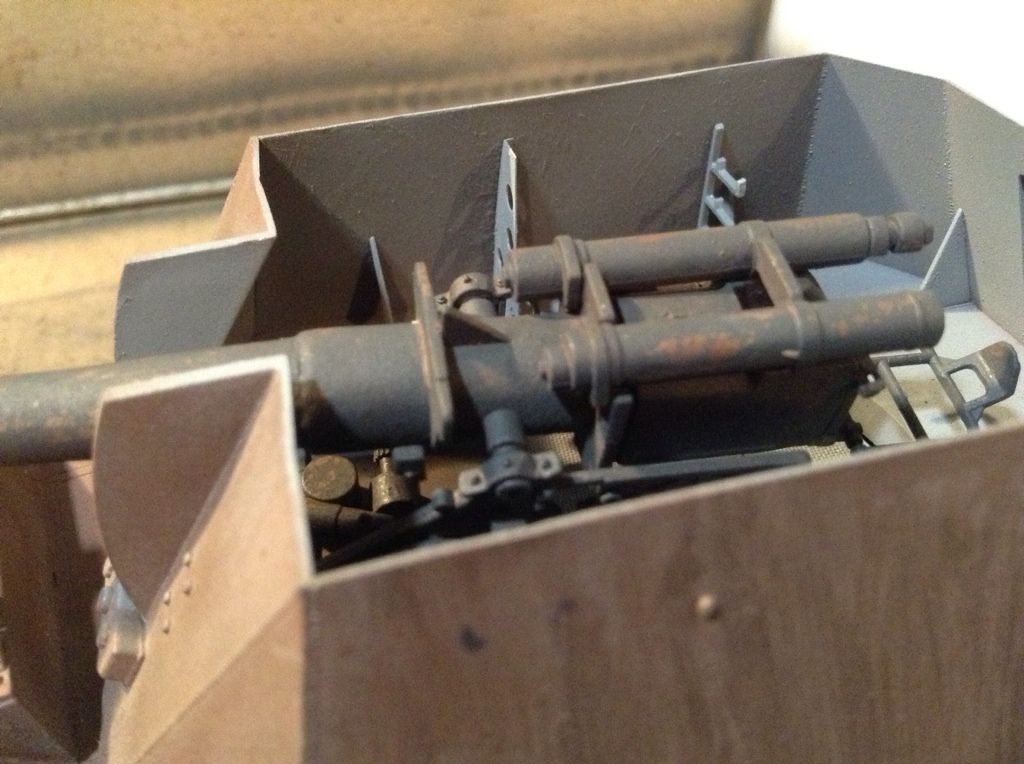 As you can see, I've also managed to procure a base for the tank - made it during tech class in school when I had free time  . Thanks for looking! -Oliver |
|