noll
Full Member
  
Member since: August 2012
Posts: 522
Aug 28, 2012 9:40:11 GMT -5
Aug 28, 2012 9:40:11 GMT -5
|
Post by noll on Mar 27, 2013 21:34:18 GMT -5
Thanks! I really like how the camo ended up  . Just a quick question before i go to bed - do you think I should repaint the turret again or leave as-is (this is before weathering, drybrushing, etc). The inside is my concern - I will be repainting the outside anyway. Pics of how it is now: 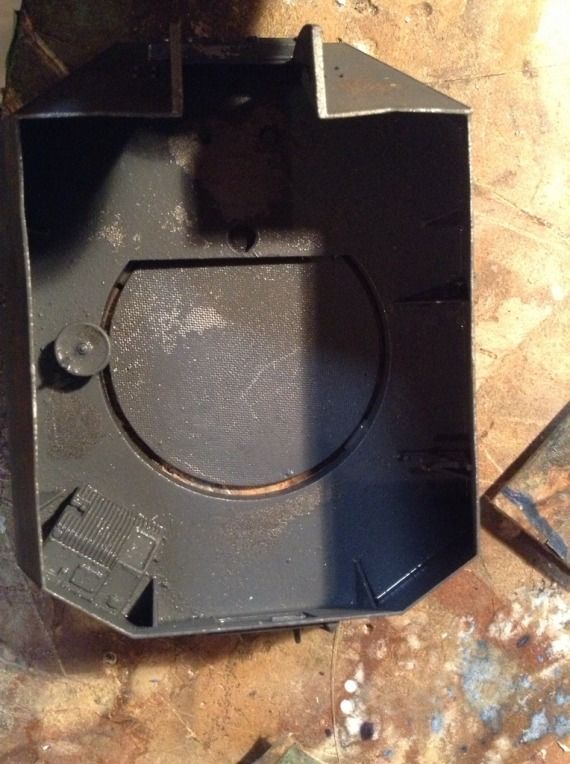 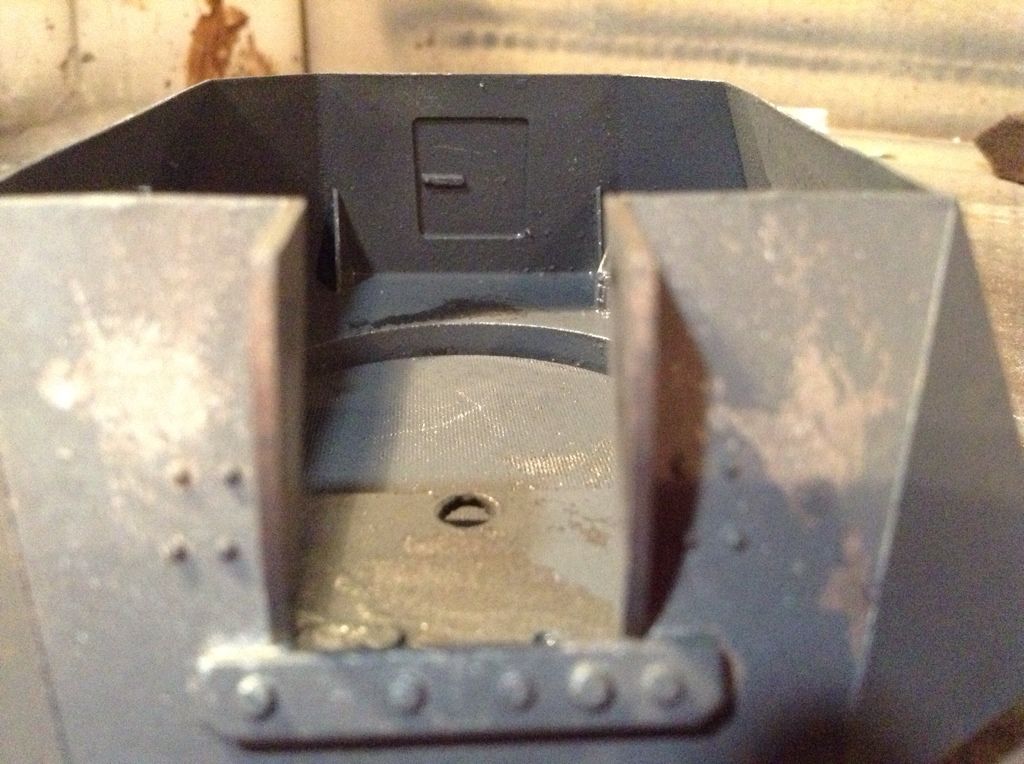 If I were to repaint, do you guys think white would look nice? |
|
noll
Full Member
  
Member since: August 2012
Posts: 522
Aug 28, 2012 9:40:11 GMT -5
Aug 28, 2012 9:40:11 GMT -5
|
Post by noll on Mar 27, 2013 21:35:25 GMT -5
Thanks also wingnut - you ninjad me  |
|
noll
Full Member
  
Member since: August 2012
Posts: 522
Aug 28, 2012 9:40:11 GMT -5
Aug 28, 2012 9:40:11 GMT -5
|
Post by noll on Mar 28, 2013 8:17:18 GMT -5
After school ill try to fully complete the interior so I can mask it off and do the outside of the turret.
|
|
|
|
Post by bbd468 on Mar 28, 2013 9:47:38 GMT -5
Hey Oliver, Love the camo buddy...fine job!  IMHO...i would paint the inside to better match what ya got goin on the exterior. The Base color perhaps? Lookin awesome Oliver! Gary |
|
noll
Full Member
  
Member since: August 2012
Posts: 522
Aug 28, 2012 9:40:11 GMT -5
Aug 28, 2012 9:40:11 GMT -5
|
Post by noll on Mar 28, 2013 10:40:07 GMT -5
Thanks Gary  I think I'll do exactly that. As a bonus, it means ill be able to paint the whole turret in one go - ill spray the rust undercoat as soon as I get home, and then clear coat what I did yesterday. I'll then work in the gun while the rest dries, and then has and paint the tank in he basecoat. |
|
|
|
Post by bbd468 on Mar 28, 2013 10:50:46 GMT -5
Thanks Gary  I think I'll do exactly that. As a bonus, it means ill be able to paint the whole turret in one go - ill spray the rust undercoat as soon as I get home, and then clear coat what I did yesterday. I'll then work in the gun while the rest dries, and then has and paint the tank in he basecoat. Right on Oliver...sounds like a plan my man!  Gary |
|
406 Silverado
Global Administrator     
Member since: November 2011
Posts: 10,238
Member is Online
MSC Staff
|
Post by 406 Silverado on Mar 28, 2013 11:15:24 GMT -5
Sorry to late to the show Ollie. Been doing most of my work here in the admin so I don't get to check out or post comments much, hard enough to keep up with my own blogs.
looks like your really get the hang of the chipping. Loving that two tone camo scheme. As for the painting issues, well it's part of the learning curve we all go through, and it never ends. Once you settle on paints you like you get to know how to use them best. You've come a long way the past few months and your skills improved with each model. Keep on the good work and don't worry much about folks commenting, it does not mean we are not looking, we are.
|
|
sollie
Full Member
  
Member since: January 2012
Posts: 456
Jan 21, 2012 5:07:22 GMT -5
Jan 21, 2012 5:07:22 GMT -5
|
Post by sollie on Mar 28, 2013 12:14:24 GMT -5
as Scratch say, the chipping looks ubercool. looking fw to the final steps :-)
|
|
Deleted
Member since: January 1970
Posts: 0
Nov 26, 2024 12:24:46 GMT -5
Nov 26, 2024 12:24:46 GMT -5
|
Post by Deleted on Mar 29, 2013 3:14:12 GMT -5
8-)Yup , cool .
|
|
|
|
Post by deafpanzer on Mar 29, 2013 21:38:00 GMT -5
Great job there!!!
|
|
noll
Full Member
  
Member since: August 2012
Posts: 522
Aug 28, 2012 9:40:11 GMT -5
Aug 28, 2012 9:40:11 GMT -5
|
Post by noll on Apr 1, 2013 19:18:07 GMT -5
Thanks, guys! Over the course of the long weekend, i've gotten a fair bit done on the turret. I AB'd it in a rust shade, clear coated it, then added HS and light tan paint. I then clear coated it again and then masked, hs'd and painted the brown. Here is how it is now ( the pics were taken when the turret was wet): 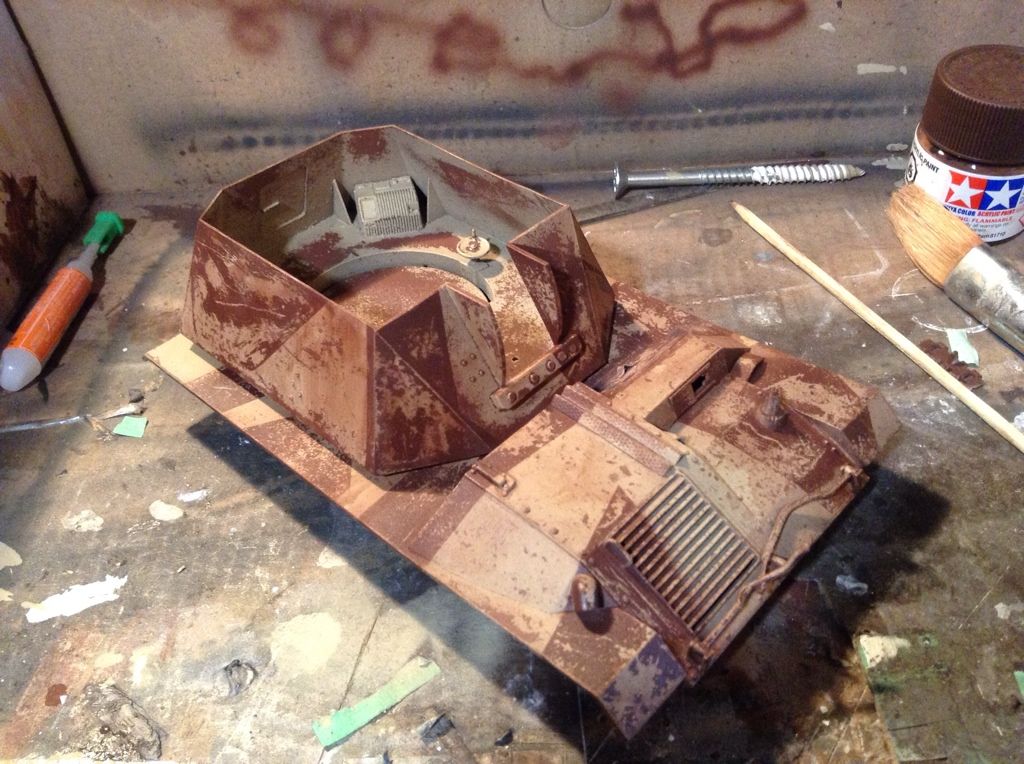  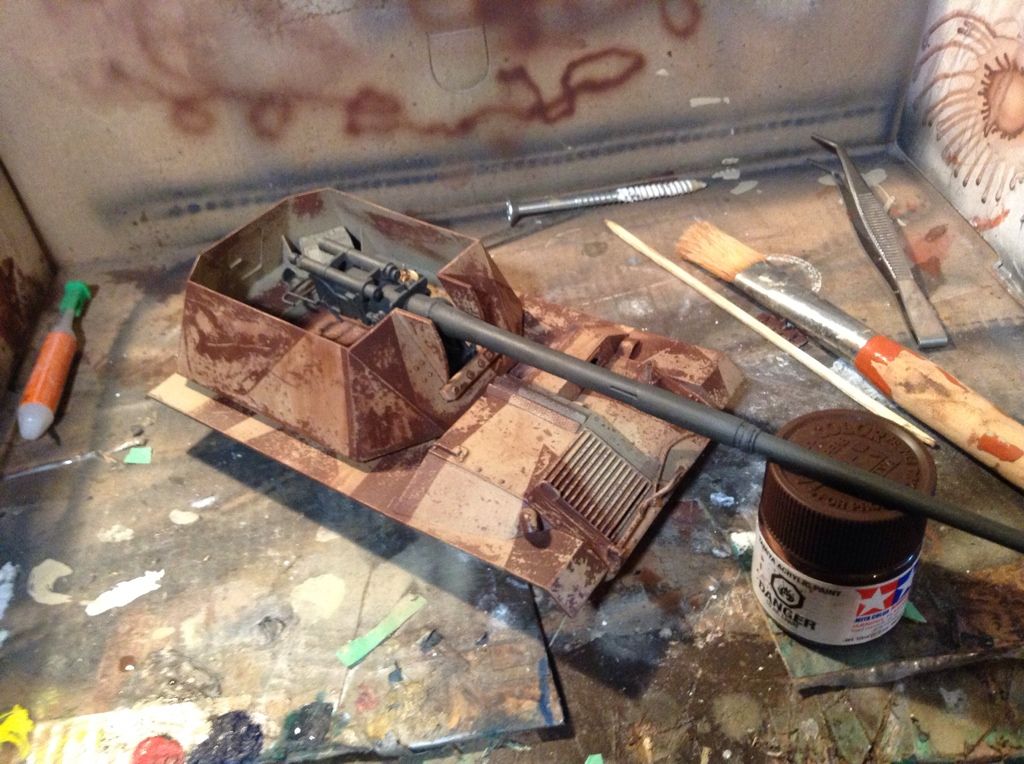 On wed (as i work tues) i will clear coat the turret yet again, and then attach the gun, and attach the wheels to the tank itself. I am currently working on the fruils, and have 1/2 of a side done so far - i just need a hr or two to make some good progress. Oh, and before i forget, I decided the paint the rocket car that I'm making for venturers in the same scheme (next sat we will stick rockets in the back and launch them off a ramp); 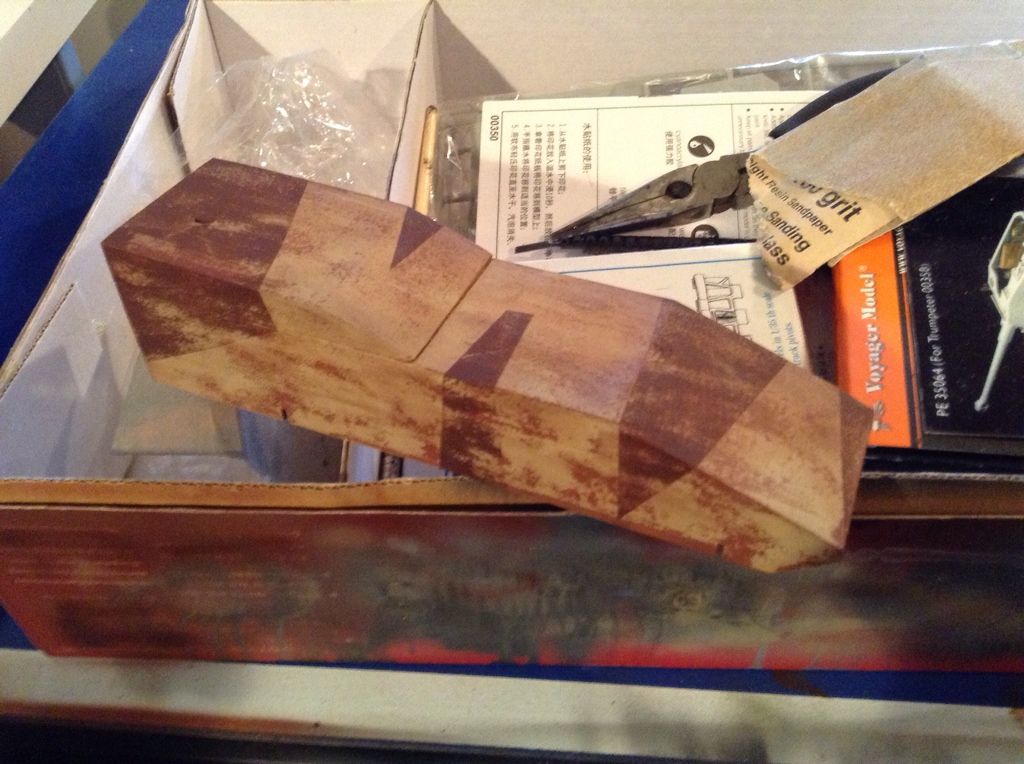 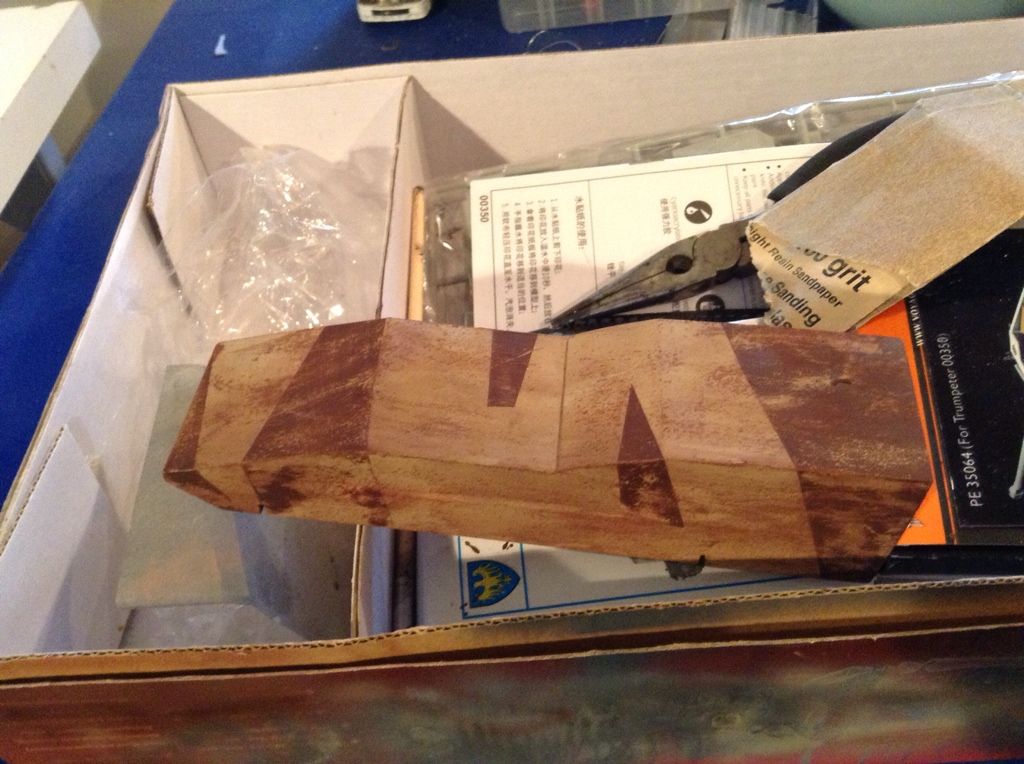 -Oliver |
|
noll
Full Member
  
Member since: August 2012
Posts: 522
Aug 28, 2012 9:40:11 GMT -5
Aug 28, 2012 9:40:11 GMT -5
|
Post by noll on Apr 1, 2013 19:19:00 GMT -5
the above car doesn't have wheels yet  . |
|
|
|
Post by wbill76 on Apr 1, 2013 19:26:29 GMT -5
That rocket car ought to raise some eyebrows when it takes flight!  Nice progress on the paint and weathering Oli. |
|
|
|
Post by bbd468 on Apr 1, 2013 19:26:50 GMT -5
Awesome paint work Oliver....looks yo me like ya nailed it!!!  Gonna put an 88mm on the car too?  J/K Gary |
|
|
|
Post by Leon on Apr 1, 2013 19:36:04 GMT -5
Awesome work Oliver.  This is launch control waiting for count down.  |
|
406 Silverado
Global Administrator     
Member since: November 2011
Posts: 10,238
Member is Online
MSC Staff
|
Post by 406 Silverado on Apr 2, 2013 9:12:40 GMT -5
I am really liking how this is looking, very nice work Ollie
|
|
afvfan
Senior Member
   
Member since: December 2012
Bob
Posts: 1,772
Dec 10, 2012 17:32:38 GMT -5
Dec 10, 2012 17:32:38 GMT -5
|
Post by afvfan on Apr 4, 2013 15:42:48 GMT -5
The paint's looking good.
|
|
ironhand6
Full Member
  
Member since: March 2013
Posts: 280 
|
Post by ironhand6 on Apr 5, 2013 0:49:35 GMT -5
this is a wicked cool afv. i cant wait to see it finished oliver
|
|
Hinksy
Full Member
  
Member since: June 2012
THE ENGLISH LIONHEART - HINKSY!
Posts: 1,016
Jun 22, 2012 16:46:21 GMT -5
Jun 22, 2012 16:46:21 GMT -5
|
Post by Hinksy on Apr 5, 2013 6:38:45 GMT -5
this is a wicked cool afv. i cant wait to see it finished oliver Great job Oliver, Looking forward to more! Amazing paint scheme that looks perfectly chipped! Ben  |
|
noll
Full Member
  
Member since: August 2012
Posts: 522
Aug 28, 2012 9:40:11 GMT -5
Aug 28, 2012 9:40:11 GMT -5
|
Post by noll on Apr 5, 2013 19:44:13 GMT -5
Thanks Guys  . Sorry I haven't replied for a while. while i was working on it, the muzzle of the gun decided to come off, and, try as i may, i couldn't get it on properly. To try to salvage it, I've added a cover for it from a teabag. Here it is so far: 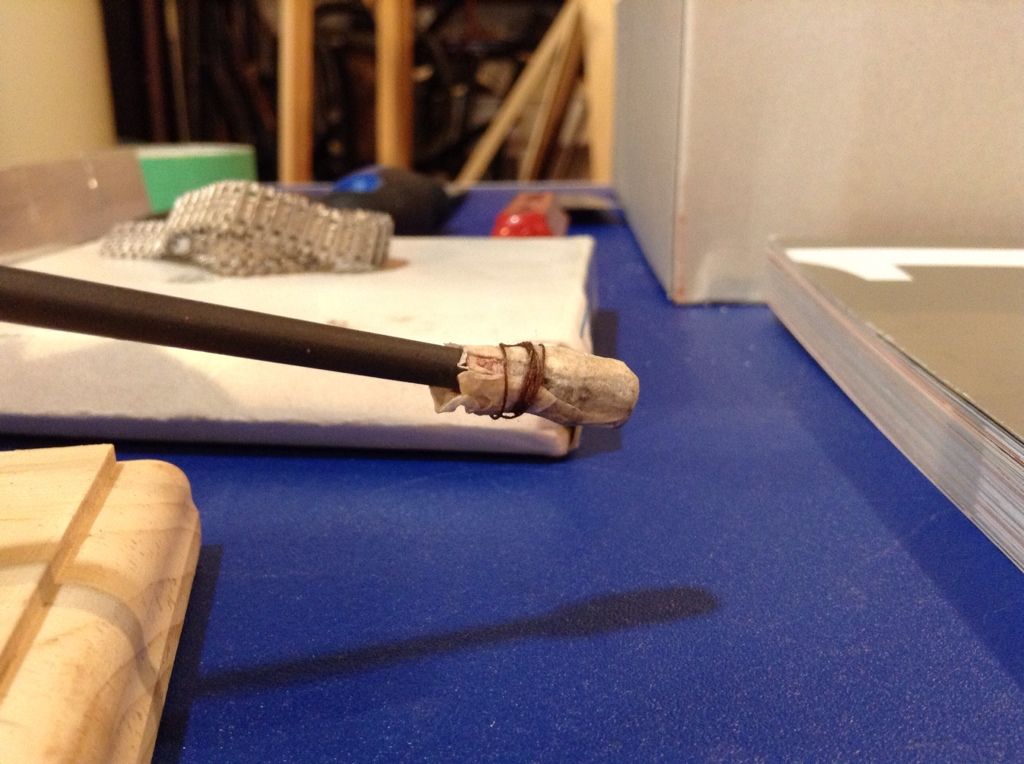 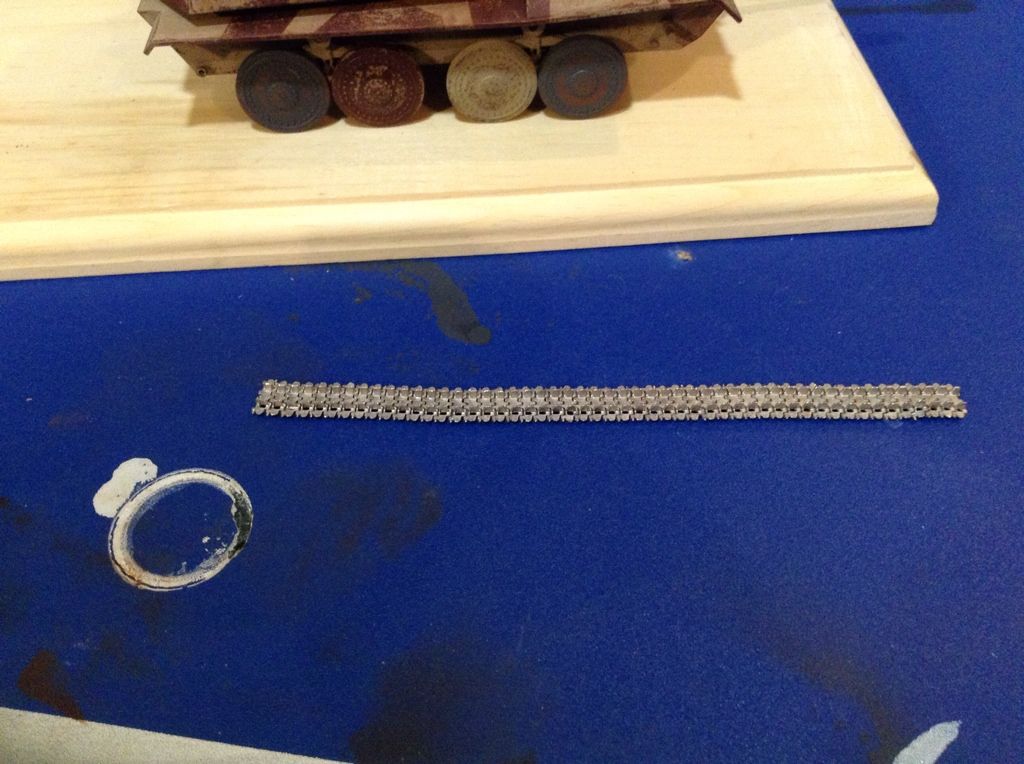 As always, thanks for looking! |
|
|
|
Post by Leon on Apr 5, 2013 23:49:20 GMT -5
Great idea on the muzzle cover Oliver.
|
|
|
|
Post by wbill76 on Apr 6, 2013 19:55:27 GMT -5
Nice save with the cover! Tracks look like they've started to get some weathering as well.  |
|
noll
Full Member
  
Member since: August 2012
Posts: 522
Aug 28, 2012 9:40:11 GMT -5
Aug 28, 2012 9:40:11 GMT -5
|
Post by noll on Apr 6, 2013 21:55:10 GMT -5
Thanks Guys  . I was lucky enough to reserve some blacken-it that i will pick up next thurs (armor club meeting @ hobbyshop), so ill try to get the tracks done for then - only have 1/2 of one run done at the moment  . Since the last pics I have painted the cover (still needs weathering, etc) and used a pencil to imitate bare steel rims on the roadwheels etc. Ill post pics tomorrow. Thanks all for following this build! |
|
multicam
Senior Member
   
Member since: January 2012
Nate
Posts: 2,039
Jan 10, 2012 14:35:41 GMT -5
Jan 10, 2012 14:35:41 GMT -5
|
Post by multicam on Apr 7, 2013 0:06:17 GMT -5
This is looking good! Love the camo and the muzzle cover is lovely:)
|
|
noll
Full Member
  
Member since: August 2012
Posts: 522
Aug 28, 2012 9:40:11 GMT -5
Aug 28, 2012 9:40:11 GMT -5
|
Post by noll on Apr 7, 2013 22:12:48 GMT -5
Thanks multi. I'll post some pics tomorrow. Just a quick question to all - for the base, should I go for a repair shop, street, or bridge? Here's what I have to work with: 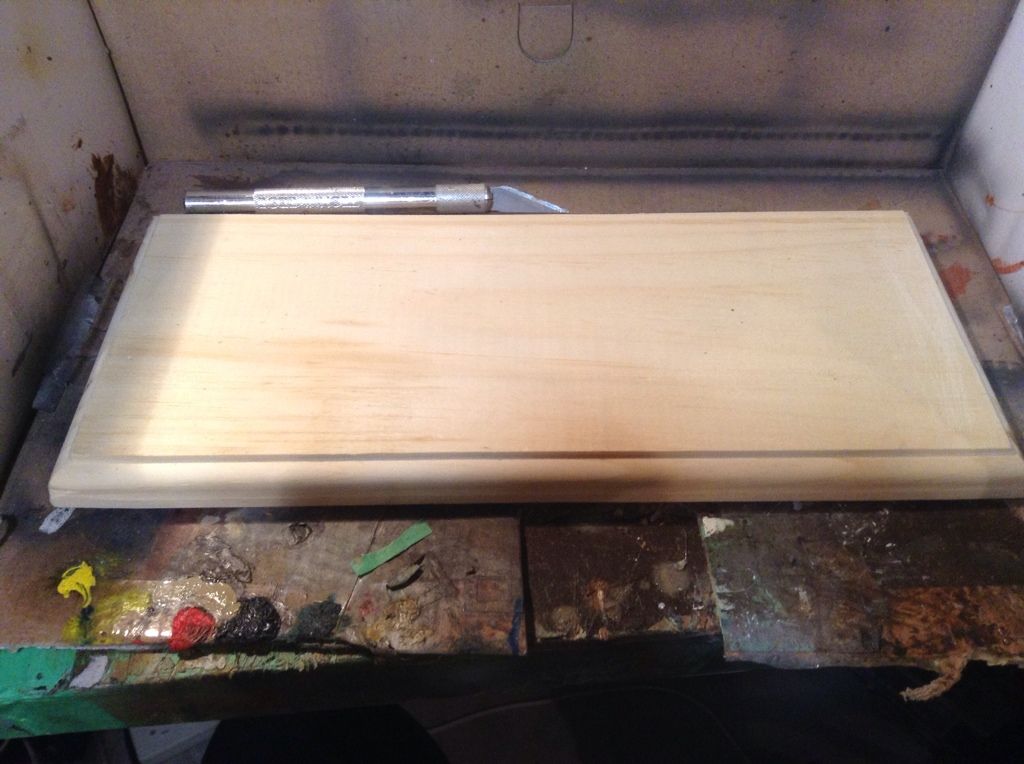 Thanks! |
|
noll
Full Member
  
Member since: August 2012
Posts: 522
Aug 28, 2012 9:40:11 GMT -5
Aug 28, 2012 9:40:11 GMT -5
|
Post by noll on Apr 8, 2013 8:28:31 GMT -5
I'll get some work done on it later and ill be sure to post pics.
|
|
|
|
Post by bbd468 on Apr 8, 2013 10:01:50 GMT -5
Hiya Oliver, If your wanting to go super detail...a repair shop would be killer. Other than that a nice street/urban and rubble scene would make it look right at home...IMO of course.  Gary |
|
noll
Full Member
  
Member since: August 2012
Posts: 522
Aug 28, 2012 9:40:11 GMT -5
Aug 28, 2012 9:40:11 GMT -5
|
Post by noll on Apr 8, 2013 18:12:26 GMT -5
Alright, some pics (wet atm): 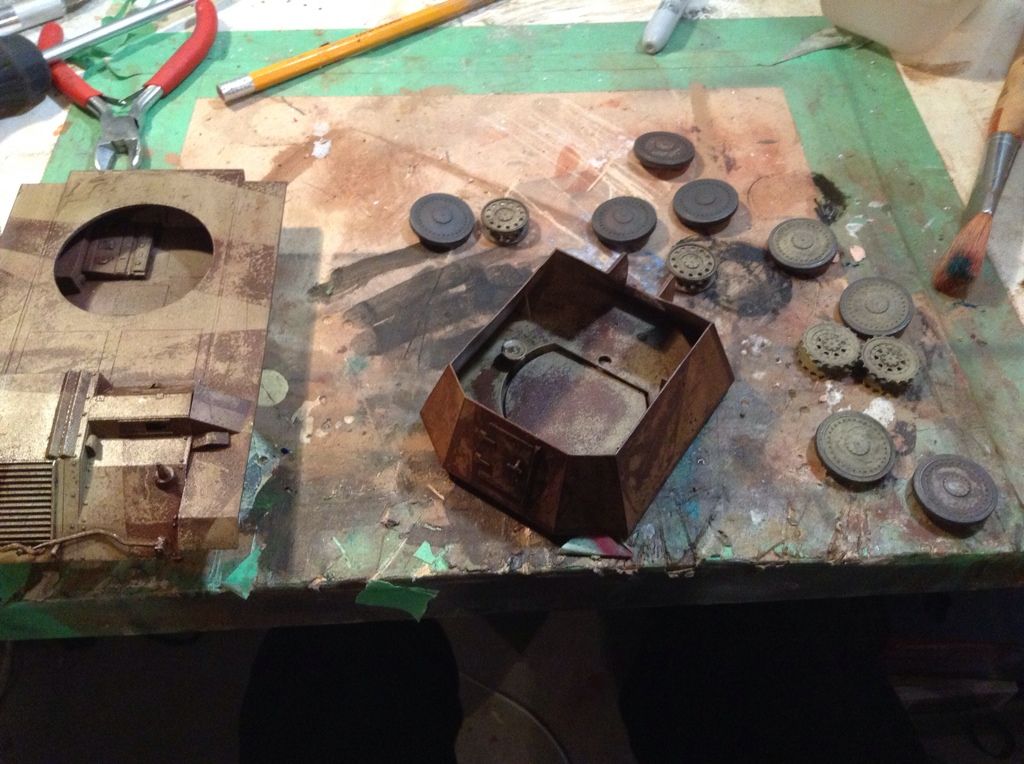  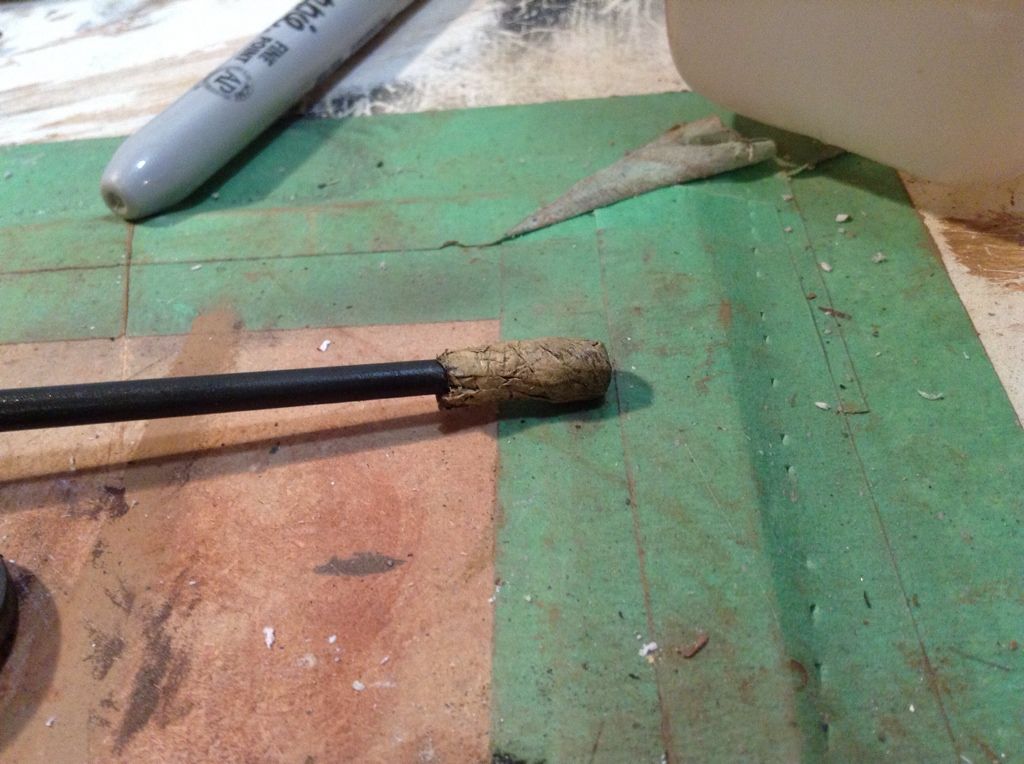 As you can see in the middle pic, the enamel wash has removed some of the pencil I used for bare metal - ill reapply soon. I'm thinking of doing whitewash for the tank, and going for the repair shop idea, the idea being that its being fixed in early '45. Tomorrow ill clear coat it again, and then add a coat of hs and spray some balkenkreuzes on (sturer Emil came with Eduard? Stencil). I'll then seal that in and start the camo. |
|
|
|
Post by Leon on Apr 8, 2013 19:53:41 GMT -5
Repair shop sounds like a great idea Oliver.  |
|
noll
Full Member
  
Member since: August 2012
Posts: 522
Aug 28, 2012 9:40:11 GMT -5
Aug 28, 2012 9:40:11 GMT -5
|
Post by noll on Apr 8, 2013 21:52:49 GMT -5
Thanks Leon.
Ill also add some plaster to the base tomorrow and make it look like concrete.
|
|