vlpbruce
Full Member
  
Member since: March 2013
Posts: 1,463 
|
Post by vlpbruce on Sept 18, 2013 19:29:57 GMT -5
Fantastic work Bill. I love the railings.
|
|
|
|
Post by wbill76 on Sept 18, 2013 20:41:23 GMT -5
Thanks Bruce! The real fun is going to be assembling the sea mines...there are 10 of them and each one has multiple parts for the base including PE panels that stick out at an angle, we'll see if I can pull that off or not.  |
|
Deleted
Member since: January 1970
Posts: 0
Nov 25, 2024 18:33:56 GMT -5
Nov 25, 2024 18:33:56 GMT -5
|
Post by Deleted on Sept 19, 2013 13:42:27 GMT -5
looks smashing! like the colours
|
|
|
|
Post by wbill76 on Sept 19, 2013 13:57:32 GMT -5
Thanks Pete, I'm very thankful I didn't need to do any kind of splinter or dazzle camo on this tin can, that would've been more of a nightmare than fun I think.  |
|
Deleted
Member since: January 1970
Posts: 0
Nov 25, 2024 18:33:56 GMT -5
Nov 25, 2024 18:33:56 GMT -5
|
Post by Deleted on Sept 20, 2013 17:06:50 GMT -5
Great progress and I admire your skills. 
|
|
|
|
Post by Leon on Sept 20, 2013 17:26:14 GMT -5
Just getting caught up on this Bill.The railings and paint look fantastic  .Well done Sir.  |
|
|
|
Post by wbill76 on Sept 20, 2013 20:55:31 GMT -5
Bruce, high praise indeed, thank you kindly! All it takes is time and patience.  Leon Leon, glad you're all caught up, this weekend ought to be a fun one! Stay tuned... 
|
|
|
|
Post by wbill76 on Sept 21, 2013 11:10:37 GMT -5
I've been working on the remaining little details here and there in short bursts throughout the week in order to make the most of the available time this weekend. First up were the boats. The Eduard set provided the railings for the motor launch as well as an in-scale canopy that replaced the Dragon part. The whale boat and row boat received PE oars also courtesy of the Eduard set. The whale boat's tiller was carefully cut out and replaced with an Eduard part to round things out. Then careful paint and detailing done on each where appropriate, the wood portions used the same recipe applied earlier to the decking to take advantage of the fabulous detail that Dragon included in the boats. 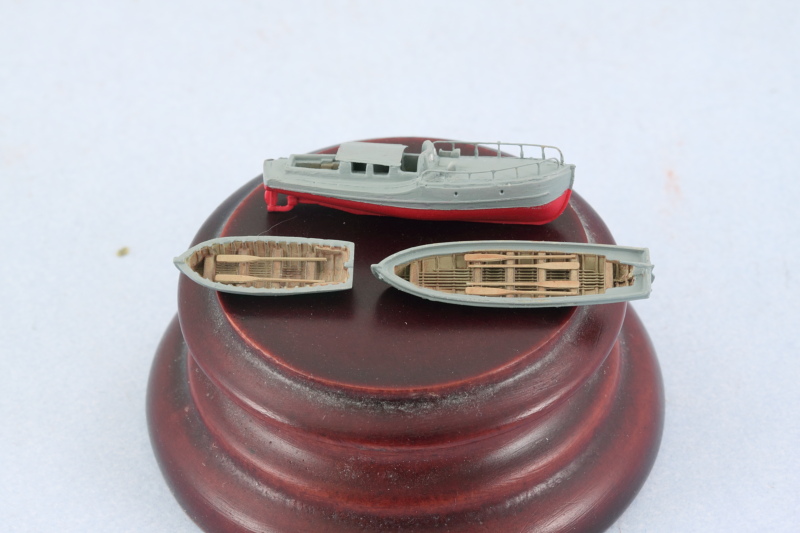 The boats where then installed into their respective places. Dragon's instructions contain an error in Step 14, they incorrectly label the boat that goes on the forward port (left) side as N16 when it should be G18. N16 is the smaller row boat while G18 is the whale boat. Further compounding things, they never tell you to install N16 in the correct position, it just magically appears in place with no call out in Step 18. Because of this, I had the cranes, parts D19-D20, installed to accommodate the smaller boat in the forward position and it was too late to try to re-position them without potentially causing major damage, so they were left as-is. 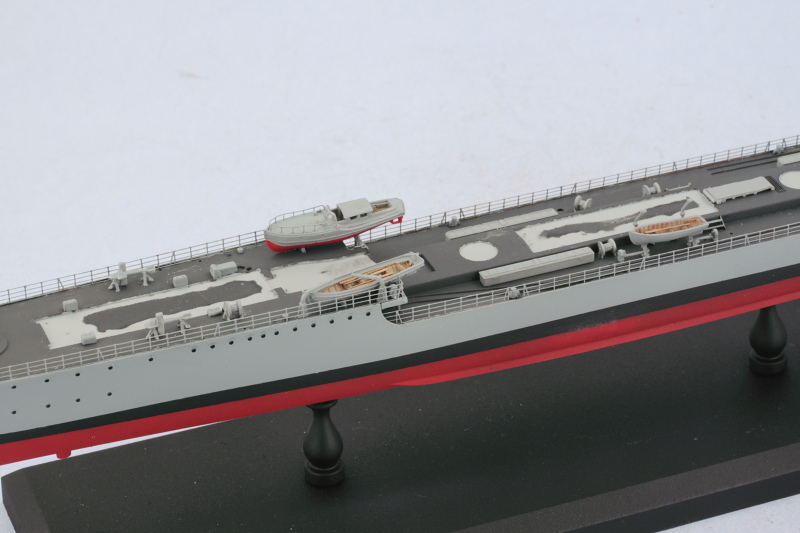 Back in Step 1, you're instructed to assemble the 10 mines that install on the stern and these guys are tiny little things. They consist of separate anchors and mines and the anchors have 2 PE 'wings' that install at an angle, the angle of which is key to them installing properly in the space available on the stern. While the kit provides 4 PE horns per mine, I didn't use them as I knew there was just no way they would survive any kind of painting and handling prior to their installation. Below the obligatory 'penny' shot to show their scale. 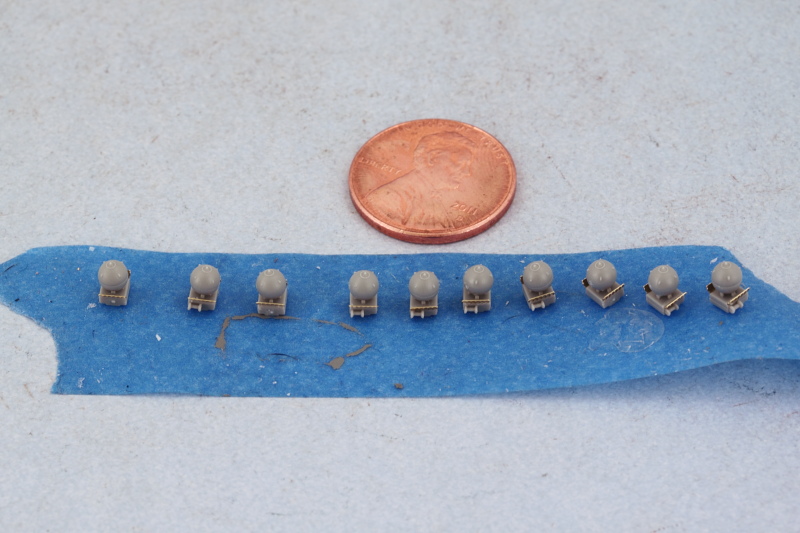 A dose of MM Flat Black enamel via the airbrush and then the mines were installed in position on the tracks at the stern. 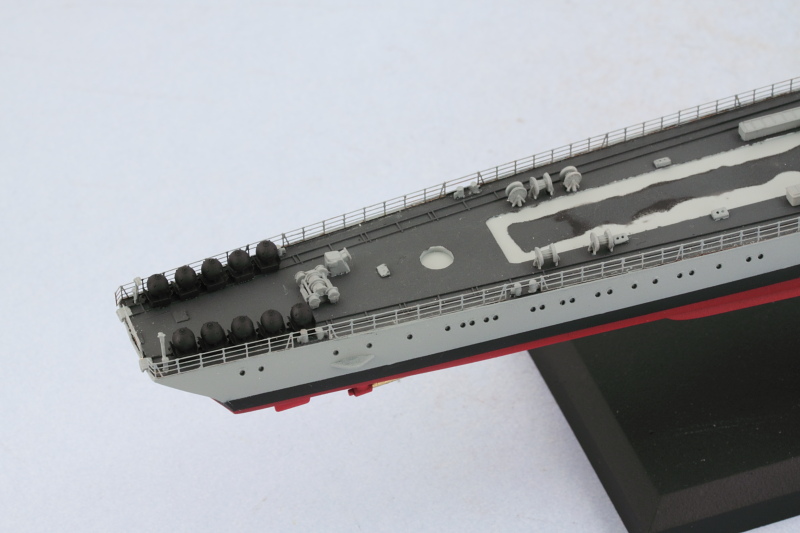 Last but not least, the propeller shafts and propellers needed attention. They were airbrushed with MM Non-Buffing Metalizer Brass and the props installed into position. I also took advantage of the opportunity and airbrushed the stand posts at the same time. 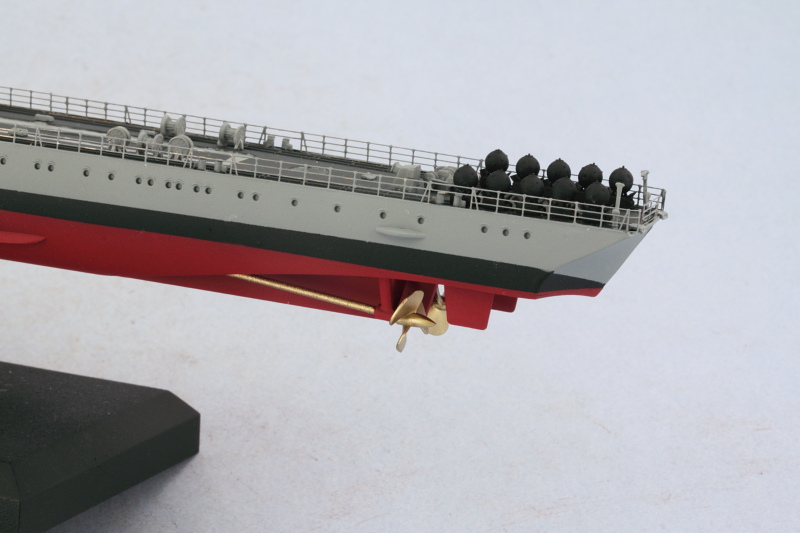 Everything received a sealing coat of Future to protect the paint work during the weathering phases to come. The decal markings for this vessel are minimal, just the water depth gauge lines, but these are truly impressive...when viewed under 10x magnification on the Optivisor, they read clear as day and were a little bit of a pain to get in place. Dragon's decal sheet provides extras if you need them but I was able to get them in place on either side without losing any. 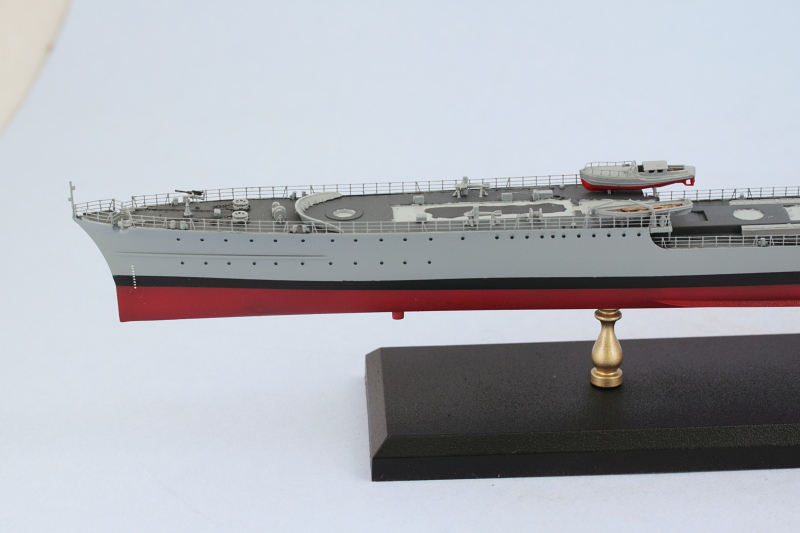 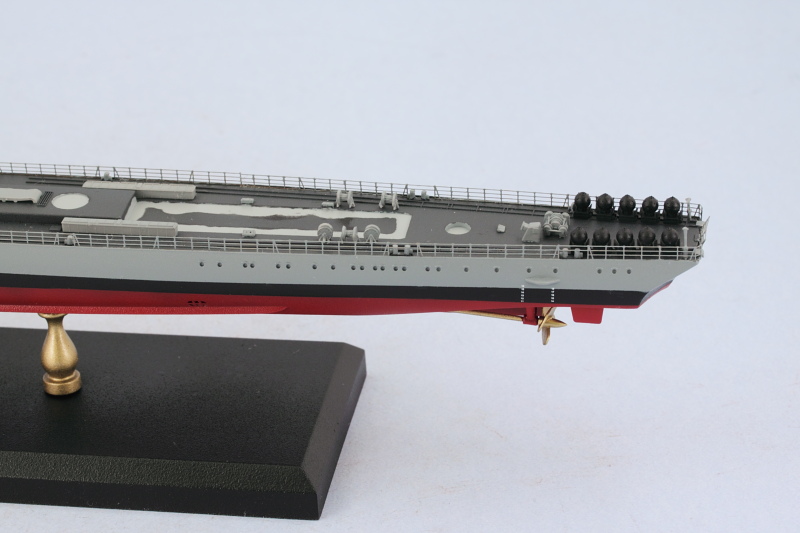 Now it's on to the weathering! |
|
|
|
Post by bullardino on Sept 21, 2013 11:43:58 GMT -5
Ok, I don't think it can be any better. That's a real wonder.
|
|
|
|
Post by `Boots` on Sept 21, 2013 11:52:47 GMT -5
Sorry for being late in on this one Bill  , gotta say tho that that is freakin` awesome, fabulous work buddy...love it!!  |
|
|
|
Post by wbill76 on Sept 21, 2013 12:20:14 GMT -5
Luigi and Boots, thanks for the comments as always! Washes are going on as we speak, going to be a fun round over the next couple of days. 
|
|
406 Silverado
Global Administrator     
Member since: November 2011
Posts: 10,230
Member is Online
MSC Staff
|
Post by 406 Silverado on Sept 21, 2013 17:08:31 GMT -5
Ok I give up, this is just too much. What freakin awesome detailing. Love he launches with the oars.
Yet another great update....and it's not even Sunday
|
|
Deleted
Member since: January 1970
Posts: 0
Nov 25, 2024 18:33:56 GMT -5
Nov 25, 2024 18:33:56 GMT -5
|
Post by Deleted on Sept 21, 2013 17:09:44 GMT -5
Wouldn't want to be a Sub, anywhere near this Ship! 
|
|
|
|
Post by wbill76 on Sept 21, 2013 18:28:09 GMT -5
Thanks Rob!, figured it would be too much to pack it all into a single update tomorrow, so this one's got a special bonus edition update.  Bruce Bruce, the German Z-class destroyers were pretty formidable, almost light cruisers in terms of their main armament, and had crews of over 300 men, so I'd have to agree with you there!  |
|
|
|
Post by deafpanzer on Sept 21, 2013 19:09:40 GMT -5
WHOA! It is not even Sunday... maybe you should be building ships more often? LOVE the details in the lifeboats. IMPRESSIVE! Sea mines look superb too... way too tempting...
|
|
|
|
Post by wbill76 on Sept 22, 2013 10:19:42 GMT -5
WHOA! It is not even Sunday... maybe you should be building ships more often? LOVE the details in the lifeboats. IMPRESSIVE! Sea mines look superb too... way too tempting... Updside to building ships, there are lots of details you can work on in little bits here and there. Downside to building ships, there are lots of little details!  |
|
|
|
Post by Leon on Sept 22, 2013 10:40:49 GMT -5
WOW,awesome work on the lifeboats and mines Bill  .She's looking mighty impressive.  |
|
|
|
Post by bbd468 on Sept 22, 2013 10:53:18 GMT -5
Hiya Bill, this is lookin awesome, tha life boats are killer! Those mines are so tiny....well done bro.  |
|
|
|
Post by TRM on Sept 22, 2013 11:16:44 GMT -5
That is how it's done Sir!!
|
|
Deleted
Member since: January 1970
Posts: 0
Nov 25, 2024 18:33:56 GMT -5
Nov 25, 2024 18:33:56 GMT -5
|
Post by Deleted on Sept 22, 2013 13:58:59 GMT -5
Think they call them MINES.  
|
|
|
|
Post by wbill76 on Sept 22, 2013 14:21:33 GMT -5
Leon, Gary, T, thanks for dropping by and for the comments as always! Nemo, sorry, you were supposed to be 'away' when those were posted. Will do my best to minimize shots of the stern to avoid incurring any further discomfort. 
|
|
DeafStuG
Full Member
  
Member since: May 2013
..
Posts: 1,283 
|
Post by DeafStuG on Sept 22, 2013 14:34:40 GMT -5
wbill76 - Good Job & very neat 
|
|
bigjohn
Reviews member    
Member since: December 2011
John Hale
Posts: 3,438
Dec 21, 2011 2:17:45 GMT -5
Dec 21, 2011 2:17:45 GMT -5
|
Post by bigjohn on Sept 22, 2013 15:08:52 GMT -5
Looks sharp Bill! That buffable brass looks great!!! waiting for the weathering
|
|
|
|
Post by deafpanzer on Sept 22, 2013 15:10:04 GMT -5
Bill - Leave me alone....I'm already havin' an 'episode' from the Message forum...you haven't helped AT ALL  lol What 'episode'? Did I miss the memo?  |
|
|
|
Post by wbill76 on Sept 22, 2013 17:10:55 GMT -5
Jeremy, thanks! BJ, just a small clarification, it's the non-buffing metalizer I used, not the buffable. Weathering update to come shortly.  Andy Andy, no use playing innocent on this one, Dicky's got you cornered! 
|
|
ogrejohn
Full Member
   Oct '23 Showcased Model Awarded
Member since: June 2012
Go away or I shall taunt you a second time!
Posts: 1,302
Jun 1, 2012 17:33:59 GMT -5
Jun 1, 2012 17:33:59 GMT -5
|
Post by ogrejohn on Sept 22, 2013 17:11:33 GMT -5
Starting to be all sinister looking Bill! Very nice!
|
|
|
|
Post by wbill76 on Sept 22, 2013 18:41:37 GMT -5
Thanks OJ, wait until you see how she looks now...  |
|
|
|
Post by wbill76 on Sept 22, 2013 18:41:51 GMT -5
A very productive session following on the heels of the details completed earlier. First stage in the weathering process focused on the hull. Here's where leaving off all the superstructure components came in handy as I needed to be able to lay the hull over on its side and use the main deck to hold it at various points. First step was an application of a wash of MM Panzer Schwarzgrau over the gray portion and the boot stripe and a wash of MM Italian Dark Brown over the hull red portion. 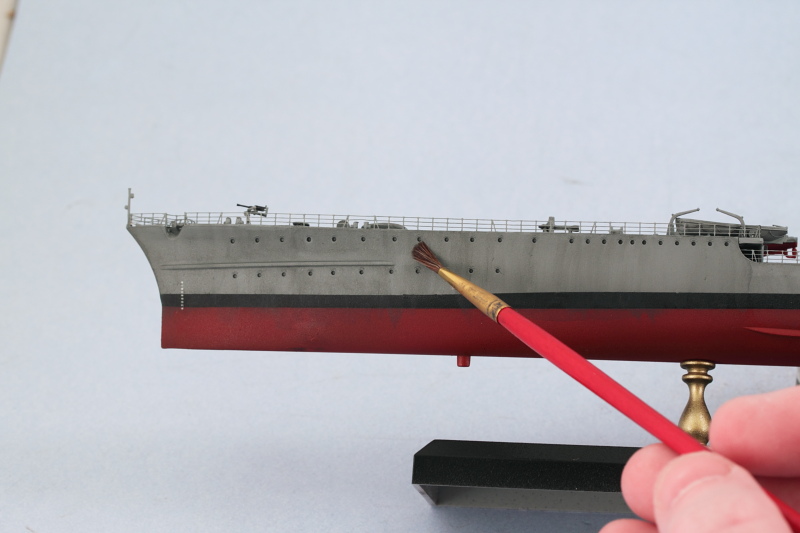 Then a dot filter of MM Light Gray was applied and the dots blended in using a 10/0 square tip blender brush. 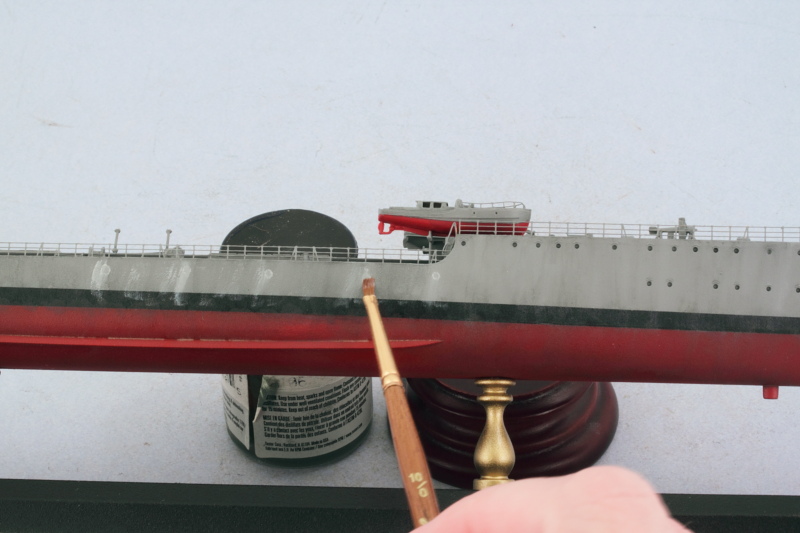 After the dot filter, more blending was done using a larger square tip brush to even things out a bit. 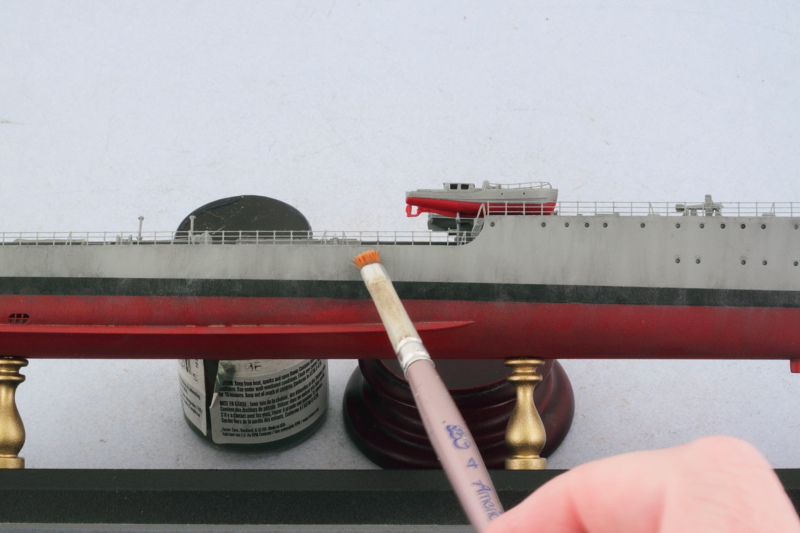 And a shot of the 'after' result. 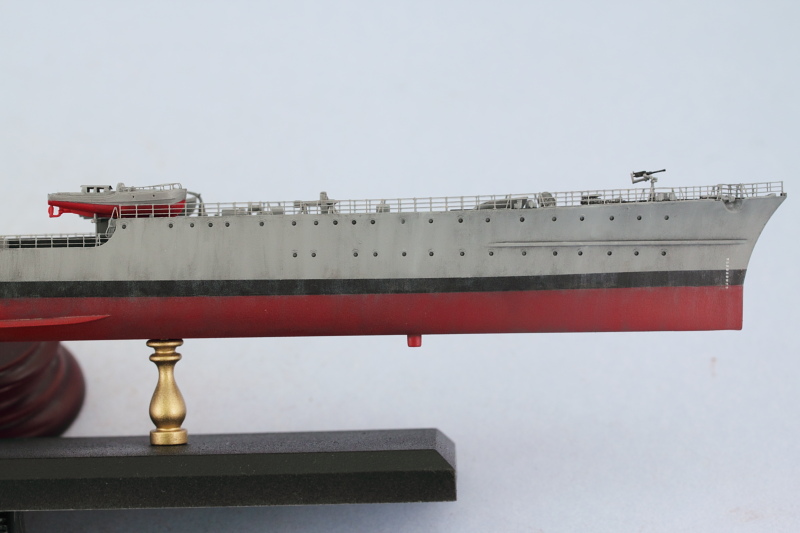 Working on the details, I applied a pin wash of the Panzer Schwarzgrau with a pointed 10/0 brush, then followed that with a dry-brush pass using the hull gray color mix to bring out the detail with the 10/0 square tip brush. 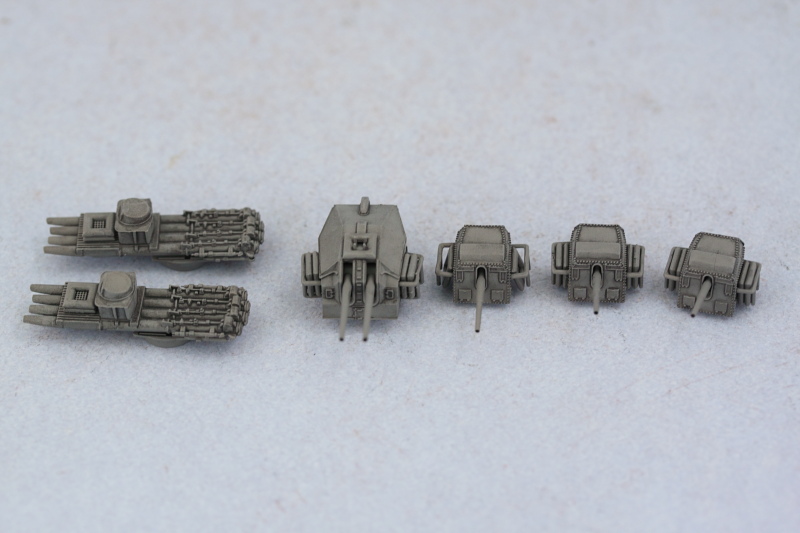 The dark gray steel decks received a dot filter treatment using the hull gray color. The lighter gray elements got the Panzer Schwarzgrau pin wash and dry-brush treatment as well where appropriate. 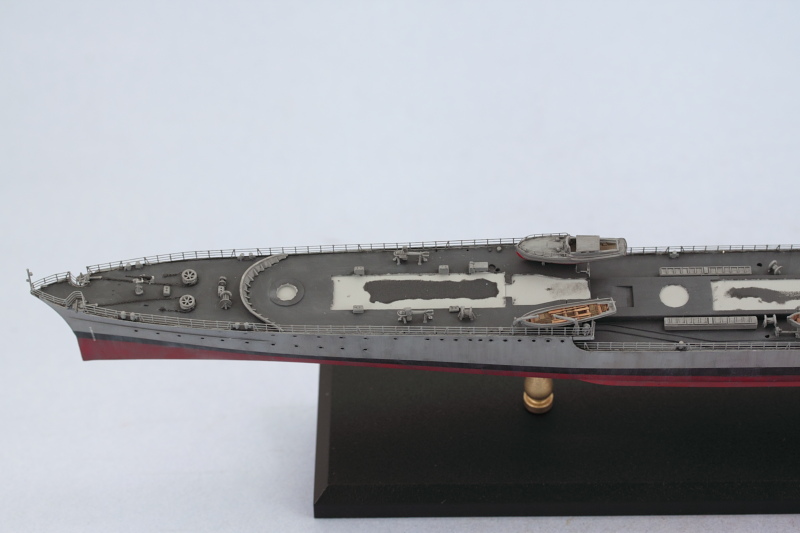 Then each of the superstructure modules received the pin wash and dry-brush dose as well. First the bridge deck. 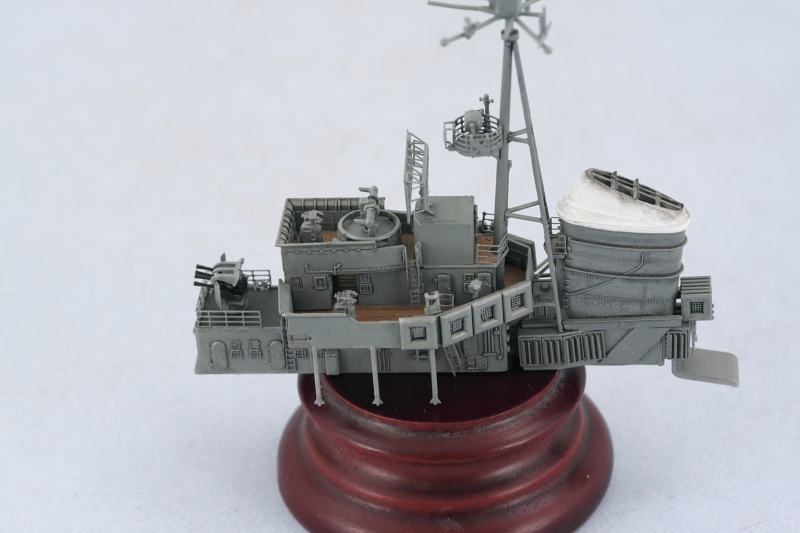 Then the gun deck with the two turrets installed in place. 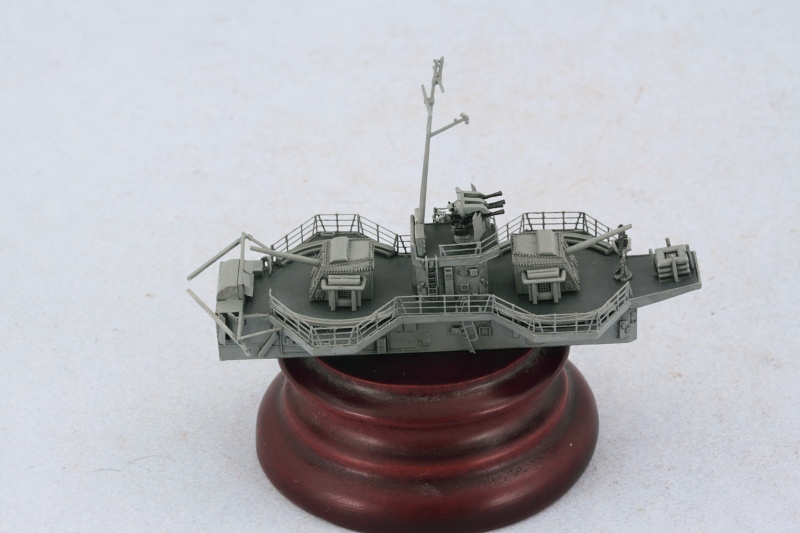 Last but not least the second funnel deck. 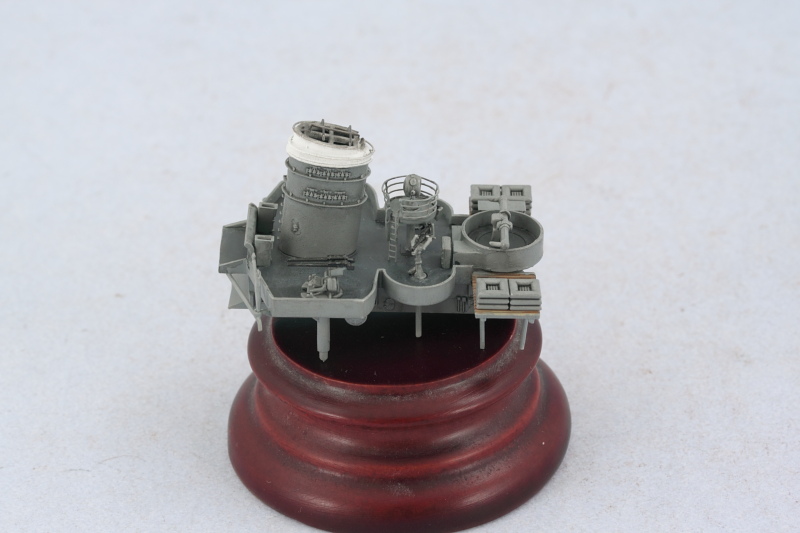 All the modules and the hull were sealed up with a coat of MM Lusterless Flat and the modules were installed in their respective positions. 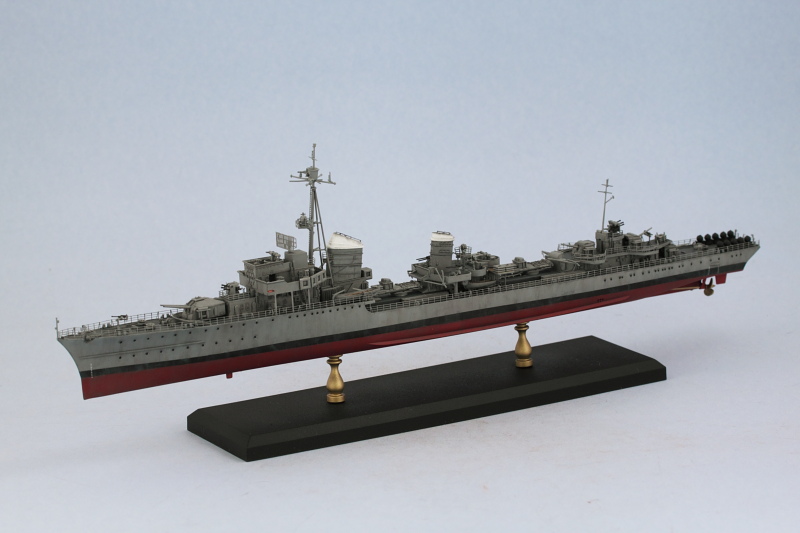 I also added the side navigation lights to the edges of the bridge deck. A base of MM Non-Buffing Metalizer Steel was painted in the recessed light area and then Tamiya Clear Red and Clear Green applied over that for the respective sides. 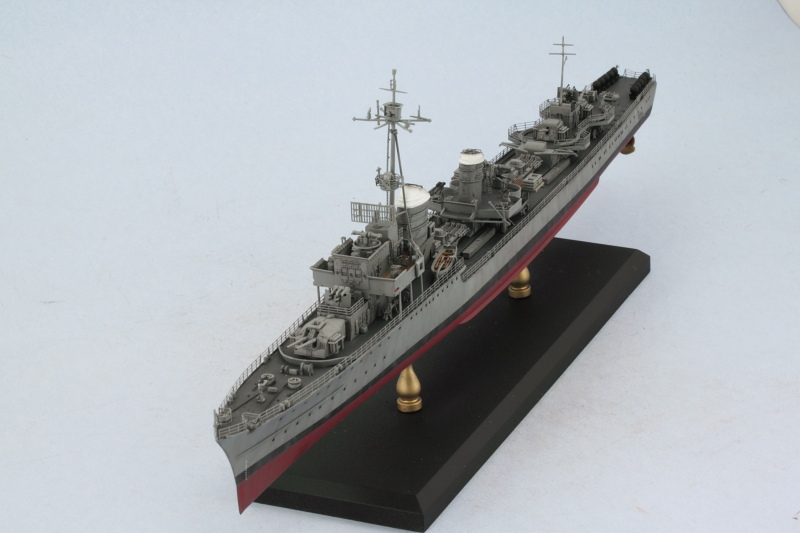 So that's where she sits for now, will take another look after a bit to see if I need to anything more or touch up before declaring this one as finished. |
|
|
|
Post by bbd468 on Sept 22, 2013 18:48:46 GMT -5
WOW!!!  Fantastic Bill, weatherin and washes really brought it to life....BIG TIME! looks awesome buddy!  |
|
ogrejohn
Full Member
   Oct '23 Showcased Model Awarded
Member since: June 2012
Go away or I shall taunt you a second time!
Posts: 1,302
Jun 1, 2012 17:33:59 GMT -5
Jun 1, 2012 17:33:59 GMT -5
|
Post by ogrejohn on Sept 22, 2013 18:50:54 GMT -5
Oh yes! Very sinister looking indeed Bill! Finished? No no no. You've come this far you've got to do at least a simple rig on her  ! If not she still looks great! |
|