heico
Full Member
  
Member since: November 2013
Posts: 246 
|
Post by heico on Nov 8, 2013 6:54:24 GMT -5
Hi all! I came to this forum by Wouter who brought it to my attention. Allready viewed some topics on here and i like what im seeing in general. So i thought i might share my latest project. Just started it yesterday. This is the box. For more info about the kit check this: www.militaryscalemodelling.com/review-135-merkava-mk-3-baz-with-mine-roller-system-meng-ts-005/ And i have this set with it so maybe i'll throw on some different decals too.  I also have the 3D by Meng. I think it will look cool besides each other. For those who don't know the exact difference between the two i have brought some pictures  3Baz    And now a Baz with a Nochri Dalet mineroller.   And now comparing it to the 3D, just look at the side of the turret. It's wider. These are empty add-on parts which take the hits from rpg's. Actually the two Meng kits are allmost alike. The only thing stopping anyone from making a 3D out of the Baz-kit is the underside of the turret which is smaller in the baz-kit ( i will post a picture of that later on ).   And here a 3D with the mineroller.  Im still in doubt of what to do with the mineroller actually.. If i want to place the two Mengs next to eachother perhaps it would like to not put on the mineroller for being such a destraction. Maybe i will change my mind later on... Now, on to the instructions! We start with a short story about the Merkava, i aint gonna read it all up to you, just buy your own  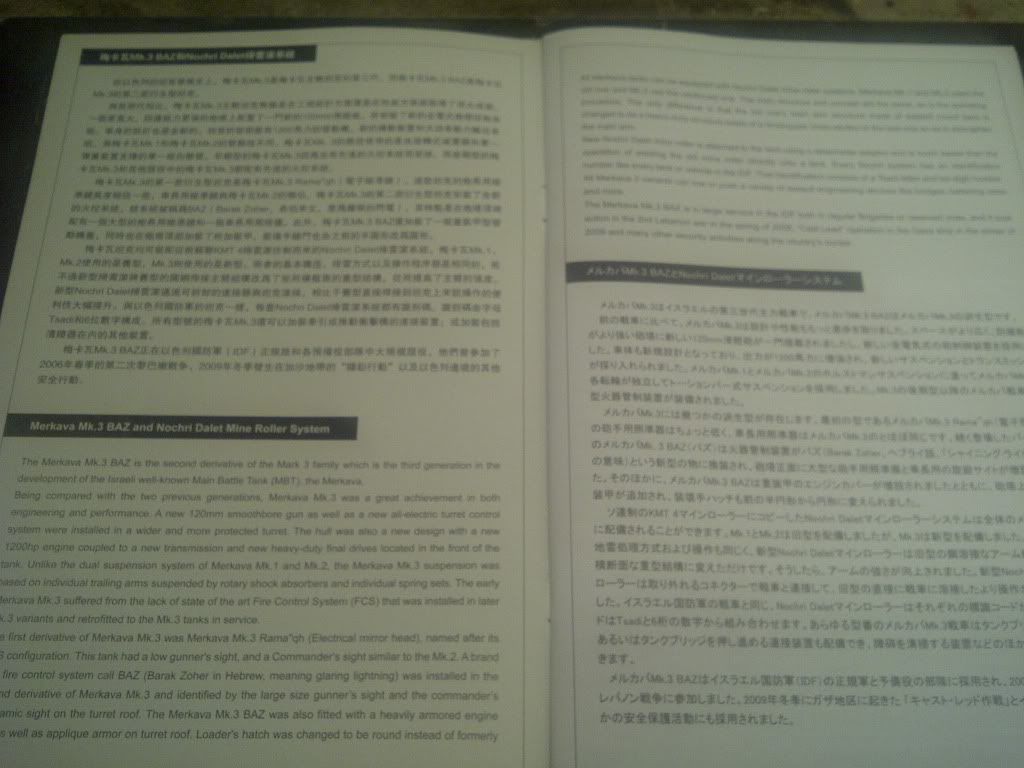 Then we start with the boring stuff, the suspension and road wheels... Well, boring?? There are a lot of options in there for just a few roadwheels. 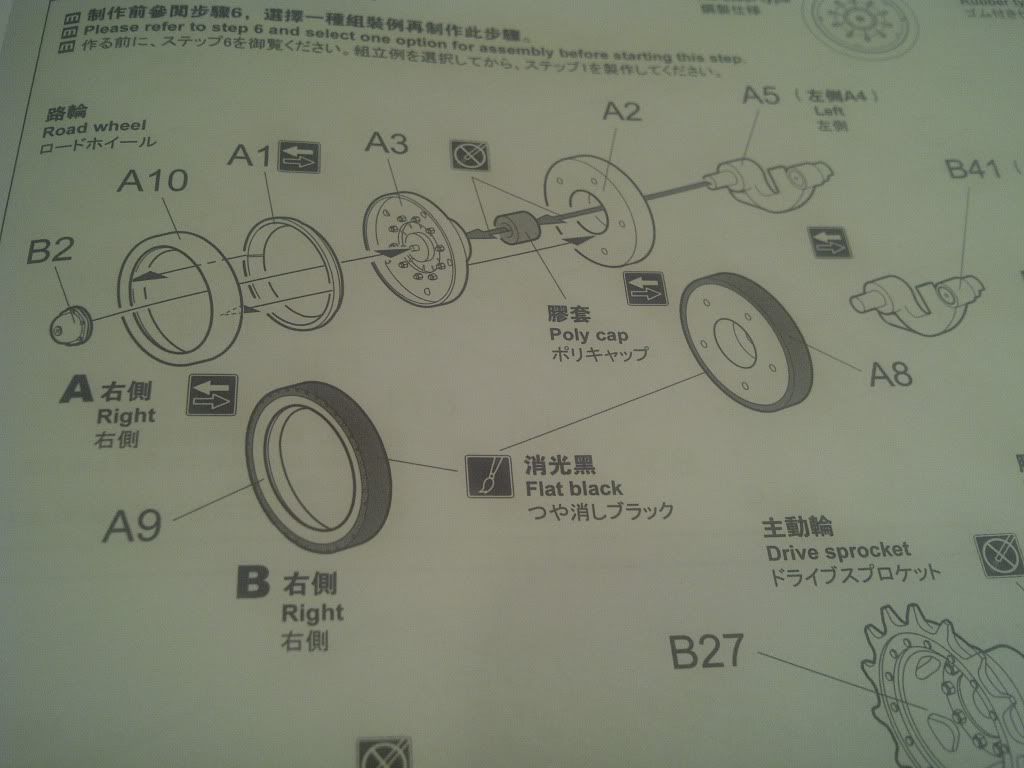 What it comes down to you get to choose between steel roadwheels and rubber tired wheels. Also you can put in a ring of foam in, these are a kind of dirt-covers. The coming pictures gives you an idea how it looks like in real, i've got them from an IDF forum. So all credits go to them.   In plastic it comes down to this. I made one of each here. 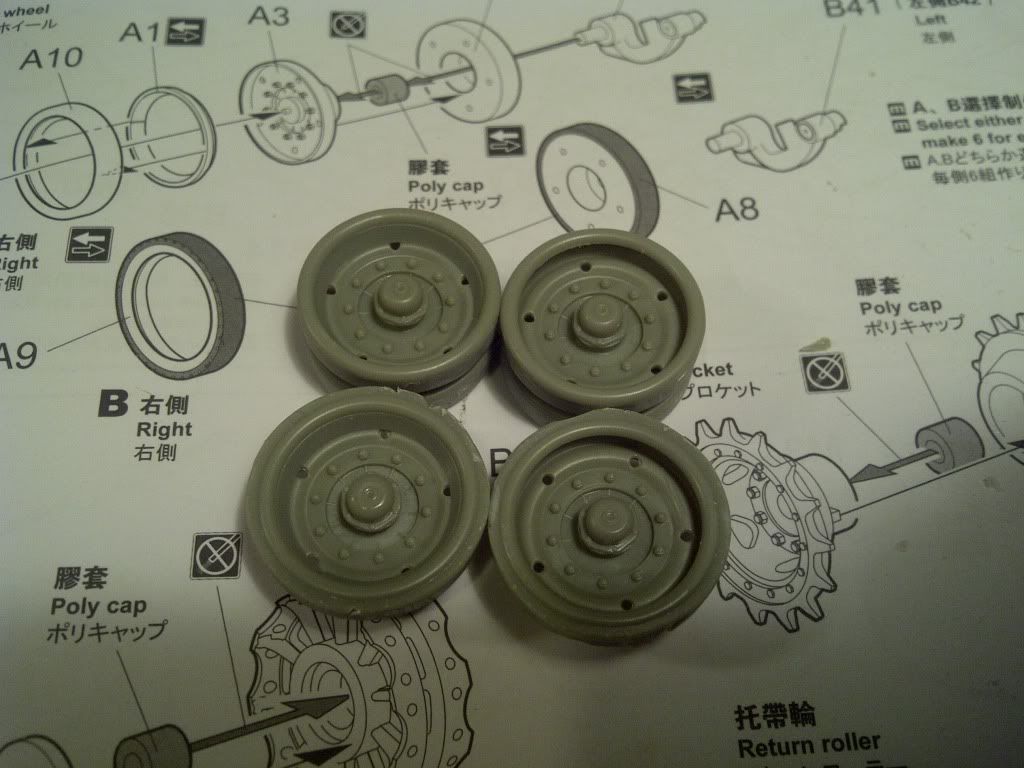 Then there are the idler, which are in one piece and look nice. 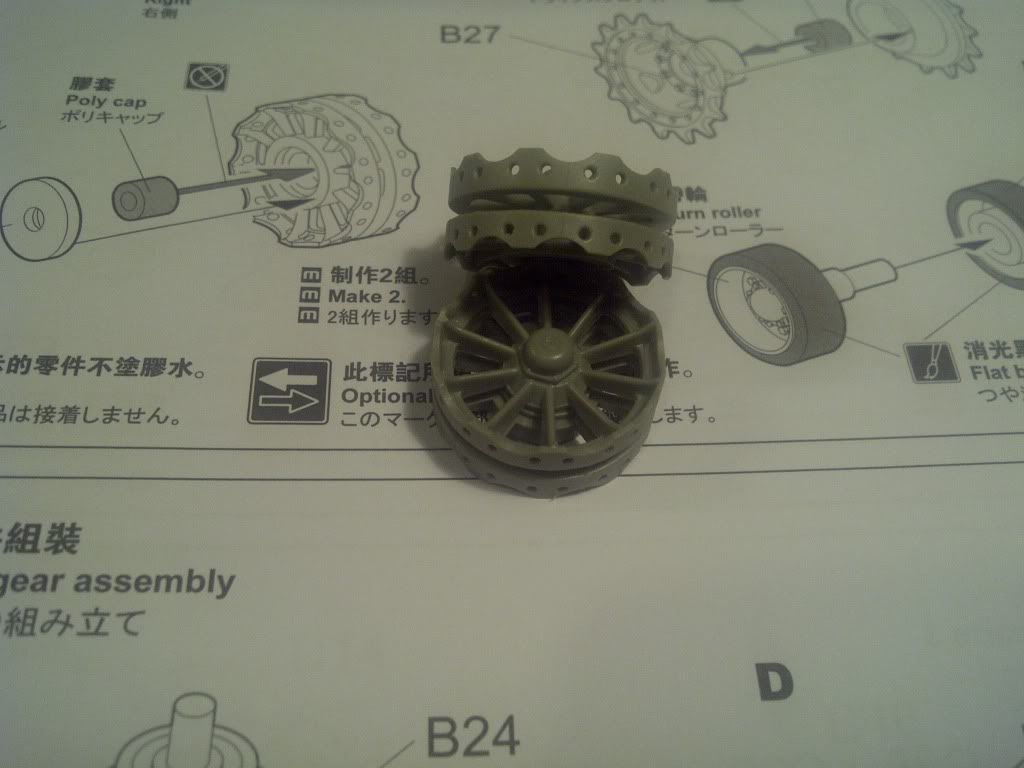 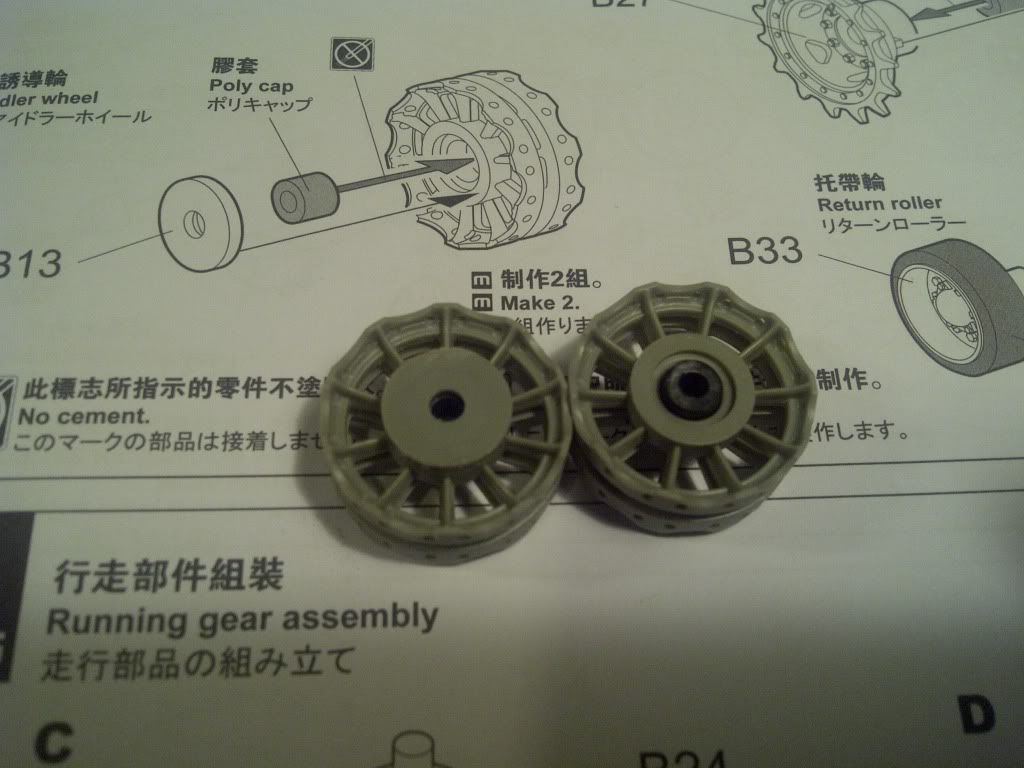 The rest of the wheels. 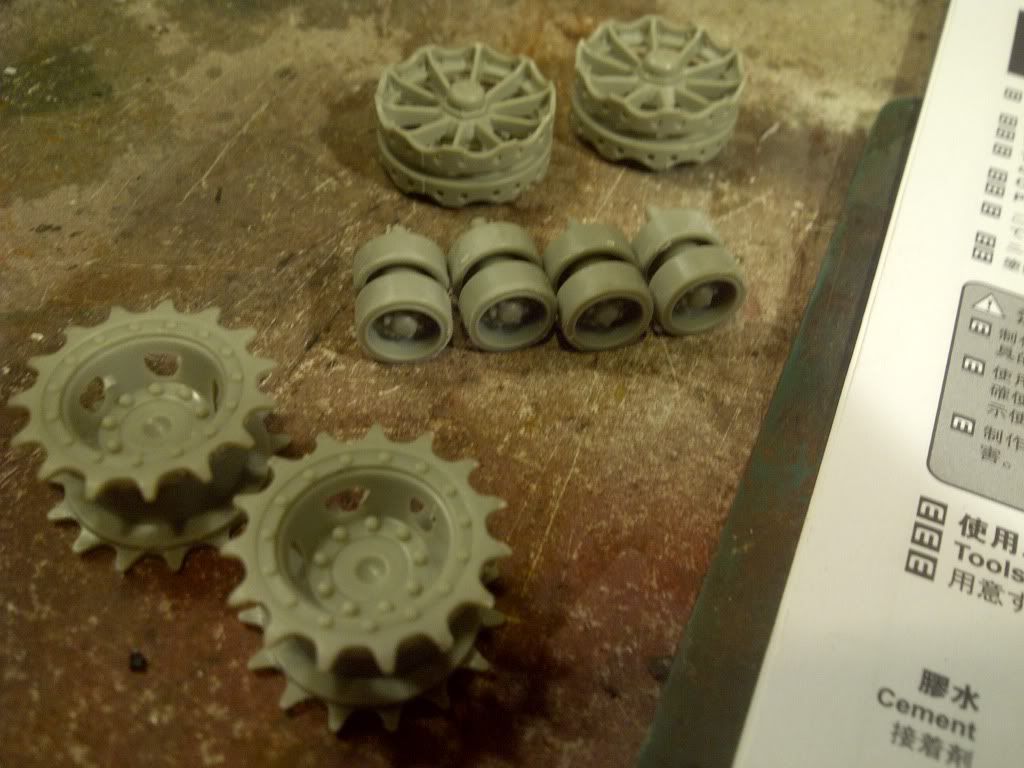 And that was step 1 out of 56. Well allmost, if you looked close to the first step picture you could have seen that Meng wants you to put the suspension arm on the wheel. I choose to do it a bit different. 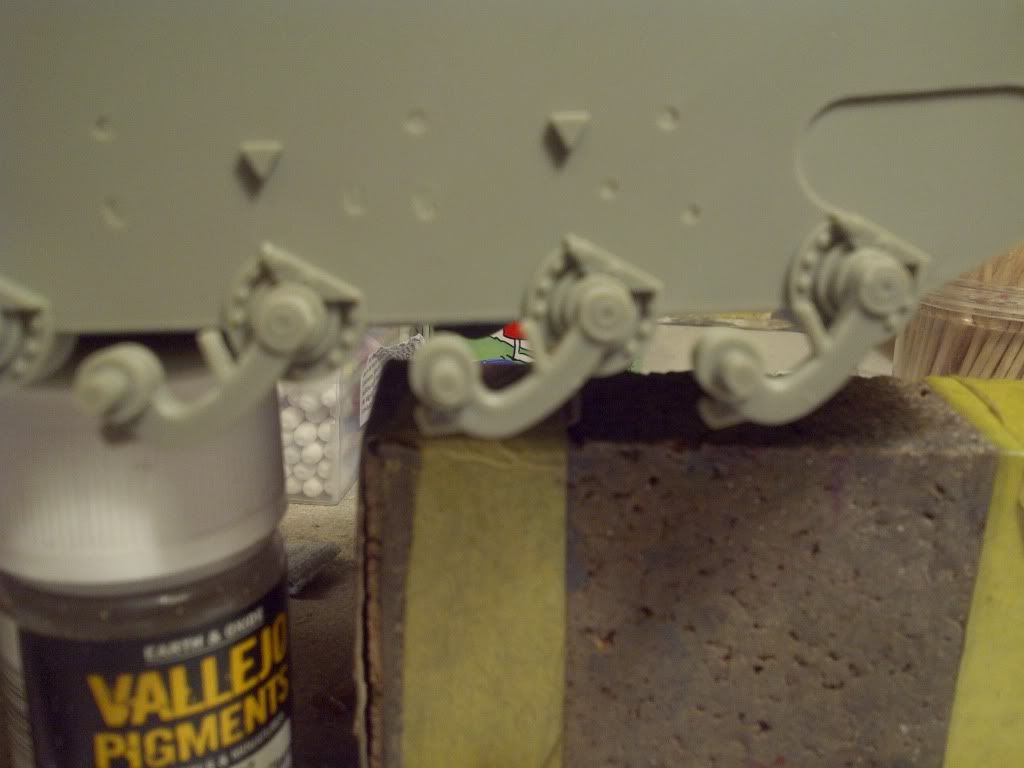 The picture isn't all that good, i know, but if you look closely you can see the middle arm standing a bit higher then the other two. That can't be right you think? Well it is! Remember the roadwheel story i told? Steel and rubber? Well the steel rim of the rubber walled tires are just as big as the all steel wheels. But with the rubber wall around it that wheel is bit 'thicker' then the all-steel, making it press the suspension in a bit deeper on flat terrain. Good thinking by Meng right? In this picture you can slightly see that the steel roadwheel stands a bit lower.  |
|
|
|
Post by wouter on Nov 8, 2013 7:35:23 GMT -5
Nice blogging so far mate. And seems like a great kit. Only dreadful thing about a Merkava is the ball and chain  how's that? Moulded into plastic like in their first release? Cheers |
|
heico
Full Member
  
Member since: November 2013
Posts: 246 
|
Post by heico on Nov 8, 2013 9:45:36 GMT -5
Thanks Wouter. I actually like that on the Merkava's hehehe... But these have plastic ones indeed.
|
|
|
|
Post by rbaer on Nov 8, 2013 10:51:37 GMT -5
I'm gonna follow this one closely, looks like a great kit, and I have it on my very short list of builds. Gotta buy one first, though.
Oh, the dreaded ball and chain....... I swore it off after doing a Mk2 using the Academy kit, but there's just no way around it unless I stick with early Mk1's.
|
|
heico
Full Member
  
Member since: November 2013
Posts: 246 
|
Post by heico on Nov 8, 2013 12:06:35 GMT -5
It is a great kit! I can absolutely recommend it this far. I found the Academy ball and chain very easy actually.. Try the Hobby Boss or the Legend ones. Those will give you some work  But better then the Academy Mk.4 ones. A piece of PE on which you attach 2 halve balls... It's too ugly  |
|
|
|
Post by Mence on Nov 8, 2013 15:59:17 GMT -5
Good choice...watching.
|
|
|
|
Post by Leon on Nov 8, 2013 16:41:49 GMT -5
Count me in Heico.
|
|
Deleted
Member since: January 1970
Posts: 0
Dec 2, 2024 2:40:59 GMT -5
Dec 2, 2024 2:40:59 GMT -5
|
Post by Deleted on Nov 8, 2013 16:42:35 GMT -5
Merkava! need I say more? nice choice old chap watching with interest
|
|
|
|
Post by wbill76 on Nov 8, 2013 21:06:21 GMT -5
Cool project! Will be following this one with interest. Welcome to the forums!
|
|
|
|
Post by deafpanzer on Nov 9, 2013 0:08:56 GMT -5
Helco, welcome aboard!!! I am very sorry that Wouter is one of your friends...  Nah, glad he helped you find your way over here. Always liked the sic-fy look of Merkava!!! |
|
heico
Full Member
  
Member since: November 2013
Posts: 246 
|
Post by heico on Nov 9, 2013 4:51:09 GMT -5
Thanks for the comments guys! Makes one feel welcome  I'm a big IDF fan, so the choice for the Merkava as my first build here isn't a coincidence  Nice one Heico - welcome to the site sir, any friend of Wouts is fine by us  This is a great kit, I have it in the stash, planned for a 2014 build in a dio with the D9 and will be following your build closely for tips...already very informative and great supporting pics  Interesting idea! Here is some more inspiration for you   |
|
|
|
Post by wing_nut on Nov 10, 2013 18:26:27 GMT -5
This shod be a fun one to watch come together. So I think I will.
|
|
|
|
Post by rbaer on Nov 11, 2013 12:30:53 GMT -5
Okay, I ordered the kit from Squadron this past Saturday, getting the itchy finger syndrome.
|
|
heico
Full Member
  
Member since: November 2013
Posts: 246 
|
Post by heico on Nov 12, 2013 16:38:06 GMT -5
Not a very exciting update with a lot of pictures this time. Mostly working on the lower part of the hull/suspension. Step two is about idler and sprocket. 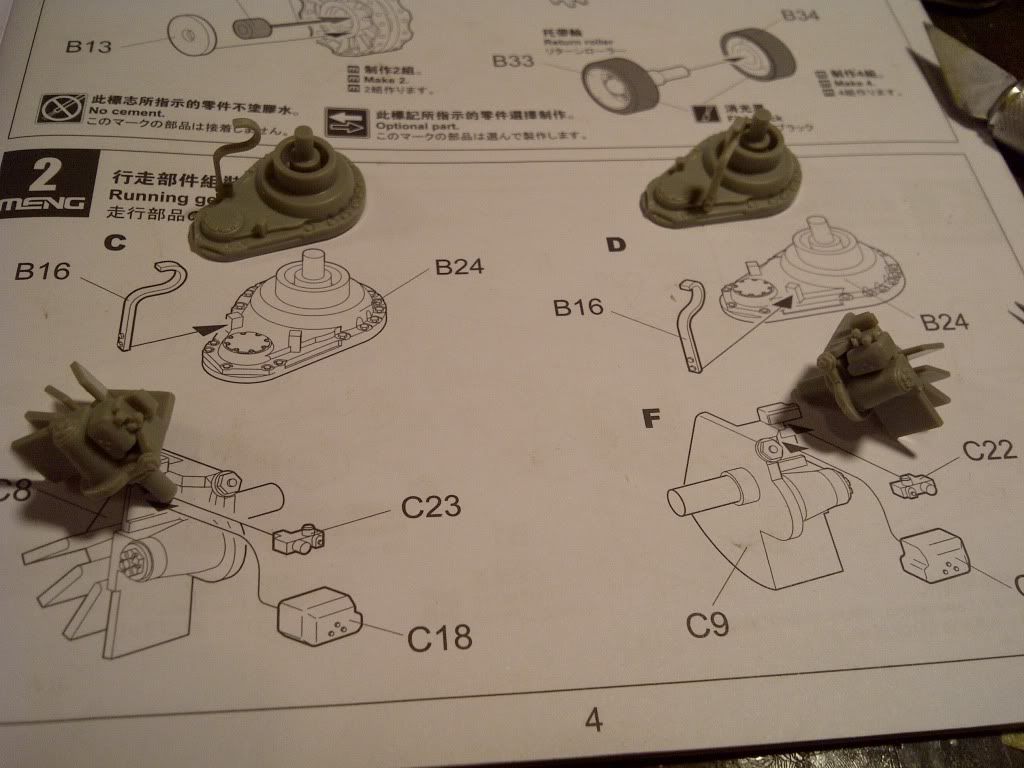 Step three puts these parts on the hull and some other small parts. 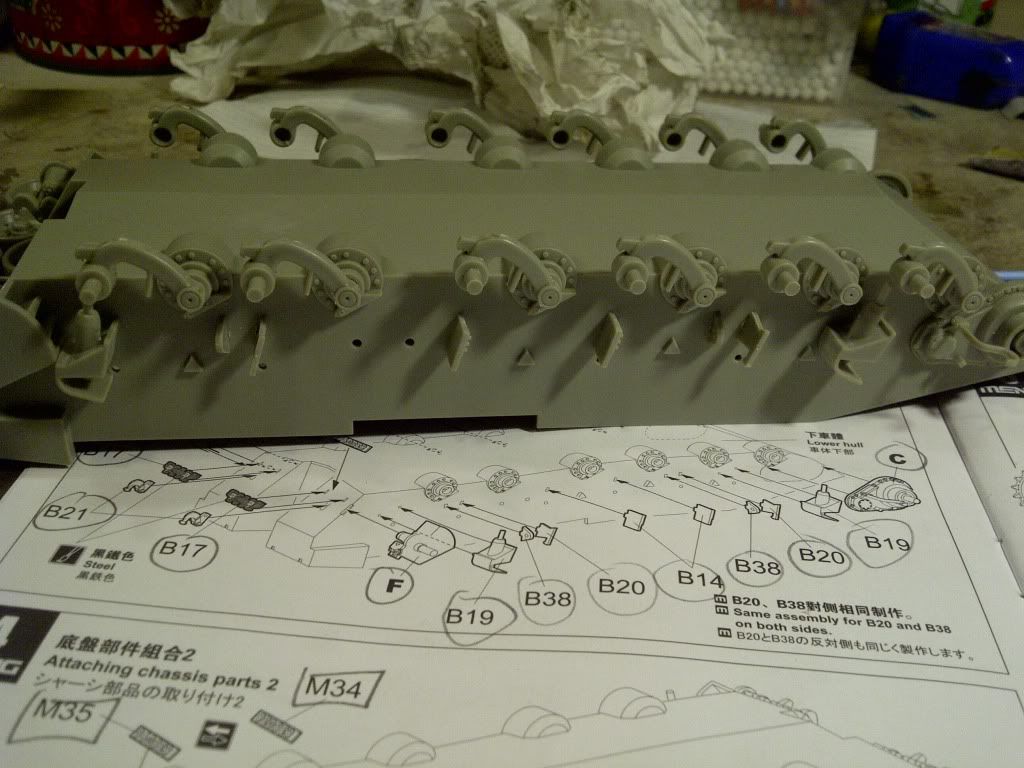 And the last step i did tonight was step four. Here you put the triangle shaped parts to the side on which you later on put the return rollers. Total buildtime is now set on 5 hours. This is a lot of cleaning up of the mould lines. Big plus is there are no sinkmarks visible! |
|
|
|
Post by rbaer on Nov 13, 2013 10:52:21 GMT -5
Well, my kit came yesterday, and my fingers are twitching! I'm going to hold off long enough to get my current Magach into the weathering stages before I get going, for a couple of reasons. First, I'm going to follow this blog closely, and second, I have an Academy Merk3 and Legends 3C conversion that I may want to do concurrently. This Meng kit has so many extras, some of them may very well be enhancements for the Acad kit, and maybe enable me to not use some of the Legends resin. I also want to see if I can copy some of the Meng details in plastic for the Acad kit.
Watching closely, heico.
|
|
heico
Full Member
  
Member since: November 2013
Posts: 246 
|
Post by heico on Nov 13, 2013 12:02:25 GMT -5
That would be a cool idea! Building them both next to each other. That way you can see the differences!
I have heard that the Legend resin kits are full of flaws... Not that i care much, if it looks like a Merk it is a Merk, but i can give a good view of the 2 kits.
|
|
|
|
Post by wbill76 on Nov 13, 2013 21:19:24 GMT -5
May not be all that fascinating but it's still an essential step to complete Heico! Keep up the good work.  |
|
heico
Full Member
  
Member since: November 2013
Posts: 246 
|
Post by heico on Nov 14, 2013 12:52:06 GMT -5
Thanks Wbill! Today i finished the suspension/part. I was fearing the springs, well at least the cleaning of all the mould lines. In the end it did take some time but not as much as i feared. It´s hard to see on the picture, but the left spring is cleaned. Maybe you won´t see it anything of it, but what if you would join in on a competition? They will judge those things extra hard. 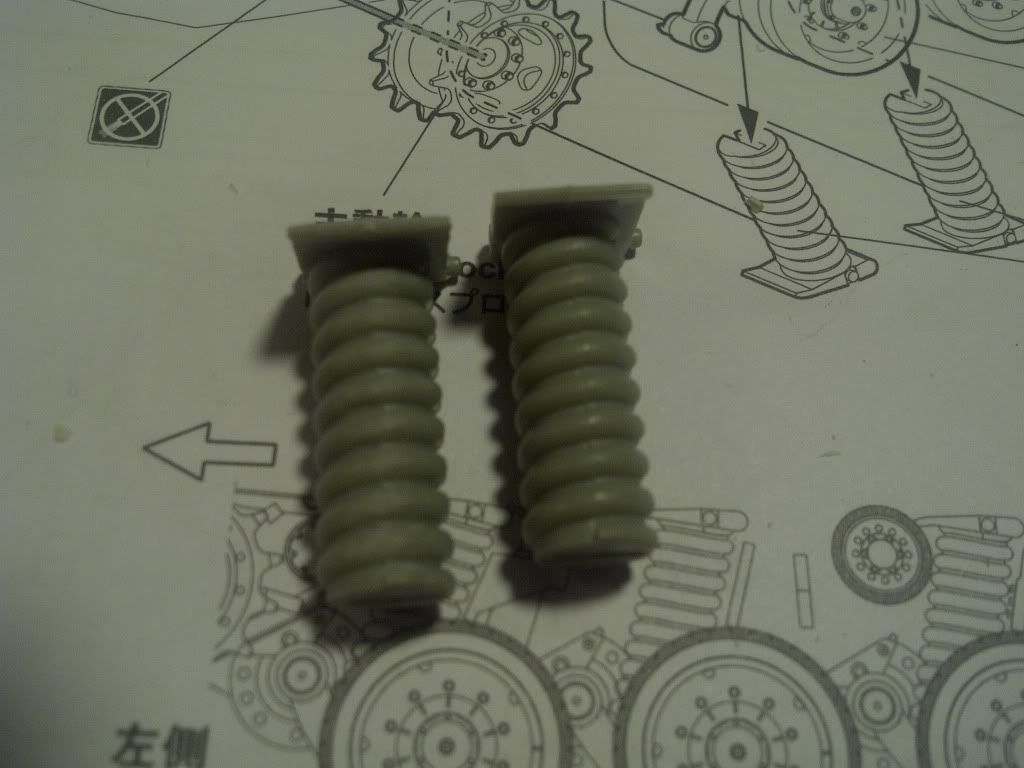 Then they were glued to the side, Meng did this nicely. The fitting onto the suspension arm was good. 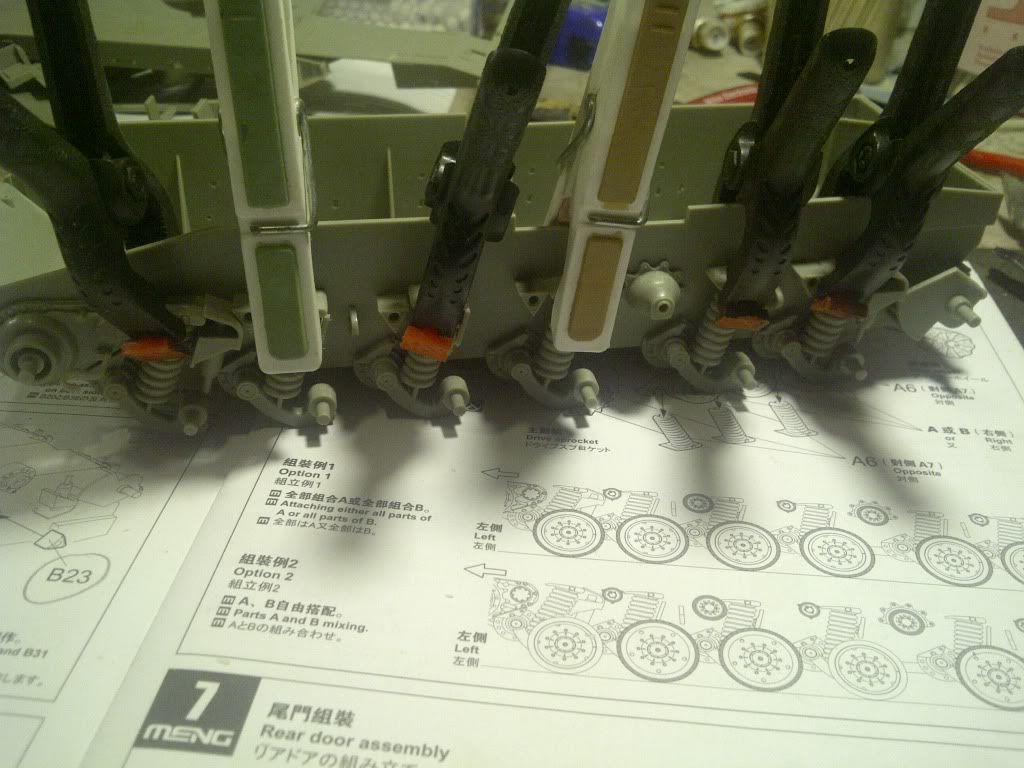 The back door. 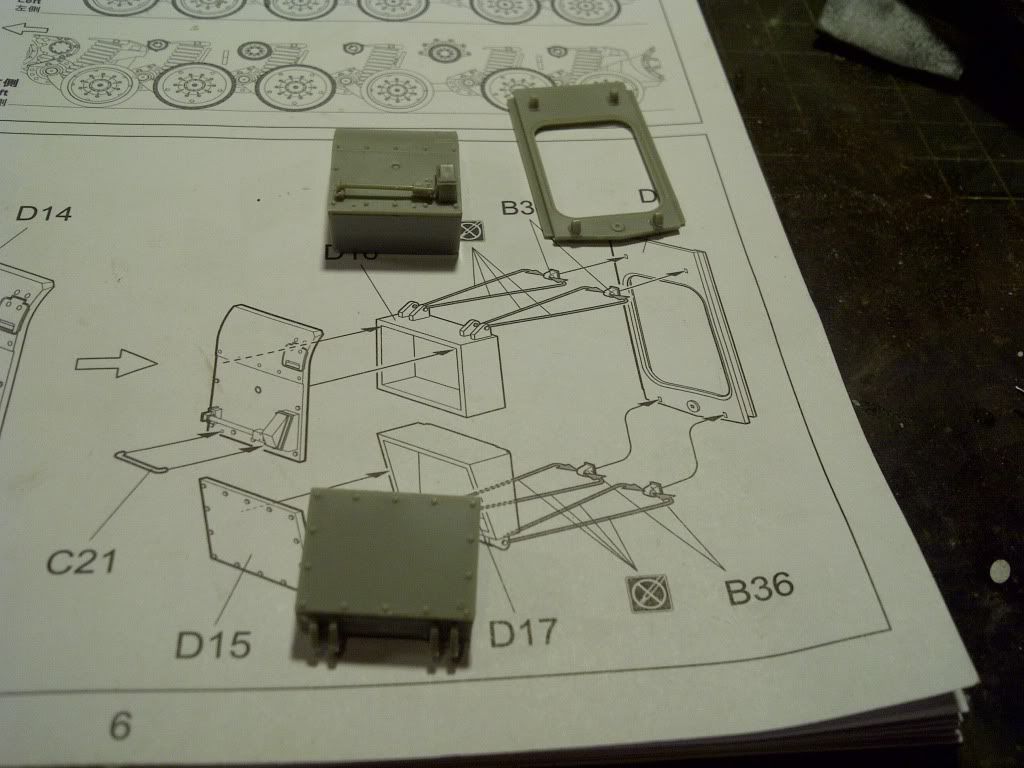 Back door in. One basket done, and the rear plates on. 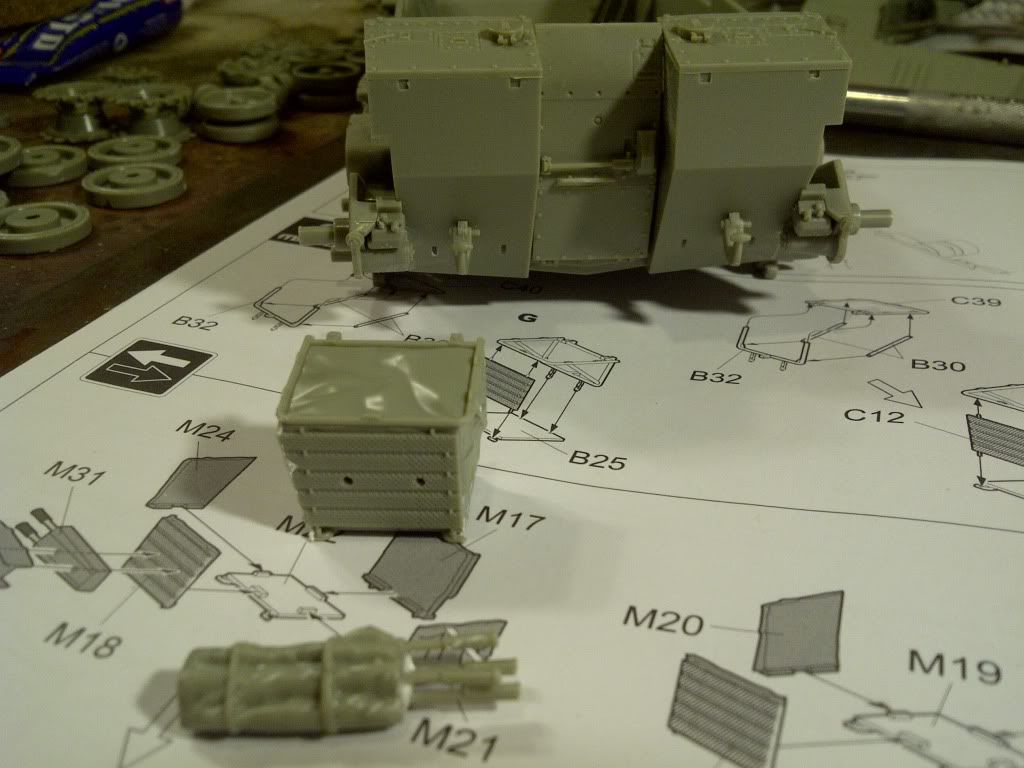 The baskets will go on after painting, that way i can paint the sail ( is that the correct English word? ) easier. |
|
|
|
Post by deafpanzer on Nov 14, 2013 22:37:55 GMT -5
Great details I am seeing... now I am tempted to get one of those.
|
|
heico
Full Member
  
Member since: November 2013
Posts: 246 
|
Post by heico on Nov 15, 2013 3:55:57 GMT -5
Thanks guys! DickyF: Thanks, i couldn't find the right word i was looking for. Now i know  Canvas covers. Deafpanzer: don't be tempted, just do it  It's a nice kit. Also i bought some embossing powder yesterday. I tried to make an antislipcoating before with chinchillasand, didn't look all that bad, but now i want to see if the embossing powder really is better. I sure looks like the powder has a smaller grain, if you know what i mean. |
|
|
|
Post by bullardino on Nov 15, 2013 7:25:24 GMT -5
Sorry for being late, can I join this fantastic blog?
|
|
heico
Full Member
  
Member since: November 2013
Posts: 246 
|
Post by heico on Nov 15, 2013 7:28:14 GMT -5
No worries, sure you can   |
|
|
|
Post by wouter on Nov 15, 2013 8:42:39 GMT -5
Nice to see some progress Heico  Cheers |
|
|
|
Post by rbaer on Nov 15, 2013 16:24:01 GMT -5
Looking good, heico. I saw a build of this kit a little while ago and the builder filled and shaped the voids on the back of each spring. Can you see any of this area once the spring unit is attached to the hull?
I've also read that the tracks are too long to fit snugly, but they look like they're easy enough to shorten by a couple of links. Other than that, they are very nicely molded.
Andy, I bought one from Squadron, even with the sales tax an shipping ($10 to get it all of 4 miles) I still came out good. It's on sale all month. I looked at the sprues a couple of nights ago, there's a lot of really nice stuff in there. That's why I'm going to do my Acad kit concurrently.
|
|
heico
Full Member
  
Member since: November 2013
Posts: 246 
|
Post by heico on Nov 16, 2013 5:16:36 GMT -5
Thanks guys! Wouter, it's just small babysteps im taking but were getting there  Rbear, you just gave me an 'oow s***' moment yesterday haha.. I actually didn't even check that untill you mentioned it. But only if you look straight from below you can see the sides being open. Maybe i will close up just the lower part.. This is where the spring is attached to the suspension-arm. This is the only piece that could be open to the eye and then even mimimal! Why wait DickyF, just crack that box!  Did some small work on the Merkava yesterday. The exhaust was up next. It's hard to see on the picture but there were some ejector marks on the inner sides. These stuck out about 2mm, enough to be seen! So we scratched it away with a sharp knife. On the picture you can see on the third open part from the right one of the little buggers. The first from the right was allready done. ( Poor picture, i know :$ ) 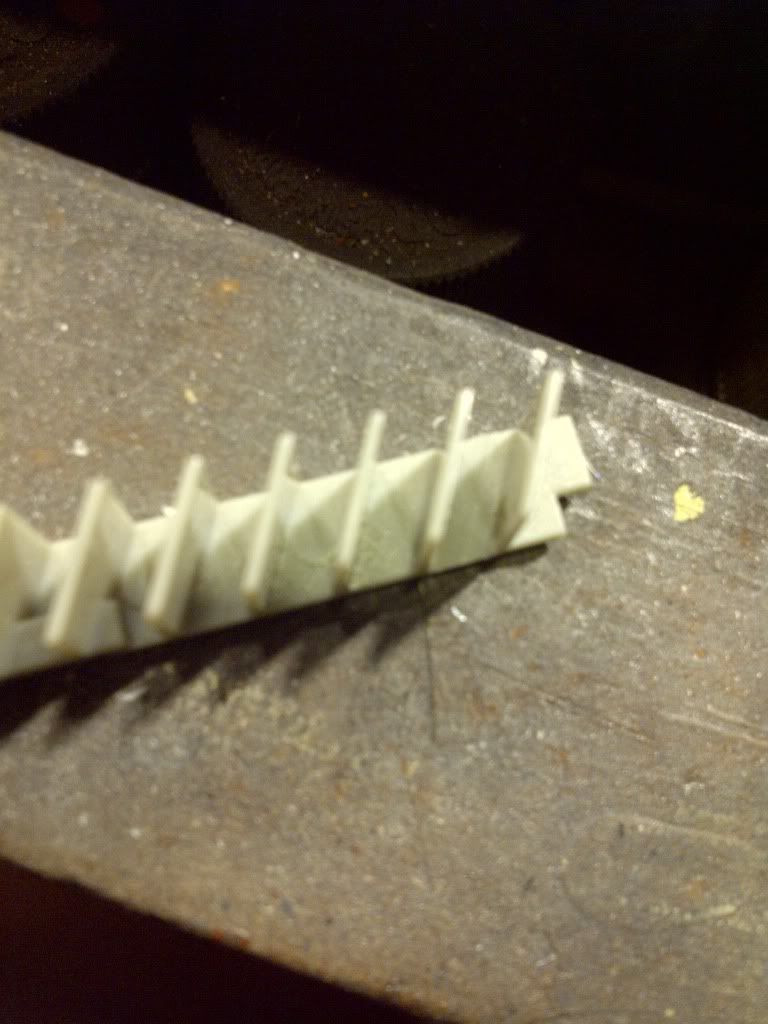 And then it was superglued in place into the upper hull. This part was a bit damage during shipping so i had to bend it a bit to get in place. 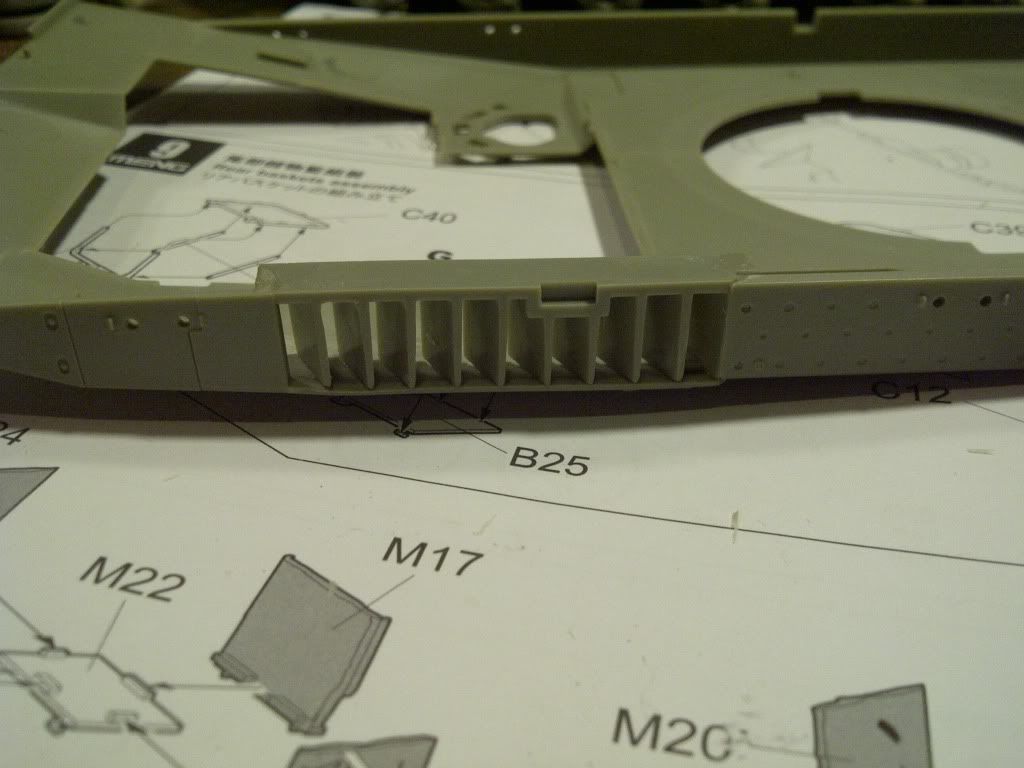 And then Meng says, get rid of this piece... 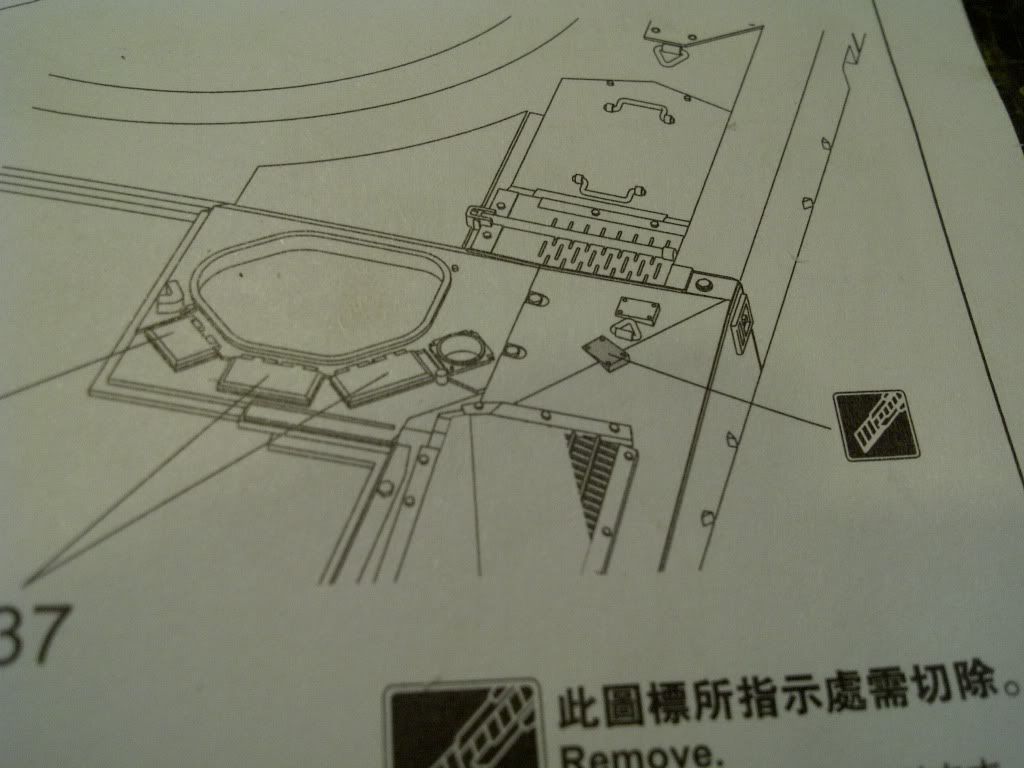 I had some doubts on that, because didn't i see that someway different? And why did they even put it there in the first place? After some research i came to the conclusion both Meng and I were right. It turns out this piece was put on for the 3D kit. Looking closely to the next picture you can see that there is nothing in front of the grip/triangle/handle.  And then looking at this picture you can see there is a part in front of the grip/triangle/handle. ( probably need your help on the spelling again  )  |
|
|
|
Post by wbill76 on Nov 16, 2013 21:34:41 GMT -5
Rolling right along with this one Heico, keep at it!
|
|
heico
Full Member
  
Member since: November 2013
Posts: 246 
|
Post by heico on Nov 18, 2013 10:22:42 GMT -5
Again some small progress... The small part has been removed. 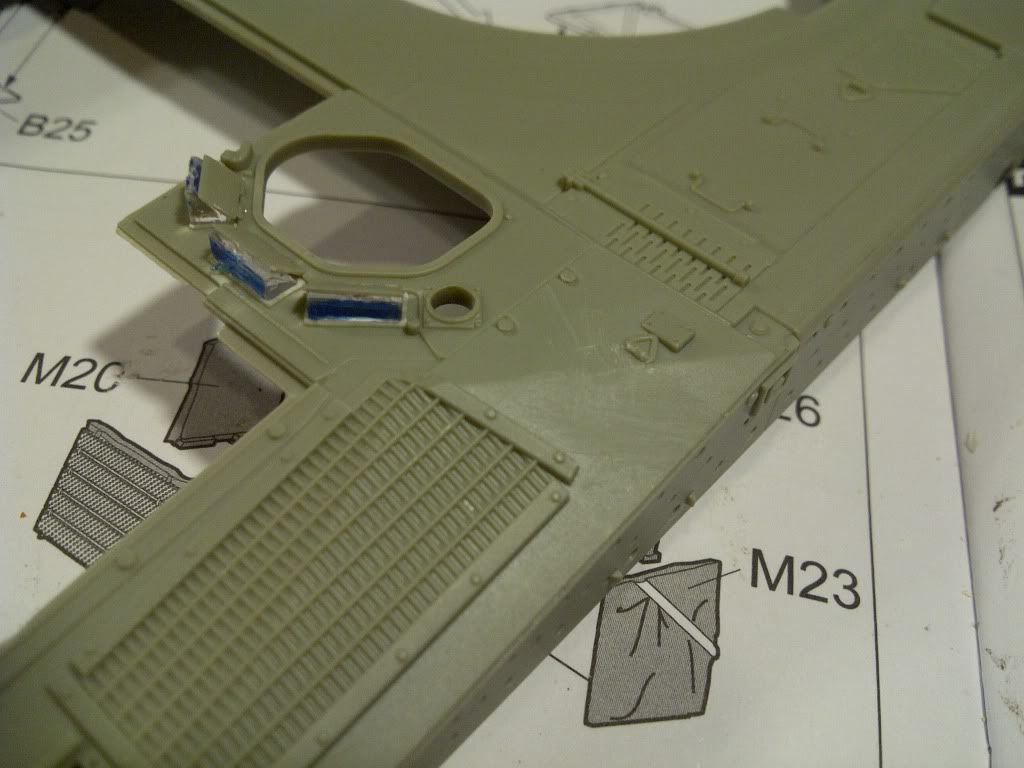 And i've added some parts to the engine-deck. 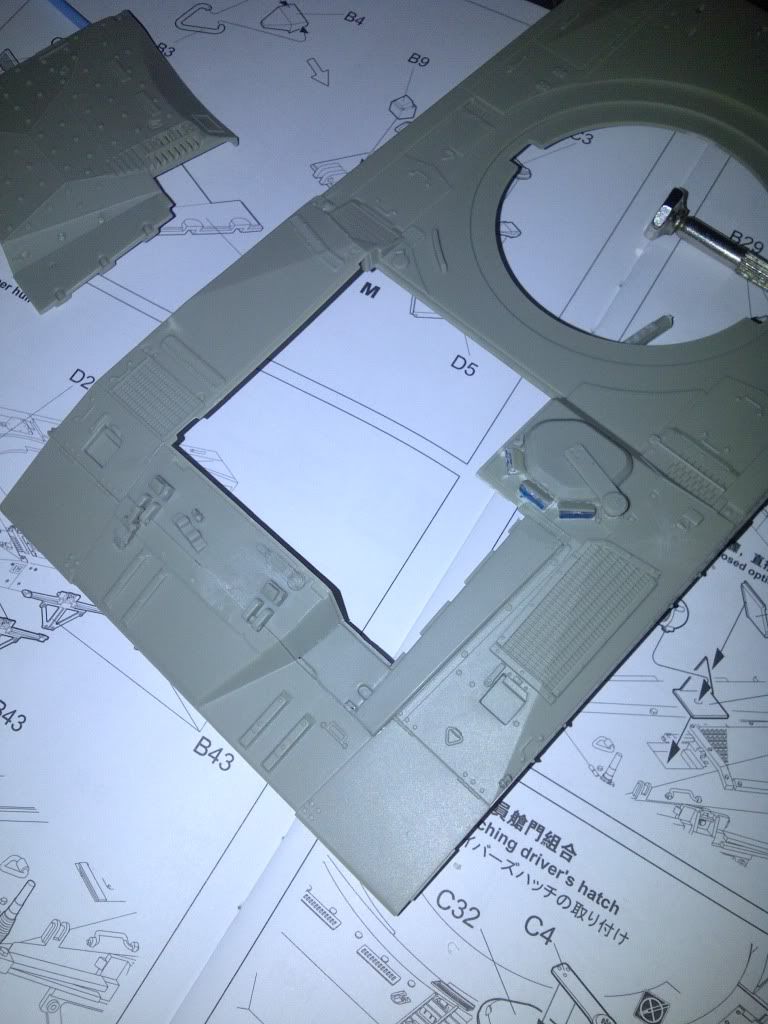 Now i've got to go look for some refference of the drivers hatch. I have the idea that it's sticking out too high. |
|
|
|
Post by bullardino on Nov 18, 2013 10:32:56 GMT -5
Wow, this is going to be a long labour of love  |
|
|
|
Post by wouter on Nov 18, 2013 10:36:49 GMT -5
totally agree with Luigi, nice work so far!
Cheers
|
|
Deleted
Member since: January 1970
Posts: 0
Dec 2, 2024 2:40:59 GMT -5
Dec 2, 2024 2:40:59 GMT -5
|
Post by Deleted on Nov 18, 2013 13:29:20 GMT -5
great stuff like it lots
|
|


 But better then the Academy Mk.4 ones. A piece of PE on which you attach 2 halve balls... It's too ugly


 Nah, glad he helped you find your way over here.


 )
)

