|
|
Post by rbaer on Dec 31, 2013 17:39:31 GMT -5
|
|
|
|
Post by wbill76 on Jan 2, 2014 21:17:50 GMT -5
Nice progress on the anti-slip Heico, ought to look the part under paint just right.
|
|
heico
Full Member
  
Member since: November 2013
Posts: 246 
|
Post by heico on Jan 3, 2014 8:06:42 GMT -5
Wbill, thanks. My thoughts exactly. Im guessing that this will look sweet when finished.
|
|
|
|
Post by bullardino on Jan 6, 2014 5:16:25 GMT -5
I've seen that at my local arts store, think I'm going to get one  Heico, great progress so far  |
|
heico
Full Member
  
Member since: November 2013
Posts: 246 
|
Post by heico on Jan 20, 2014 13:01:36 GMT -5
I went on to the masking of the hull today. 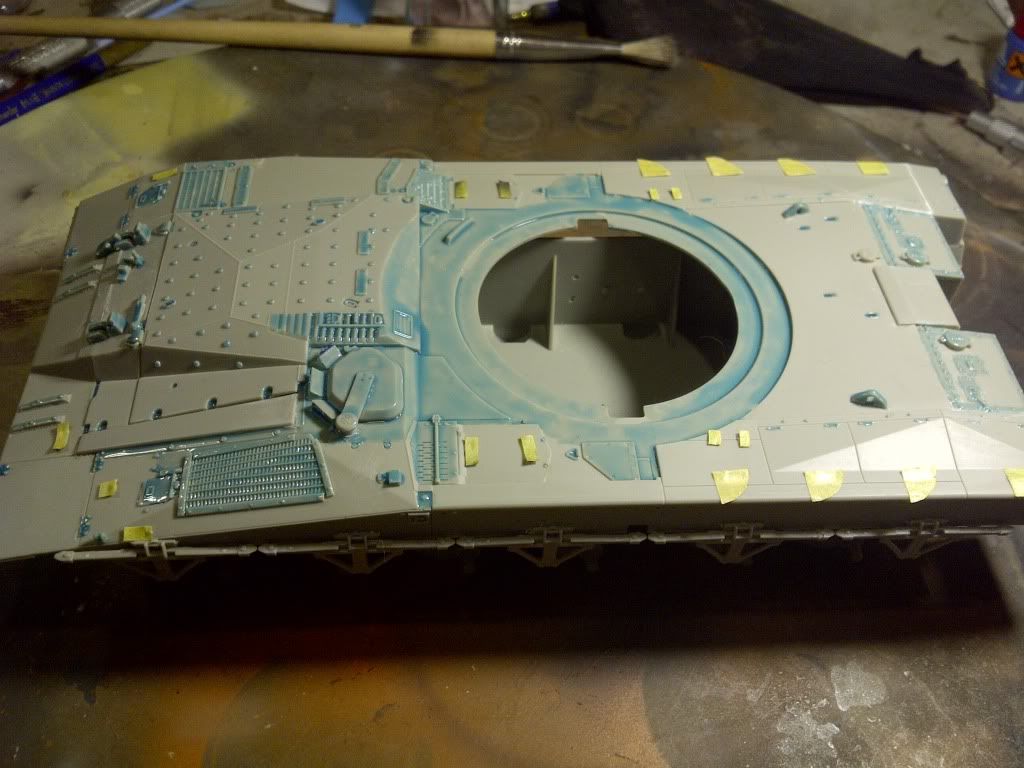 And then I did the anti slip coating layer on the turret. 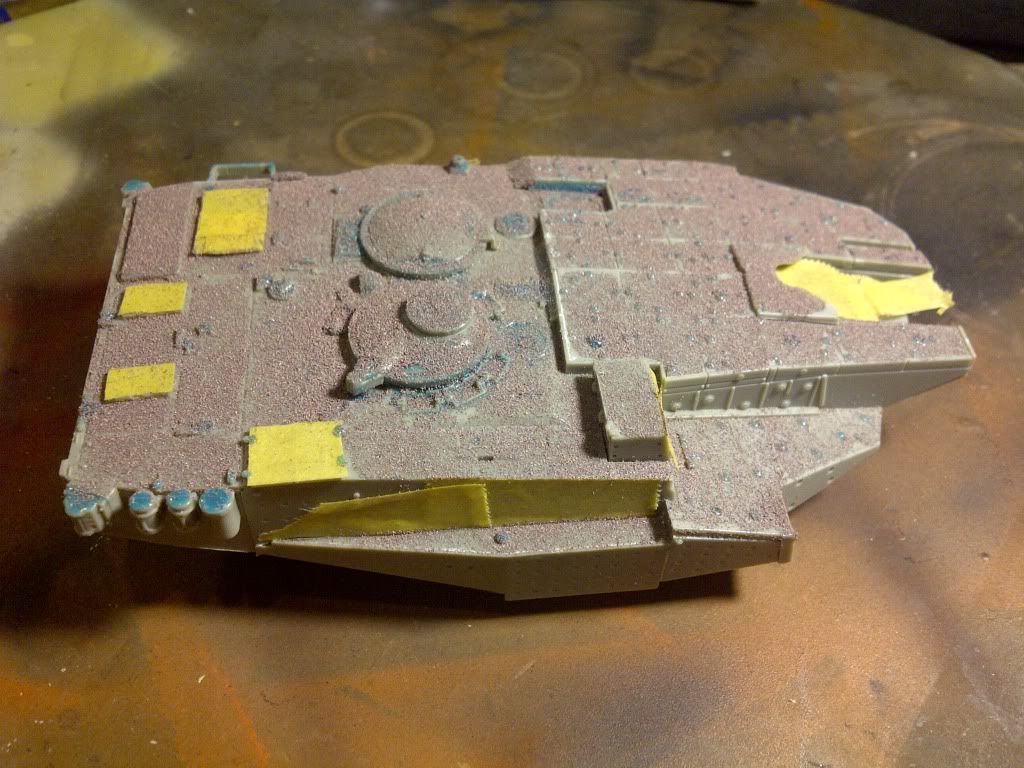 |
|
|
|
Post by bullardino on Jan 20, 2014 13:07:46 GMT -5
The antiskid looks nice, coarse the right way  |
|
|
|
Post by deafpanzer on Jan 20, 2014 13:08:17 GMT -5
Looking good... can't wait to see the result.
|
|
heico
Full Member
  
Member since: November 2013
Posts: 246 
|
Post by heico on Jan 20, 2014 13:19:29 GMT -5
Thanks guys, first i will do the hull followed by a layer of paint to 'seal' the embossing powder.
|
|
heico
Full Member
  
Member since: November 2013
Posts: 246 
|
Post by heico on Jan 20, 2014 15:23:30 GMT -5
Thanks Dicky, i think this is the best option for IDF anti-skid. Maybe i will try the chinchilla once again on some other model, but i'll probably will come back to this because it looks much better. For now im just curious how many vehicles i can do with one bottle of embossing.
|
|
|
|
Post by rbaer on Jan 20, 2014 16:11:04 GMT -5
Oh gawd, another IDF kit to add to the wish-list. Got a link?
Heico, I like the anti-slip, looks good.
Dicky, you're right, seems like whatever the IDF uses, it comes off in big patches. It also looks like if one were to fall and "slip" on it, it would remove skin.
I actually have the Liquitex applied on the inside of the rear door of my fitter rig (saw some in a pic, so it's really there on at least some of them) and it's looking right. I should put a wash on it and get a pic. The medium itself is clear, very difficult to see it when it's applied. I'll be mixing a little paint in the next batch. Application is a little unusual too, I'll go into detail on my build thread.
|
|
heico
Full Member
  
Member since: November 2013
Posts: 246 
|
Post by heico on Jan 20, 2014 16:33:03 GMT -5
Interested to see Academy have announced a 'new' version of the Merkava 2D for 2014 release too  Nooo!! you are sh!ttin me?! Bought the Legend conversion set a while ago...  Probably going to be a bashup of old Academy Mk.2 parts with some new plastic coming from the Legend resin plans then. Just like they did with the Magach 6B Gal Batash. I was hoping (and still am) that Meng will do one. |
|
heico
Full Member
  
Member since: November 2013
Posts: 246 
|
Post by heico on Jan 21, 2014 2:27:18 GMT -5
It will be a lot cheaper than the Legend set, gotta tell you that...  I mostly don't care about small 'mistakes' in a kit. Every kit has it's flaws, and i personally would drive myself nuts if i tried to fix every mistake. But i do want the 2D in plastic too. Visually the most attractive Merkava to me. But where did you read this? Im curious now  |
|
heico
Full Member
  
Member since: November 2013
Posts: 246 
|
Post by heico on Jan 21, 2014 4:02:39 GMT -5
|
|
|
|
Post by wouter on Jan 21, 2014 5:07:44 GMT -5
nice work Heico, must have had a monks patience to do all that masking ey! Texture looks cool. And glad to see progress here  Cheers |
|
heico
Full Member
  
Member since: November 2013
Posts: 246 
|
Post by heico on Jan 21, 2014 12:52:38 GMT -5
Thanks Wouter! Motivation was high so i did the hull too today. After that i sealed it with brown and peeled of the masking. This was actually the badest part of it all. This picture gives an idea of the parts that got masked allthough i did peel of some masking before painting. This didn't go well at all places, some of these were repaired and some others were left that way as to simulate the wear and tear (did i spell that right?) like it would for real. 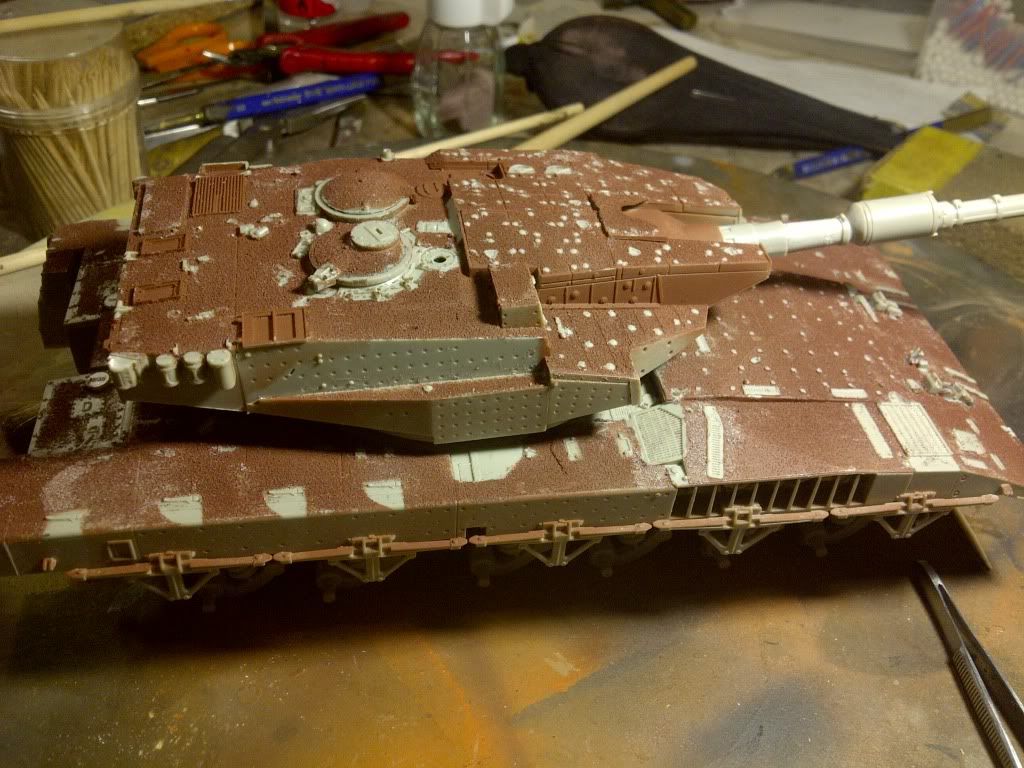 The next steps will be the adding of the small pieces i left of for the antiskid and i still need to figure out for myself if i will put the roller in front of it or not! |
|
|
|
Post by bullardino on Jan 21, 2014 13:26:25 GMT -5
I like the antiskid appearance, Heico. The merk looks great, and with some paint on it'll be even better  |
|
heico
Full Member
  
Member since: November 2013
Posts: 246 
|
Post by heico on Jan 21, 2014 17:13:29 GMT -5
Thanks Bullardino, im getting there  With a little bit of luck maybe even this weekend when the wife is away  No stopping me now, i went on this evening. I had a small 'WHY' moment looking at this part for the smoke dischager (attachment). Such a ejector mark, why not on the other side and nobody would notice it ever again. No biggy though... 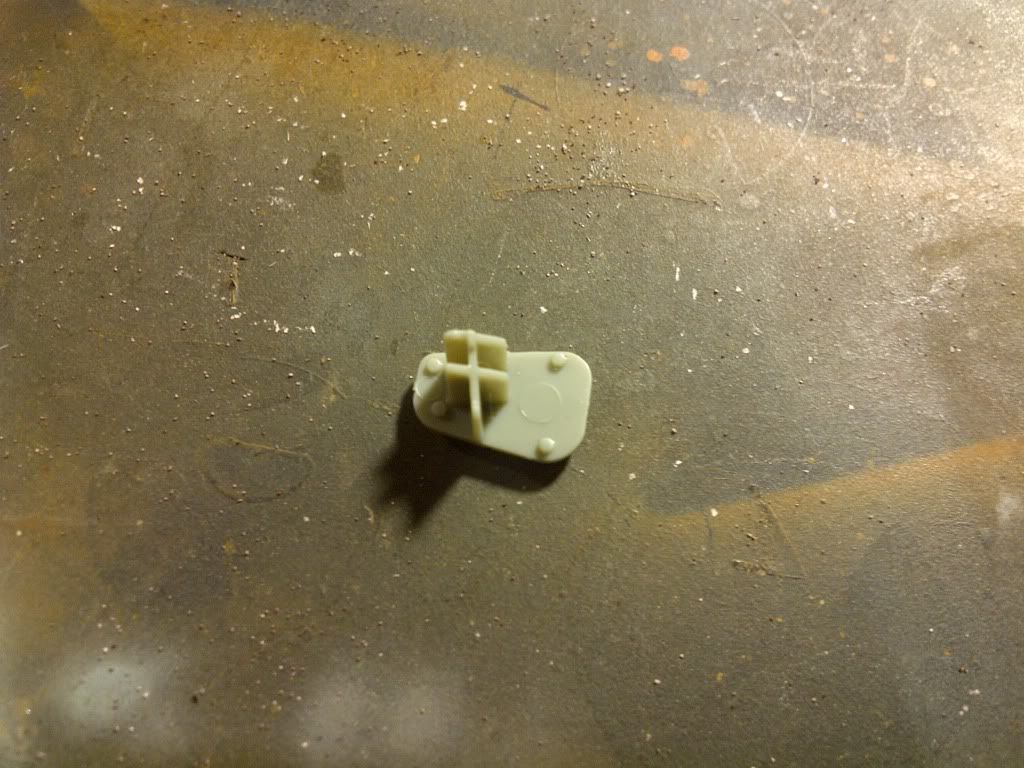 The left smoke discharger ready to be placed. 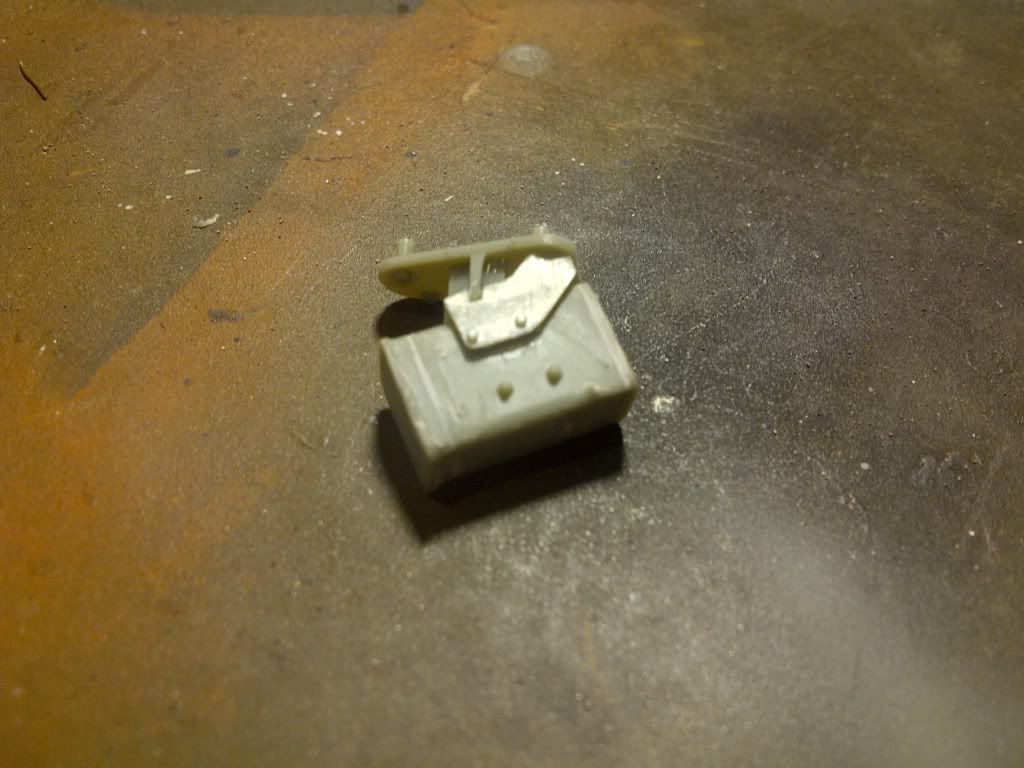 And an overview (again) now with some smaller parts added, also the basket is now attached. I had to glue in 2 pieces of sprue because the construction was pinching too much and otherwise it wouldn't fit. Forgot to take a photo of this but now it's attached. The ball and chain is now on and you can see the coaxial mount lying on top. 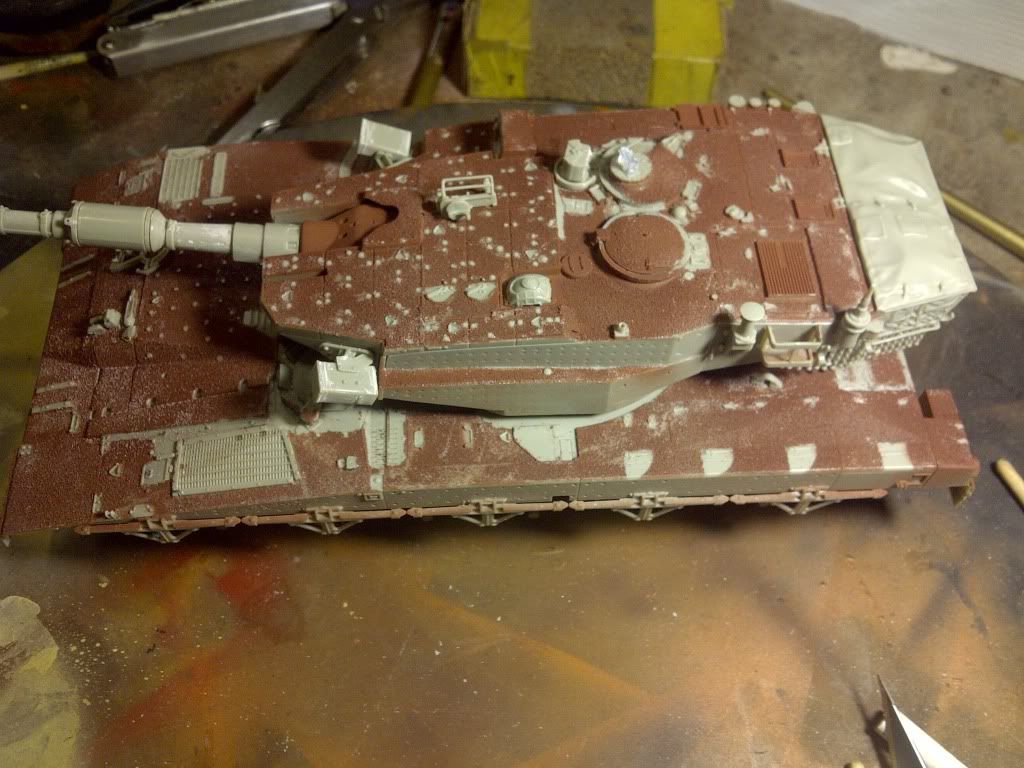 |
|
|
|
Post by wbill76 on Jan 21, 2014 18:43:08 GMT -5
Nice work on the anti-skid and details!
|
|
|
|
Post by wouter on Jan 22, 2014 2:55:48 GMT -5
Nice work again indeed. I can feel your pain on the ejector pin mark, I have had that moment a couple of times with the Stryker... wear and tear was spelled correct btw  Keep it going, looks bad ass! Cheers |
|
Deleted
Member since: January 1970
Posts: 0
Dec 2, 2024 3:00:50 GMT -5
Dec 2, 2024 3:00:50 GMT -5
|
Post by Deleted on Jan 22, 2014 14:00:49 GMT -5
looks great like that anti slip
|
|
heico
Full Member
  
Member since: November 2013
Posts: 246 
|
Post by heico on Jan 22, 2014 14:13:23 GMT -5
Thanks guys! Im fairly positive myself too! And that doesn't happen all that often  |
|
heico
Full Member
  
Member since: November 2013
Posts: 246 
|
Post by heico on Jan 25, 2014 15:34:42 GMT -5
|
|
|
|
Post by bullardino on Jan 25, 2014 17:27:49 GMT -5
This is looking great Heico  As Dicky was saying, looks almost complete and then you see that load of things that need to be added... |
|
heico
Full Member
  
Member since: November 2013
Posts: 246 
|
Post by heico on Jan 25, 2014 17:39:12 GMT -5
Thanks guys! Great work so far dood!  You probably don't know that 'dood' means 'dead' in Dutch   |
|
|
|
Post by Leon on Jan 25, 2014 17:58:13 GMT -5
Looking really good Heico.  |
|
|
|
Post by wbill76 on Jan 25, 2014 21:17:22 GMT -5
I can understand why you would want to save the rollers for the Puma, that would be very mean-looking combo! Nice progress on the Merk heico.  |
|
|
|
Post by deafpanzer on Jan 27, 2014 2:16:03 GMT -5
Dig the actual pictures... it will be very helpful for anybody who wants to build one too. Beautiful work!
|
|
heico
Full Member
  
Member since: November 2013
Posts: 246 
|
Post by heico on Jan 27, 2014 4:54:38 GMT -5
Thankgs guys! I have a lot of pictures of Merkava's, so much i have allready separated them in 1,2,3 and 4. Won't be all that long now till i will be separating them in A, B, C or D  |
|
heico
Full Member
  
Member since: November 2013
Posts: 246 
|
Post by heico on Jan 29, 2014 16:29:18 GMT -5
Simple step, but took some time. It's black now!  |
|
|
|
Post by rbaer on Jan 30, 2014 13:48:24 GMT -5
Almost a shame to put paint on such a nice build......
|
|