heico
Full Member
  
Member since: November 2013
Posts: 246 
|
Post by heico on Nov 19, 2013 4:30:31 GMT -5
And suddenly things went a bit faster yesterday! Here's a totalshot of things that were done. 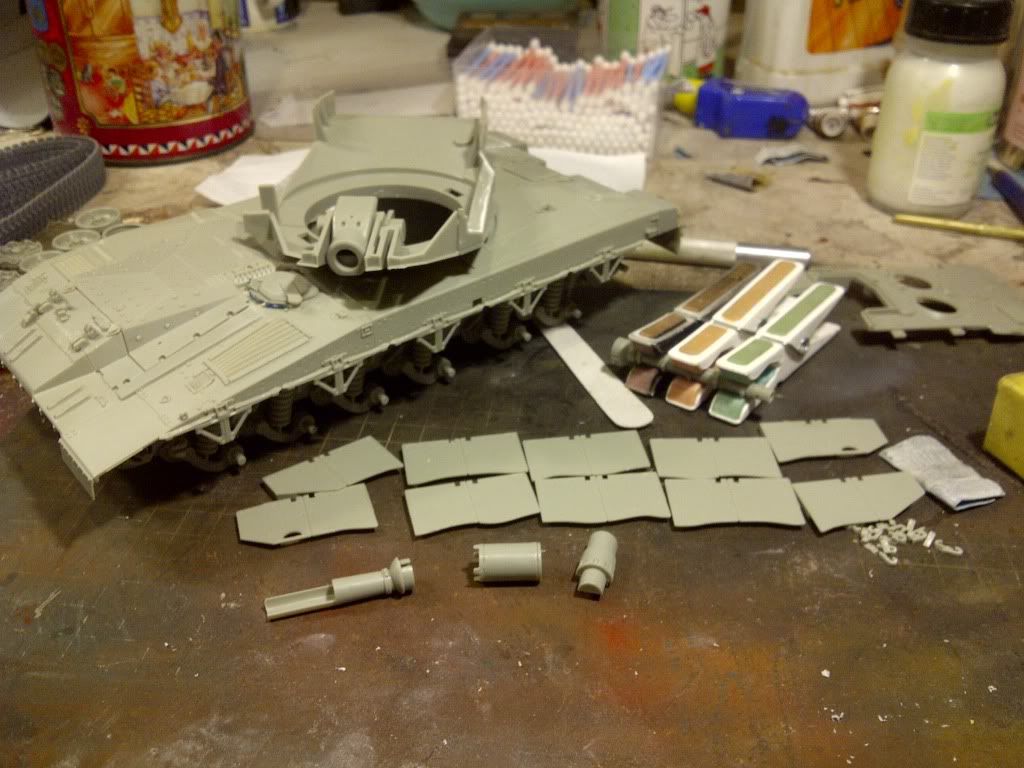 Engine deck is done, headlight covers are placed, the front mudflaps too. The side-flaps i will place later because of the sprocketwheel that cant be placed otherwise. The skirts will get the litte hinges attached. Some small parts of the main gun are glued together, and the base of the main gun is allready glued into the turret. The engine-deck gave me quit some work though, it didn't 'fall into place' as you might expect. I had to use superglue to get it in place quick. The large part otherwise had the urge to 'pop back up' so there was a bit of 'bending' needed  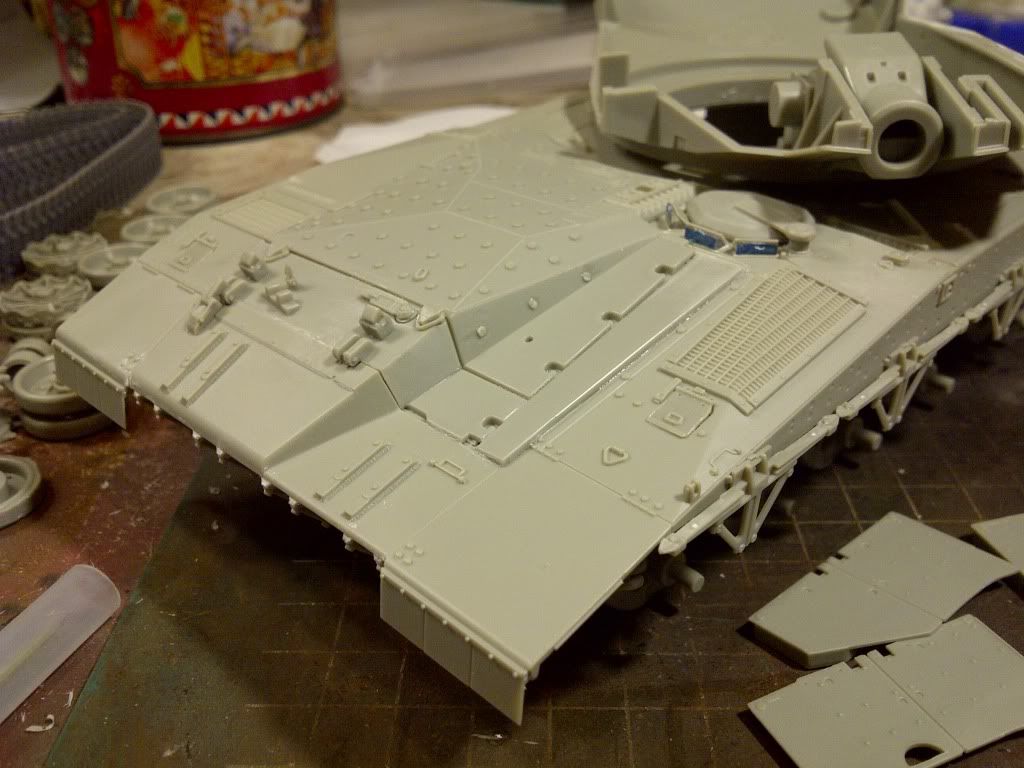 Here you can see a lot of white from the Vallejo putty ( great stuff btw ) because there was a small gap. 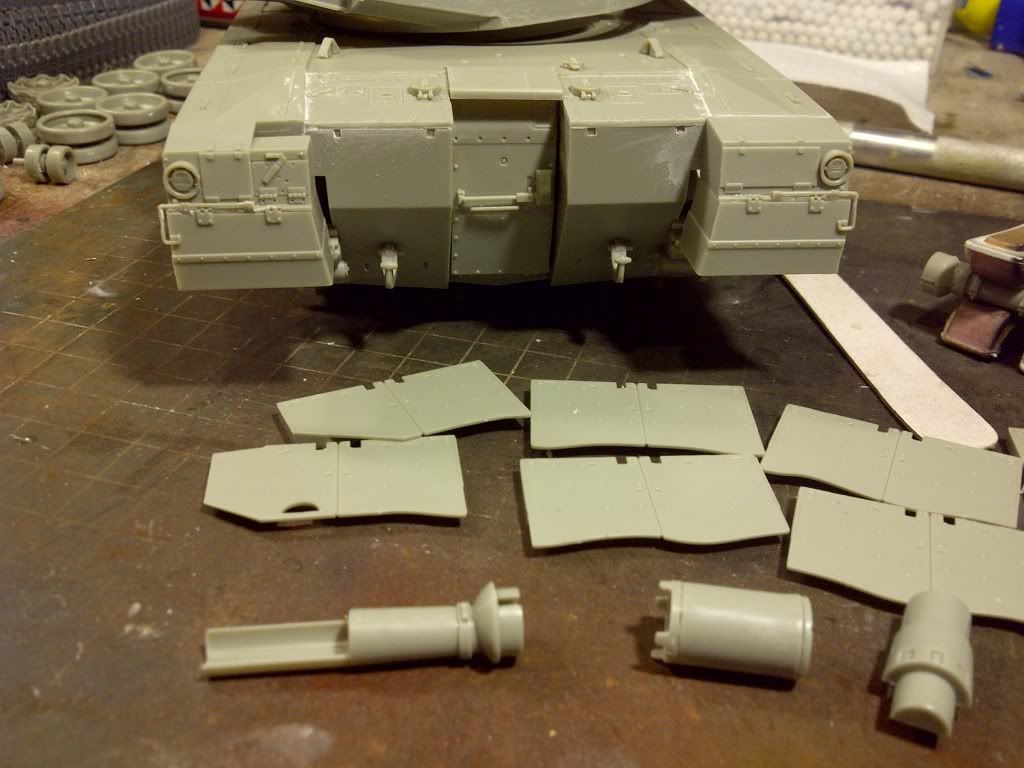 Now in real there is a small gap too, but i found the gap on the model a bit too much. So now im going to make one myself.  The part of the maingun which goes into the base on the turret. I must say i am dissapointed by the work it still needs.  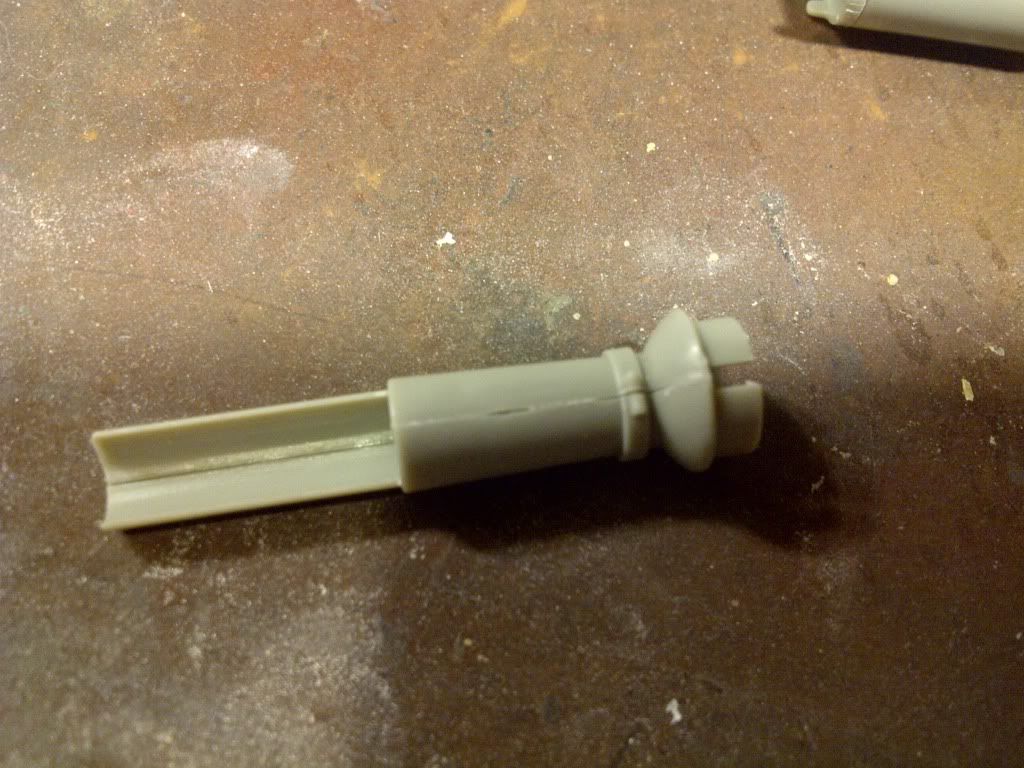 And the rest of the tube, which has some work that's needed to be done too. Too bad that they can't get these things right, this ain't a 20 euro kit.... 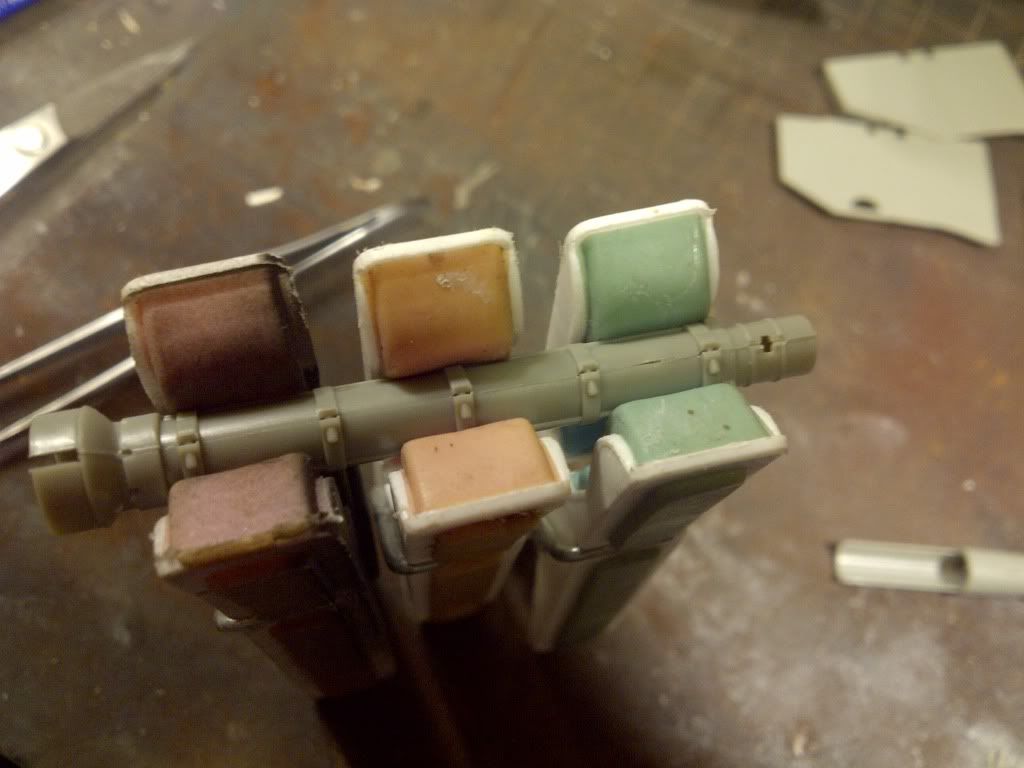 |
|
|
|
Post by bullardino on Nov 19, 2013 6:30:17 GMT -5
Ouch, I didn't expect the Meng kit to be so full of fit probs... I agree, it's a pricey kit, so everything should be engineered to fit perfectly. I'm sure you will overcome all the probs, keep up the good work  |
|
|
|
Post by wouter on Nov 19, 2013 9:26:40 GMT -5
great work Heico, and fast progress!
With kits not being cheap these days, the least they could do is add a metal barrel (or that's my opinion anyway). I can't manage two piece barrels, and looking at the amount of work...brave man!
Cheers
|
|
heico
Full Member
  
Member since: November 2013
Posts: 246 
|
Post by heico on Nov 19, 2013 10:11:24 GMT -5
Ghehe, actually you are right about that. Or a resin one... This is really bad  |
|
|
|
Post by wouter on Nov 19, 2013 10:17:51 GMT -5
yeah. That's why I bought the Legend upgrade for the Merkava IV...not because all the upgrades, but it had a resin barrel. Quite strange that you don't see many (if any at all) aftermarket barrels...
Cheers
|
|
macmcconnell.
Full Member
  
Member since: December 2011
Posts: 1,238
Dec 11, 2011 12:07:33 GMT -5
Dec 11, 2011 12:07:33 GMT -5
|
Post by macmcconnell. on Nov 19, 2013 12:32:16 GMT -5
Nice wagon looks loike you got your hands full
Mac
|
|
heico
Full Member
  
Member since: November 2013
Posts: 246 
|
Post by heico on Nov 19, 2013 13:50:03 GMT -5
You mean for the Merkava's? No that is too bad indeed... Mac, indeed i got my hands full on it, but i am expecting a nice endresult for it  |
|
|
|
Post by wbill76 on Nov 19, 2013 18:56:13 GMT -5
Lots of progress Heico! Shame about the fit and barrel situations, but looks like you've got it under control.
|
|
heico
Full Member
  
Member since: November 2013
Posts: 246 
|
Post by heico on Nov 20, 2013 4:12:41 GMT -5
Hmmmmm rather more issues with this one than I imagined...as you say not great for a kit that's hardly cheap eh? Not quite sure what to make of Meng - they seem to run hot and cold eh? This is my first Meng, so i can't judge it all in all. But when you hear so much positive things i start to wonder why i'm having this right now. Is it a monday-morning-kit? Or am i out of shape? Maybe im a poor builder, i don't know.  Some parts go together very well, but yesterday i had some troubles with the left side of the turret too. I had to sand and cut some area's for it to fit nicely. Some of us can get lazy-builders when you build a lot of Tamiya or Dragon which don't have a lot of issue's so im willing to blame this on myself and give Meng another chance.  But if the next Meng has the same things then i know it's not my fault haha  Wbill, it is indeed a pitty. But i don't get scared by some sanding of a barrel anymore. Actually i think Meng has done a good job engineering this one. 2 halves for the front, 2 halves and another part on top for the rear, and a one piece fume extractor with two 'rings' that you attach to it. This part is obvious the most eye-catching piece of the barrel and this way you don't have any sanding on that part. The front and back later go into the extractor and there is your barrel. Now for the update: Had some time again yesterday and i started with the fume extractor. 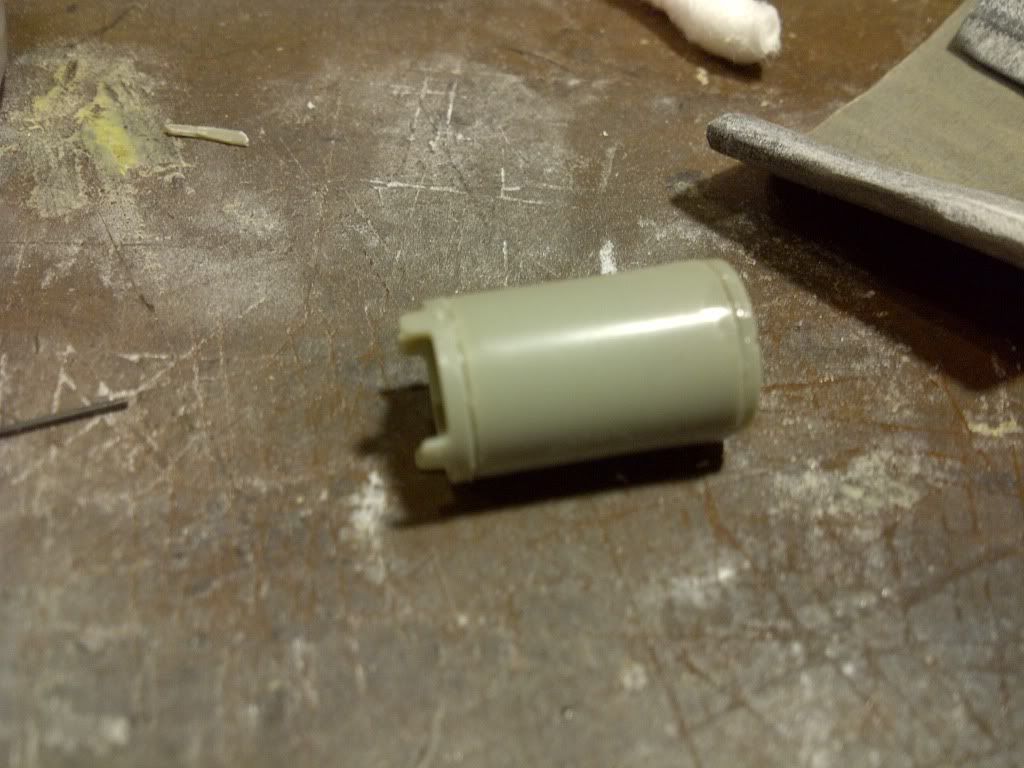 As you can see on the next two pictures there need to be holes in the small parts that stand out. ( Can't find the right word for it )   So i drilled some holes and it looks a lot better. ( Sorry for blurry photo ) 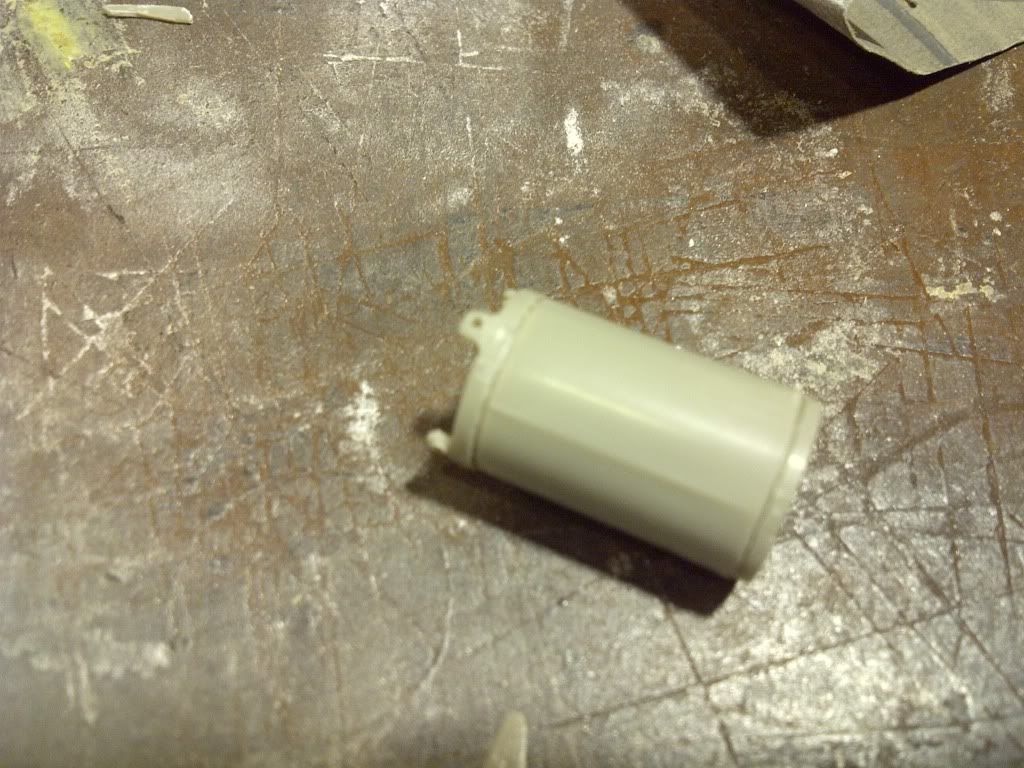 The turret is beginning to look like a Baz turret now too. From now on i need to keep an eye out on which pieces to glue on or not because of the embossing powder anti slipcoating. 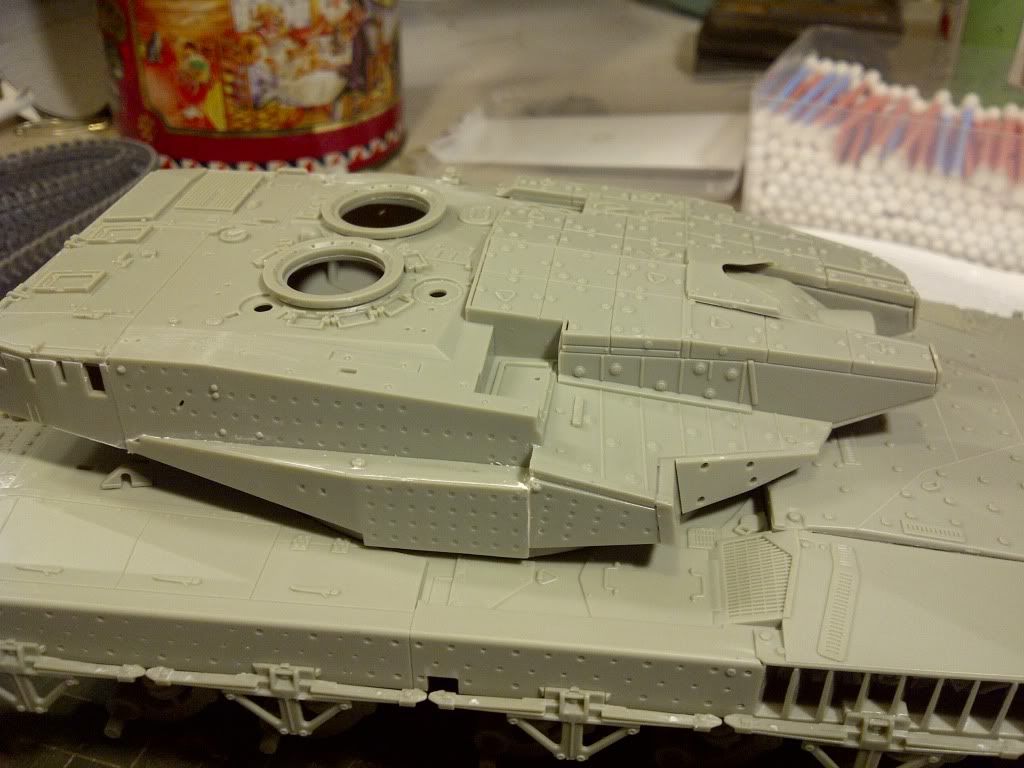 And the barrel got some sanding. The white is filler btw. When i placed it in the fume extractor it made a little gap again on the broad part that goes in as you can see. We'll fix this later. 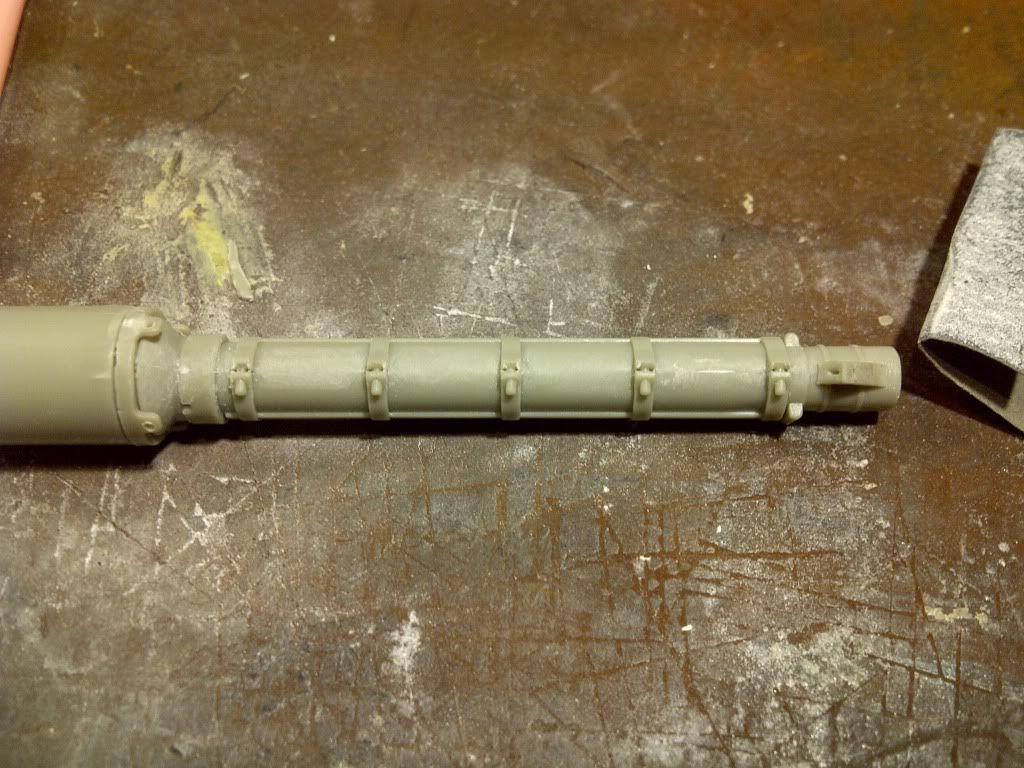 |
|
|
|
Post by bullardino on Nov 20, 2013 5:10:45 GMT -5
Nice job, those seams were nasty and in a difficult position  |
|
|
|
Post by TRM on Nov 20, 2013 6:05:32 GMT -5
Making some great strides on this H!! Gotta love love that shot of the D9 playing "Drag-A$$" that you posted!!! Shame they do that still with the barrel! Keep up the great work!
|
|
|
|
Post by wouter on Nov 20, 2013 9:05:19 GMT -5
nice update again, and seems that you managed to get the seam away, good job, and very brave! I must say it's odd to see that Meng didn't mould those - I guess they are lifting rings, but not sure - without the hole...sure that couldn't be too hard if Academy, Tamiya and HobbyBoss can do that.
Cheers
|
|
heico
Full Member
  
Member since: November 2013
Posts: 246 
|
Post by heico on Nov 20, 2013 13:04:14 GMT -5
Thanks guys! Bullardino: luckily it isn't too much work of sanding it away. This plastic is fairly easy to work with. TRM: I have something called an IDF-etish  So i've got a lot of different pics. Like i will show in this next update it wasn't all that much work to fix the barrel  Wout: If you've done a few barrels you get the hang of it. Lifting rings is something i thought about, but why would anyone put them there?? Maybe if i get the opportunity i will ask it in the IDF forum. Someone in there will know the answer hehe... HB makes you glue those sepperately and i Believe Academy does too. Tamiya i don't know for sure. Now for the new update! The barrel, which is a hot subject right now  , is now in one piece. Had to do some extra sanding on the rear end. 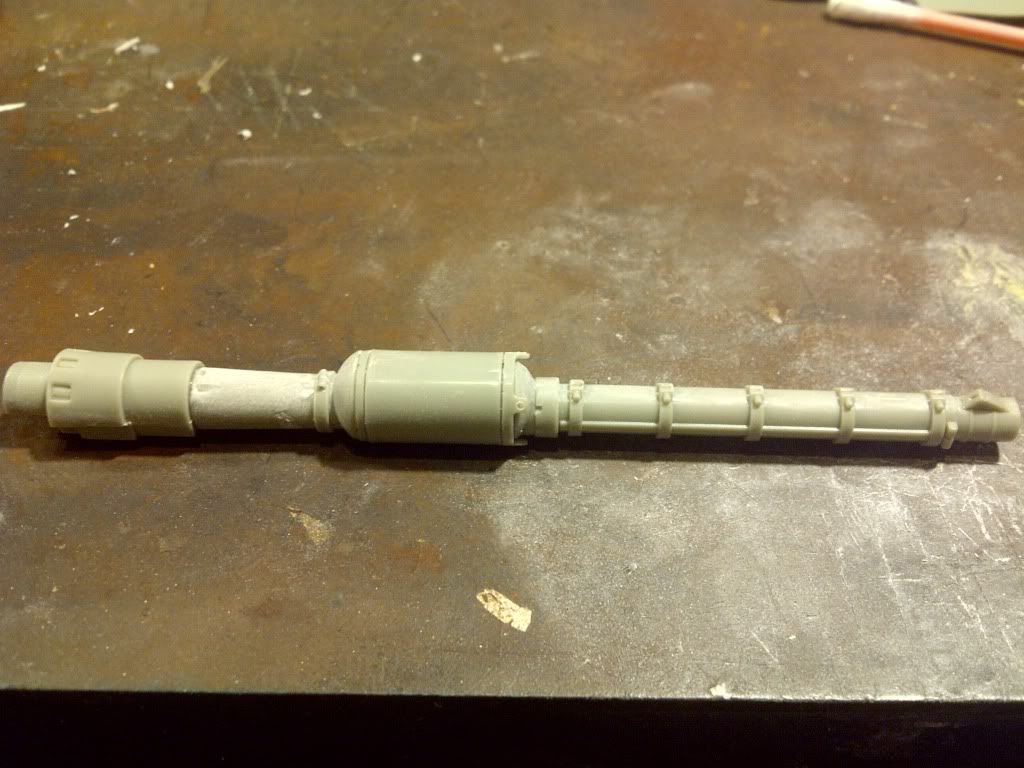 And here you can see it on the turret (dryfit ) just like the basket. 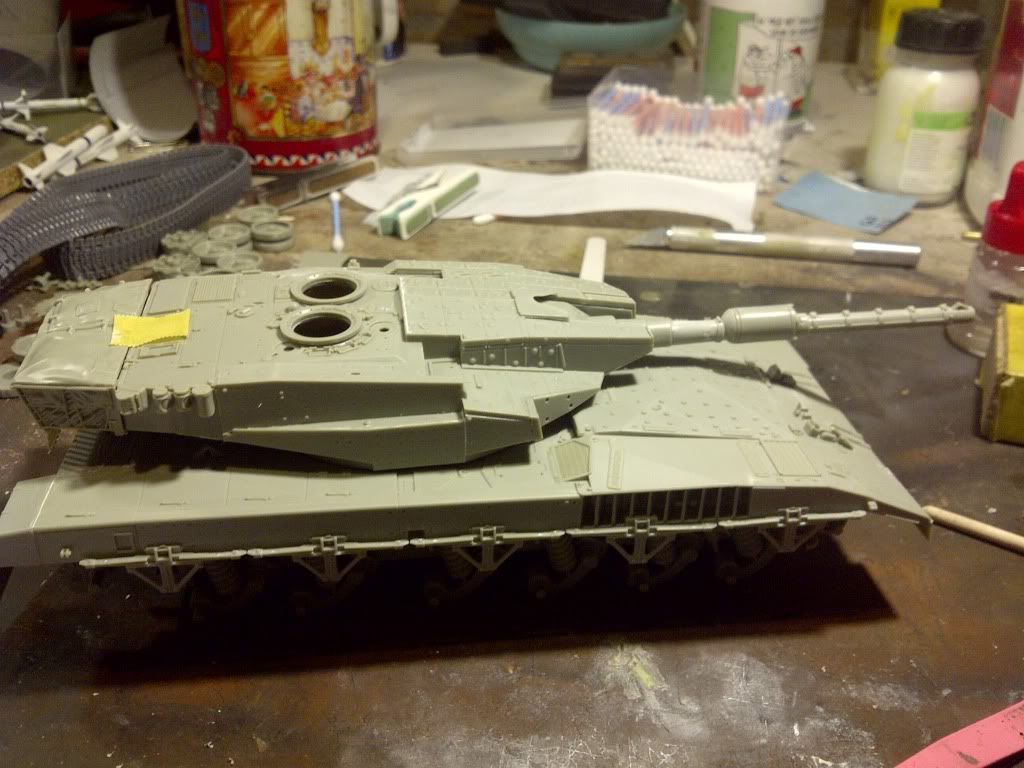 And i began with the rangefinder and the panoramic sight. 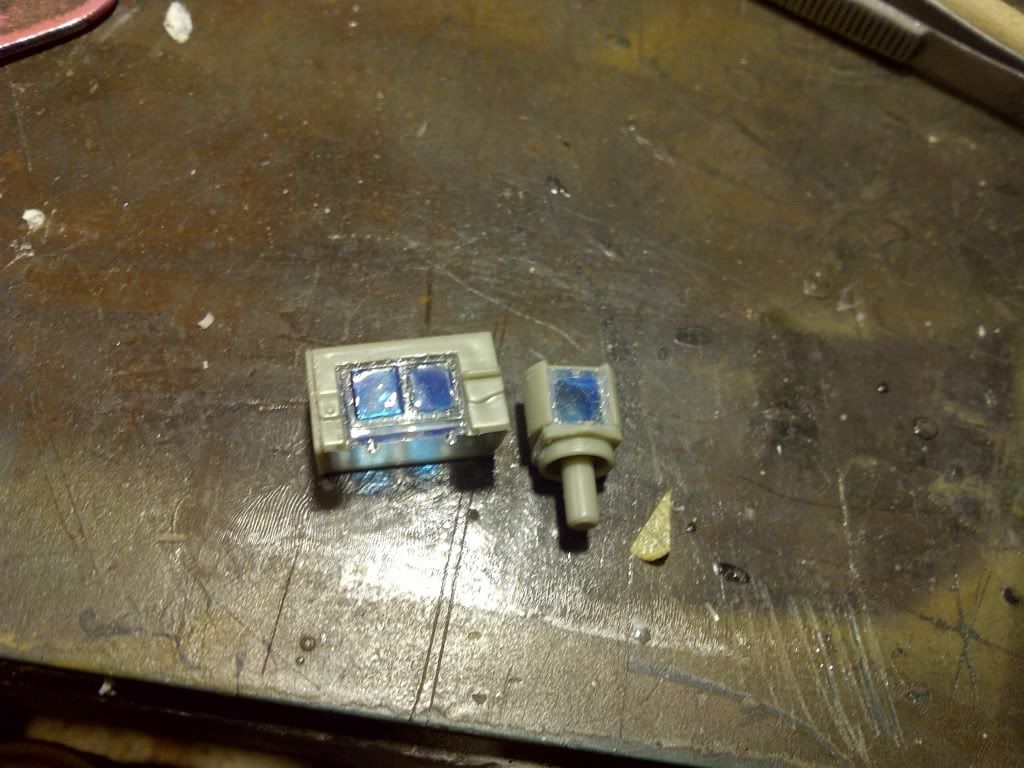 Also did a bit of testing on the embossing powder, this didn't quit work out the way i wanted too  . Got to try some more. |
|
|
|
Post by wbill76 on Nov 20, 2013 19:05:11 GMT -5
Barrel's looking good with your efforts Heico, the turret as well, keep at it!  |
|
|
|
Post by Leon on Nov 20, 2013 19:07:53 GMT -5
Nice fix on the barrel Heico,Coming along nicely.
|
|
|
|
Post by deafpanzer on Nov 20, 2013 22:15:49 GMT -5
Excellent work on the barrel!!!
|
|
|
|
Post by rbaer on Nov 21, 2013 11:31:05 GMT -5
Very nice work so far, I'm getting the itch to get going on mine as well.
I guess every kit has to have some issues, and a multi-part barrel is common enough. I've never found a resin barrel that wasn't warped in the box or that didn't droop after time, so I just quit using them. It's a bit of a shame, since the last one I pulled out of a box was very nicely detailed. You's thing a piece of steel wire/rod inside one would be a good idea.....
|
|
Deleted
Member since: January 1970
Posts: 0
Dec 2, 2024 3:09:52 GMT -5
Dec 2, 2024 3:09:52 GMT -5
|
Post by Deleted on Nov 21, 2013 13:45:59 GMT -5
nice work, that barrel looked awful but you've sorted it out nicely. Very surprised on the quality of this Meng kit
|
|
heico
Full Member
  
Member since: November 2013
Posts: 246 
|
Post by heico on Dec 29, 2013 17:02:22 GMT -5
After having a little dip for this Merkava because i was a bit reluctant for the anti slipcoating i now have found a solution that could work for me. You take a piece of pantyhose, wrap it around a sieve ( the sieve now becomes more of a handgrip ), hairspray on the model, embossing powder on the pantyhose which doesn't fall through the pantyhose ( unless your using fishnets  ) and then you gently apply pressure on the powder and you push it through the pantyhose. This way you can create a nice thin layer. On the first pictures i was testing it a bit on how much pressure you need to give etc. Then i also tested with chinchilla sand ( the yellowish stuff ) which is offcourse a lot cheaper. Let me know what you think. 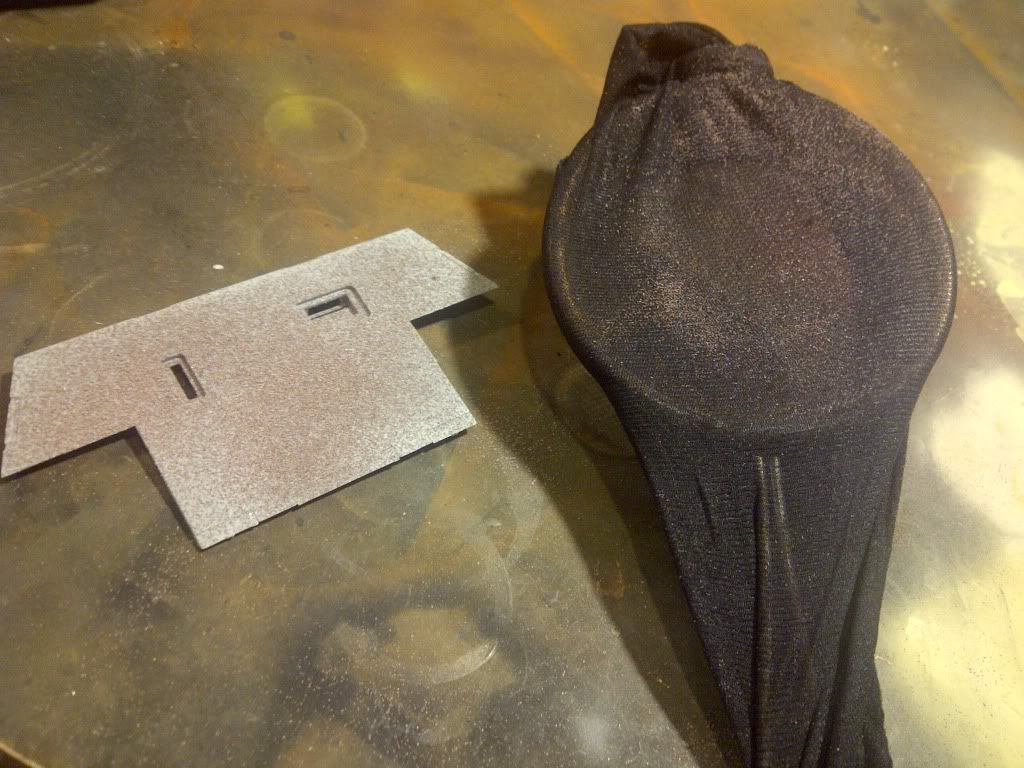 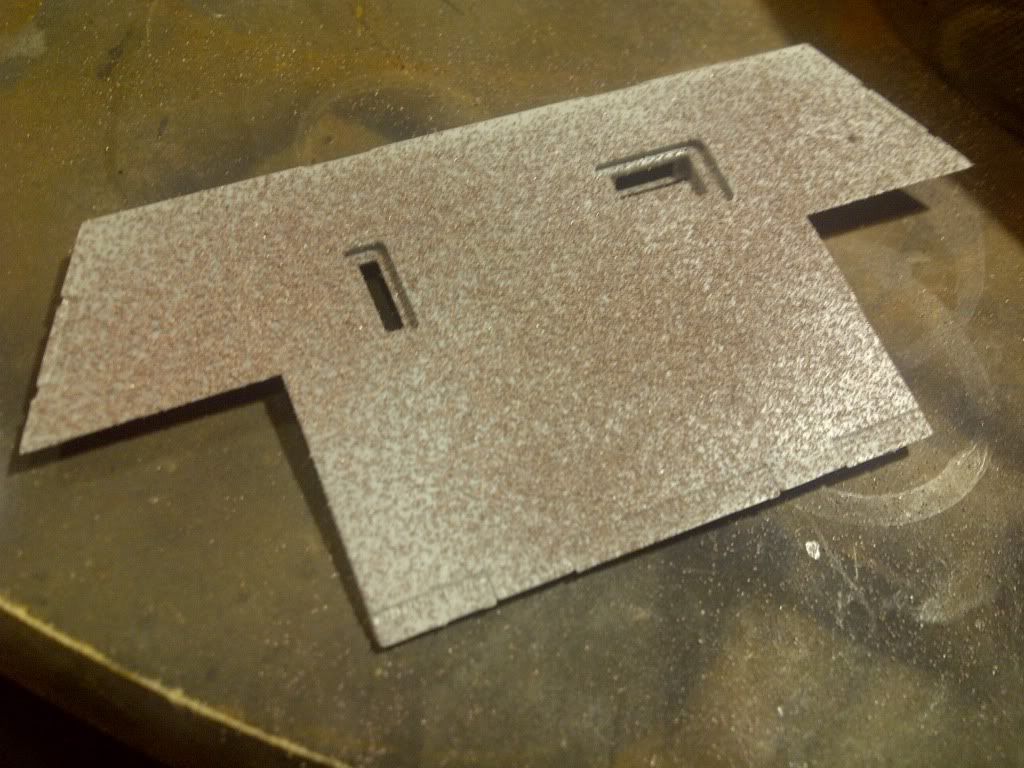 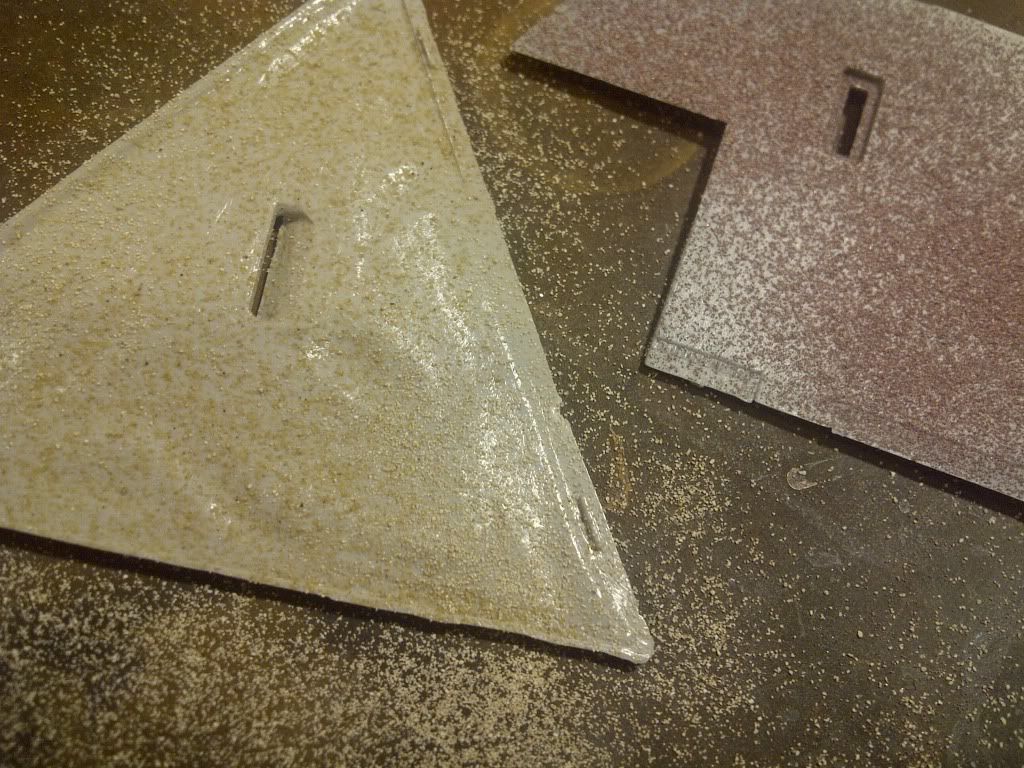 So i started masking the turret. I think i will go for a 'piece by piece with a brush' method. That way i can manually avoid the panel lines. 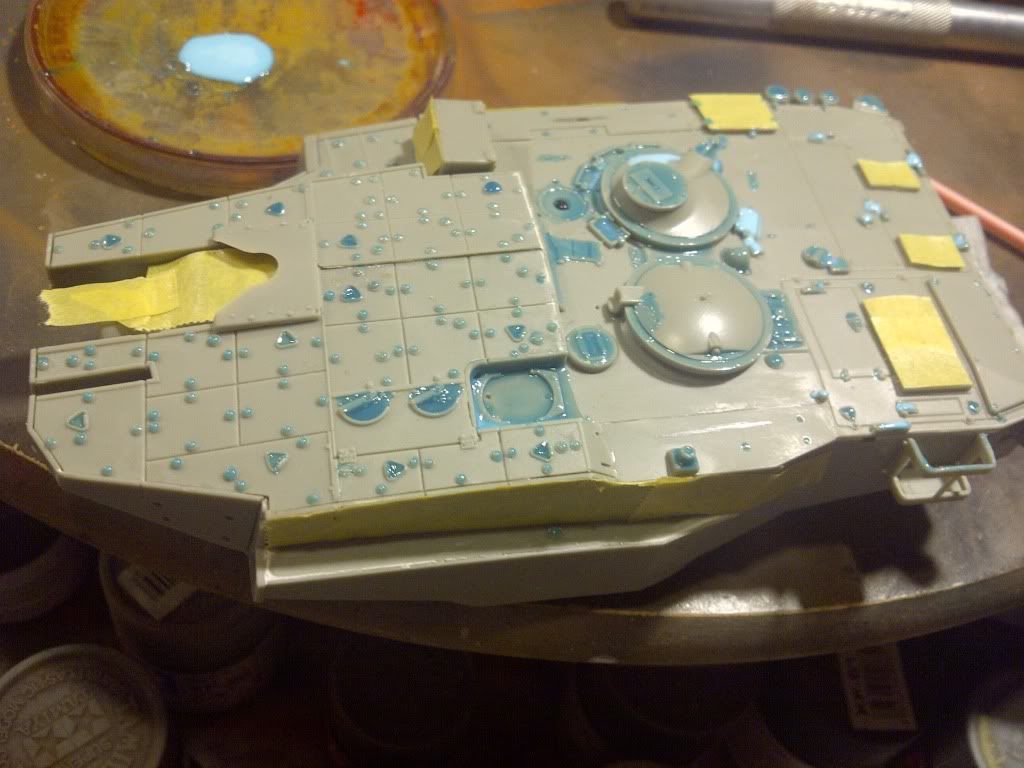 And i did a little testing on the back of the tank. 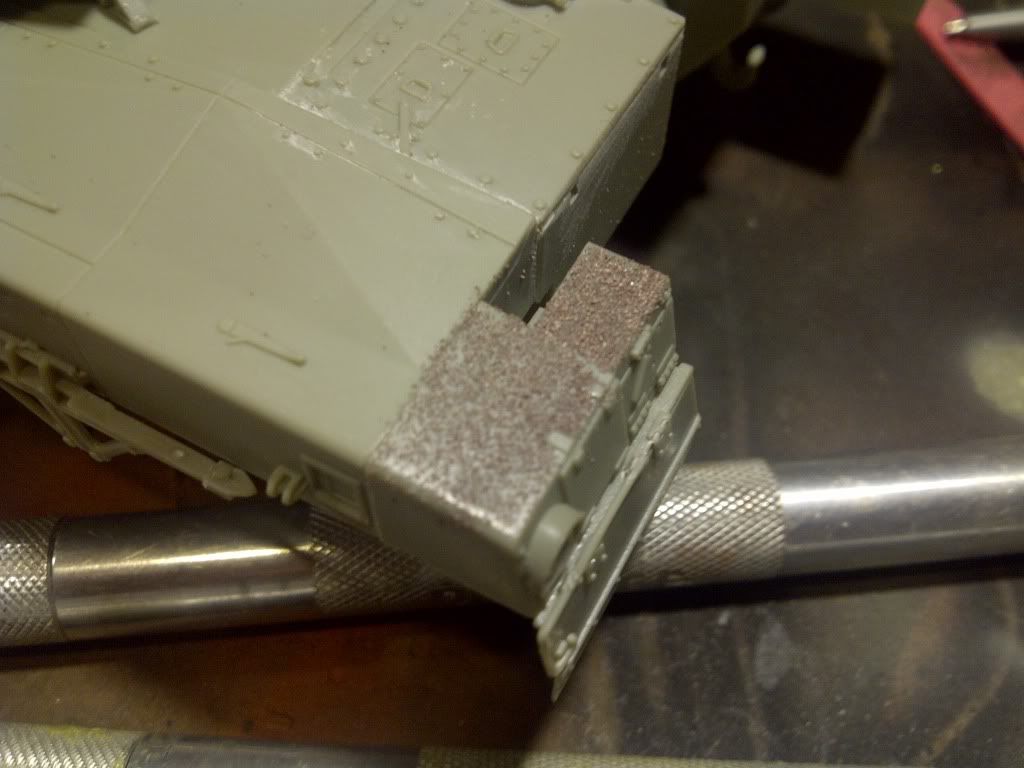 |
|
|
|
Post by deafpanzer on Dec 30, 2013 12:00:22 GMT -5
Texture looks pretty good!!! Used masking fluid on my Chally II and it worked just great.
|
|
heico
Full Member
  
Member since: November 2013
Posts: 246 
|
Post by heico on Dec 30, 2013 12:28:36 GMT -5
Thanks Deafpanzer, this is the first time i will use Vallejo masking fluid on such a big scale. I am curious were this will go.
|
|
|
|
Post by bbd468 on Dec 30, 2013 12:36:31 GMT -5
Heico, i just found this thread and went through it. Man, great build with a killer kit. I want this Meng Merk kit BAD! Im late to the party, but now you'll not easily get rid of me!  |
|
|
|
Post by deafpanzer on Dec 30, 2013 12:45:13 GMT -5
Me too... curious if Vallejo works well too. I used W & N masking fluid... despite its nasty smell it worked just great. I played it safe by applying 2-3 coats...
|
|
Deleted
Member since: January 1970
Posts: 0
Dec 2, 2024 3:09:52 GMT -5
Dec 2, 2024 3:09:52 GMT -5
|
Post by Deleted on Dec 30, 2013 13:39:40 GMT -5
nice method for the anti slip, merkava's seem to have a very rough texture to them
|
|
heico
Full Member
  
Member since: November 2013
Posts: 246 
|
Post by heico on Dec 30, 2013 14:33:05 GMT -5
Gary, nice that you finally joined in then ghehe  It is a nicely detailled kit indeed, so get it yourself because there never be enough Merkava's build if you ask me! Deafpanzer, i never used the W&N before. It did use the Humbrol earlier and that had a nasty smell to it also. This one by Vallejo doesn't have a nasty smell so that's one good thing. Pete, Indeed they do, i just wast talking about it with a mate of mine. If you take for instance an Abrams, they are all rectilinear and nice in a square-like shape. |
|
|
|
Post by rbaer on Dec 30, 2013 14:48:33 GMT -5
I like the anti-slip.
I picked up a jar of Liquitex sand texture paint and am looking forward to trying it. I've seen other peoples' results, hope I can get the same.
|
|
Jaymes Crowther.
Full Member
  
Member since: November 2011
I've rekindled my passion for Israeli armour wahooo....
Posts: 206
Nov 16, 2011 6:21:11 GMT -5
Nov 16, 2011 6:21:11 GMT -5
|
Post by Jaymes Crowther. on Dec 30, 2013 17:04:37 GMT -5
Hi Heico. Nice job on the Merkava so far. I've just build the 3D. I must admit I was disappointed with the way Meng has engineered certain parts of the kit. The drivers hatch does stick up too far because the profile of it is too tall based on photos. The easy way would be to sand the top of it to sort it. I think there is also some shape issues with the drivers hatch however there are variants, depending on whether its an early or late BAZ you're doing so it is a minefield in its own right. If you need drivers hatch photos I can post some for you. Keep up the good work Nice idea for the anti-slip. I'd use the Nochri Dalet included in the kit as its not used on the Merkava I or II. YOu have scope for so much that's why I love modelling Israeli stuff.
All the best.
Jaymes
|
|
heico
Full Member
  
Member since: November 2013
Posts: 246 
|
Post by heico on Dec 31, 2013 8:20:22 GMT -5
Rbaer, i never used that before. Got a link to an example for me? Dicky, Perhaps you got something there. That's got to be one big C-spanner then  About the HobbyBoss, i did that one too. It isn't perfect either, but i also had some fitting troubles on that one ( not such big though ) It's probably that Meng comes out BIG that you automauticly think it will fit like Tamiya/Dragon. Too bad it isn't cause in my opinion with such prices you might expect just that. And the pro for a lot of people on the Meng are the options, the better detail and the fact that the ball and chain are in plastic. Jaymes, you can't imagine how glad i am to read that i am not the only one. Seeing everybody so positive makes you sometimes wonder about your own building qualities haha;) About the hatch, it's allready locked now so i won't make any adjustement's anymore. But you are always welcome to post pictures! I have a 3D here waiting and it probably won't be the last Merkava i will ever build  So any refference is always appreciated. The Nochri Dalet, my first idea was to build another Hobbyboss Mk3D in the future and put the Nochri in front of that. But im still not sure. Thanks for all the reply's guys! It wont be this year for the next big update so for now i want to wish all of you a great start of 2014! |
|
|
|
Post by rbaer on Dec 31, 2013 12:05:35 GMT -5
Heico, I'll take a pic of the jar when I'm home, in the meantime I'll look for a link.
|
|
Jaymes Crowther.
Full Member
  
Member since: November 2011
I've rekindled my passion for Israeli armour wahooo....
Posts: 206
Nov 16, 2011 6:21:11 GMT -5
Nov 16, 2011 6:21:11 GMT -5
|
Post by Jaymes Crowther. on Dec 31, 2013 14:52:28 GMT -5
I forgot Hobbyboss had done a couple of MK III's save it for that then. Sounds like a good plan.
Jaymes
|
|