|
|
Post by TRM on Jan 19, 2014 16:02:01 GMT -5
Hey Folks! A short while ago I was able to give a review of Kinetics's RG-31 MK3 Canadian Army Mine-Protected Armored Personnel Carrier w/RWS for the fine folks over at InScale.org . Feel free to check out my review - Link to Review Now it is almost time to get building this one. I thought I would get a thread started for when I start flinging around some plastic and this also gives some time for some goodies I picked up to arrive! But, until then... Here is the Kit: 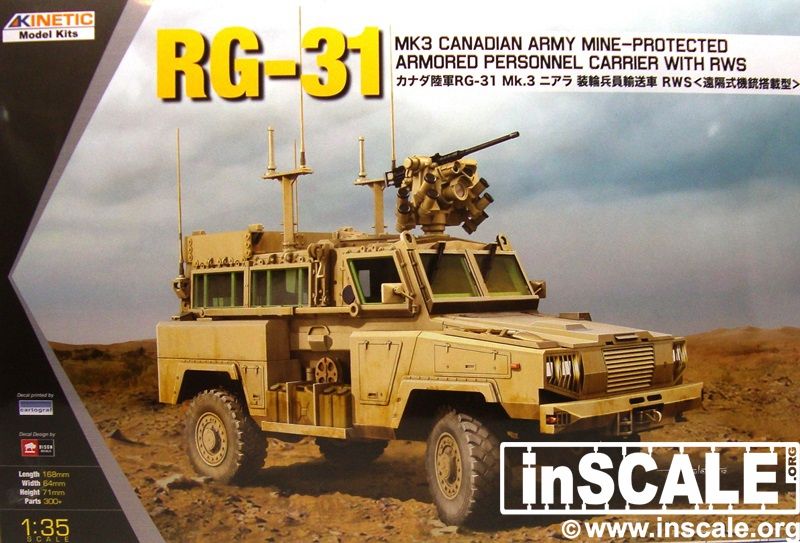 A neat little kit and looks to be fairly straight forward in regards to the building of it, but I am sure I will run into a couple things as we always seen to do! Thanks for stopping by!! |
|
|
|
Post by Mence on Jan 19, 2014 16:17:57 GMT -5
Oh good, hoping someone would pop the lid on this!
|
|
|
|
Post by TRM on Jan 19, 2014 16:19:38 GMT -5
LOL...Thank you for the pledge to tag along Dicky!! Never know when I will need your expertise in all thing new-fangled!!  If I get a chance later to dig out some parts I will try and get a pic or to up tonight! |
|
paulh.
Senior Member
   
Member since: November 2011
build, fail, learn, succeed - ENJOY
Posts: 2,389
Nov 15, 2011 15:54:51 GMT -5
Nov 15, 2011 15:54:51 GMT -5
|
Post by paulh. on Jan 19, 2014 16:33:07 GMT -5
Shift up Dicky - short arse needs to get to the front for this!  |
|
|
|
Post by TRM on Jan 19, 2014 16:42:42 GMT -5
Sorry Mence...missed you in there buddy!! Thanks for dropping in!! Sorry about the lack of room Paul...being 5 hours ahead of me, the UK seems to be showing up here 1st!!  |
|
|
|
Post by TRM on Jan 19, 2014 16:49:34 GMT -5
Awesome!! Can you give me a clue as to what I will be doing at 10PM here? I really need some time management help these days!!  |
|
|
|
Post by TRM on Jan 19, 2014 16:52:59 GMT -5
Perfect!! I will pencil it in!! Any sniffing of glue involved?
|
|
|
|
Post by TRM on Jan 19, 2014 17:04:21 GMT -5
Email em...there is a pair of first class tickets to Nebraska in it for ya when they come out!!
|
|
|
|
Post by wbill76 on Jan 19, 2014 18:22:17 GMT -5
Very nice project T, looking forward to this one.
|
|
|
|
Post by TRM on Jan 19, 2014 18:43:33 GMT -5
Thanks Bill! Glad to have you along for the ride!
|
|
|
|
Post by Leon on Jan 19, 2014 22:24:28 GMT -5
Count me in Todd,waiting for you to pop the lid on this.
|
|
M1Carbine
Senior Member
    November '23 Showcased Model Awarded
Member since: November 2012
Posts: 1,739
Nov 16, 2012 2:49:11 GMT -5
Nov 16, 2012 2:49:11 GMT -5
|
Post by M1Carbine on Jan 19, 2014 23:22:11 GMT -5
TRM - I'm in on this one buddy.
Bob
|
|
|
|
Post by TRM on Jan 20, 2014 9:59:01 GMT -5
Happy to have you on the road with me buddy!! Thanks!  |
|
|
|
Post by bullardino on Jan 20, 2014 10:21:01 GMT -5
I'm in  |
|
|
|
Post by dupes on Jan 20, 2014 10:21:05 GMT -5
Ohhh yes, this one is going to be cool!
|
|
|
|
Post by TRM on Jan 20, 2014 19:26:06 GMT -5
Luigi and Dupes...thank for swinging in!! The more the merrier!! Well I broke down and cracked the lid and cleaned a few parts. As I mentioned in my review for InScale.org, this is a nice little kit but there are a few items that need attending to. One of which is a few EPM's. Nothing out of the ordinary just a small let down when you have a full interior...the worst place to work with big fingers! Still a ways off on that. I cleaned up the V-hull and some joining parts in preparation of digging in! 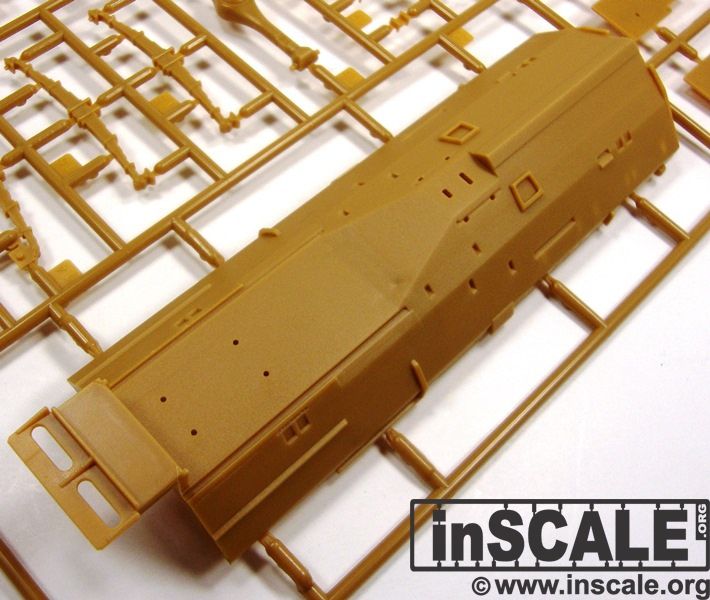 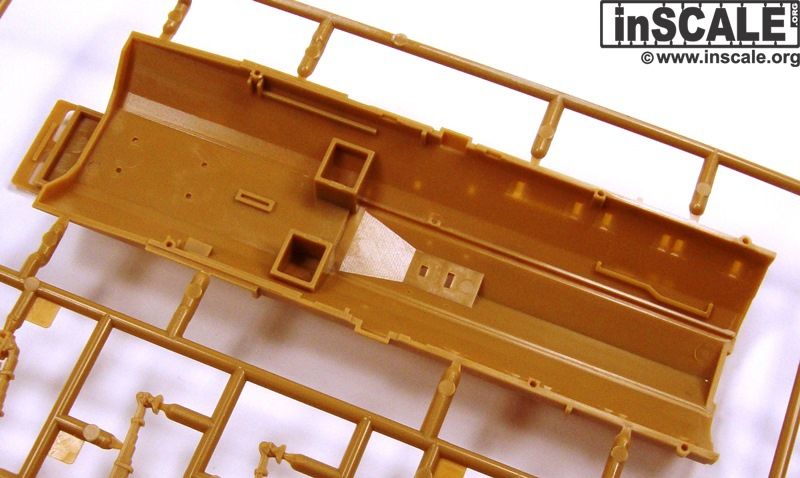 Not too many surprises here. The hull is pretty clean. 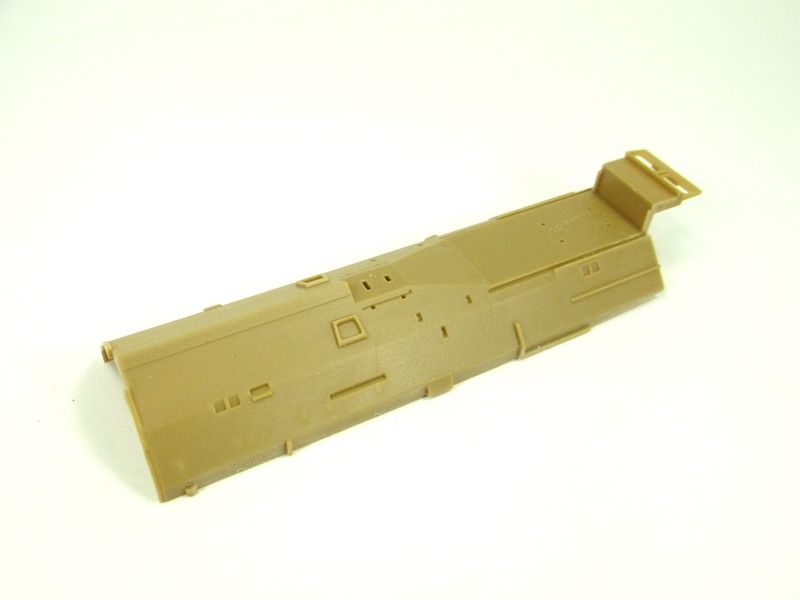 Part of the V-Hull design on the MK3's is in the front where the suspension is. I can assume this adds stability while in use but is designed to allow the blast from a mine or IED up and out. And yes...I can never resist the smell of glue! 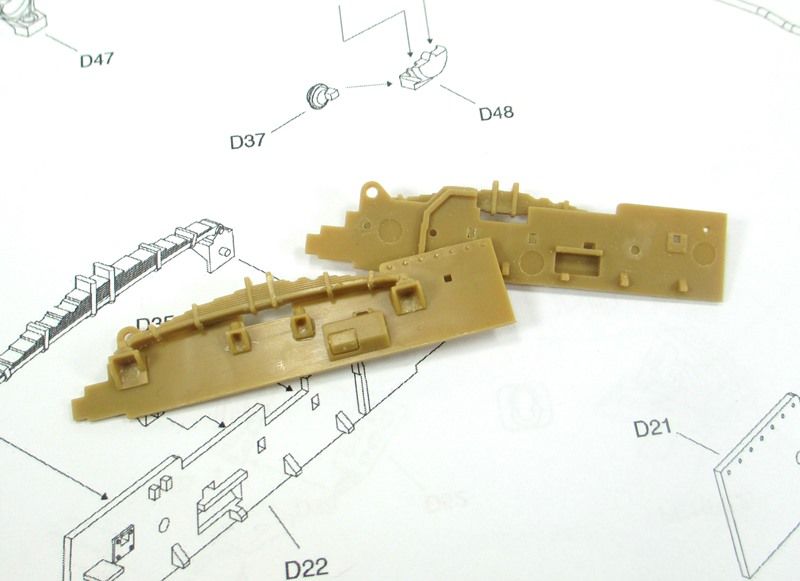 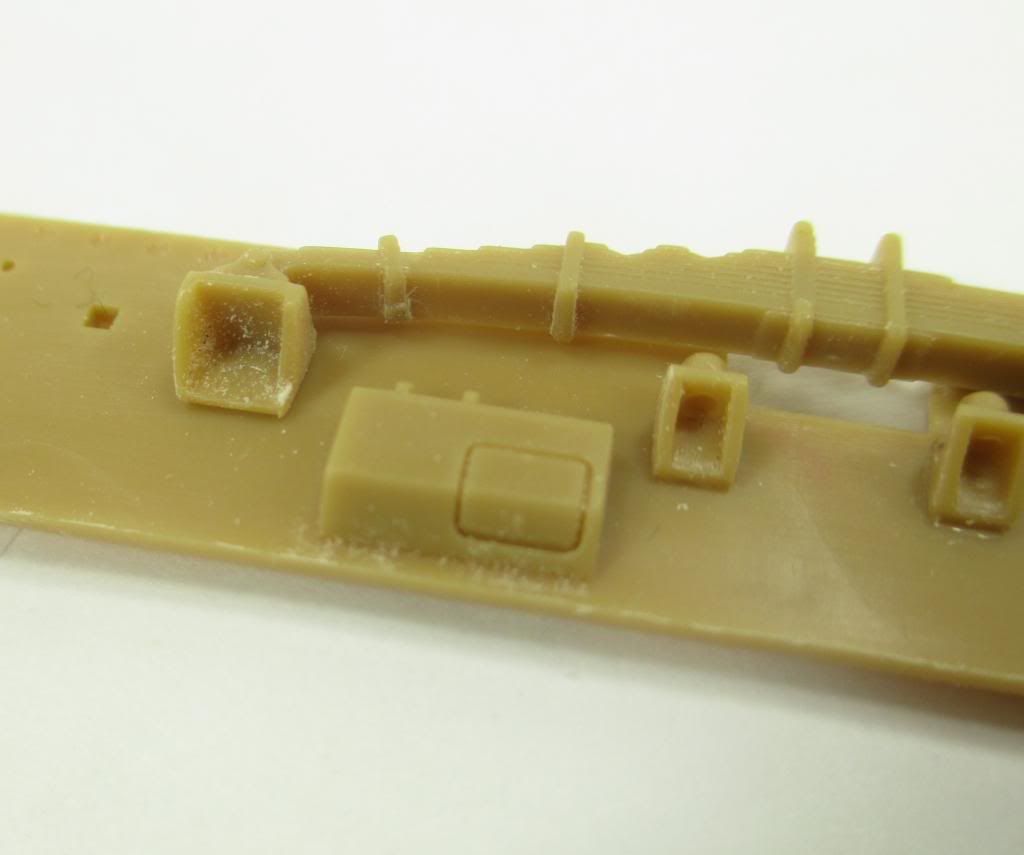 As you can see in the above pic there shows one more "smaller" item; the leaf spring bracket had shallow EMP's in them that needed to be removed and of course they are void some bolt heads...I will remedy this soon. There is a small sheet of shinny stuff in this kit. One set of parts is to replace the stand-off brackets for the rear suspension. I managed to glue one of the kit parts together to see how these look verses the PE brackets. 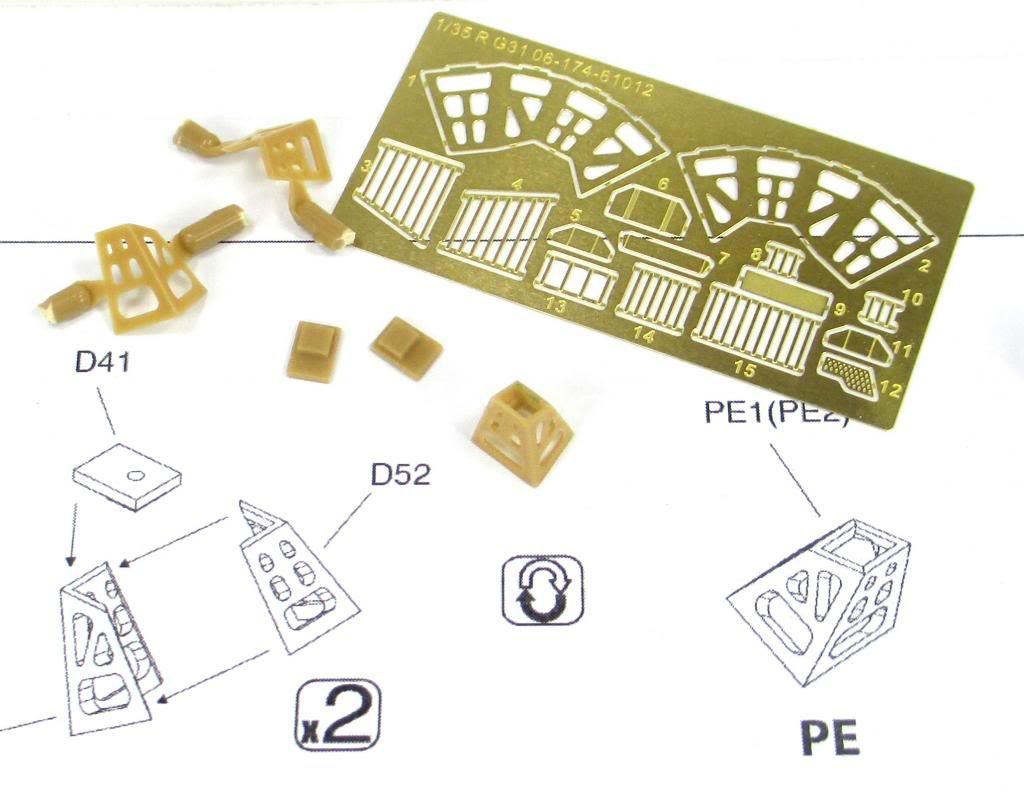 I might try and bend the PE parts up tonight and break out the soldering gun...time will tell I suppose. Just a few more undercarriage parts cleaned up! 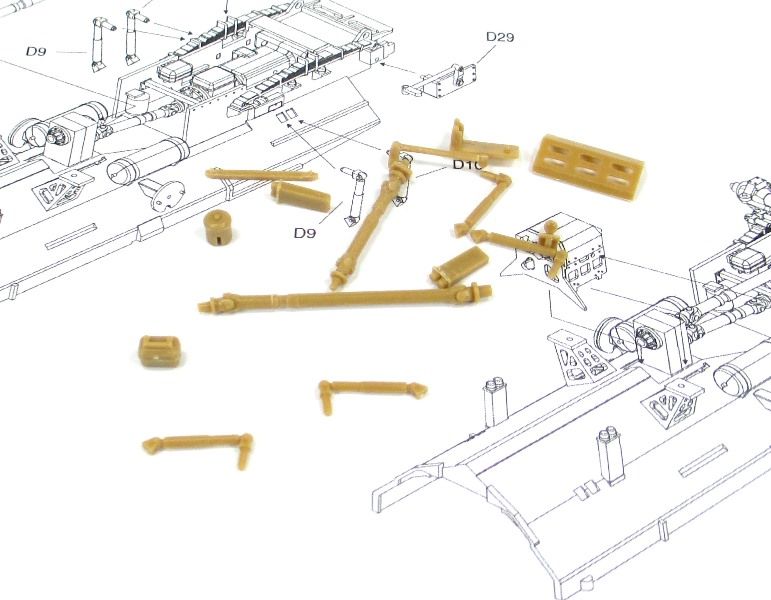 Then there is the brackets for the spare wheels....this time it was he dreaded sinky that did these in. You can see in the picture below there is a little filling in order on the square support. 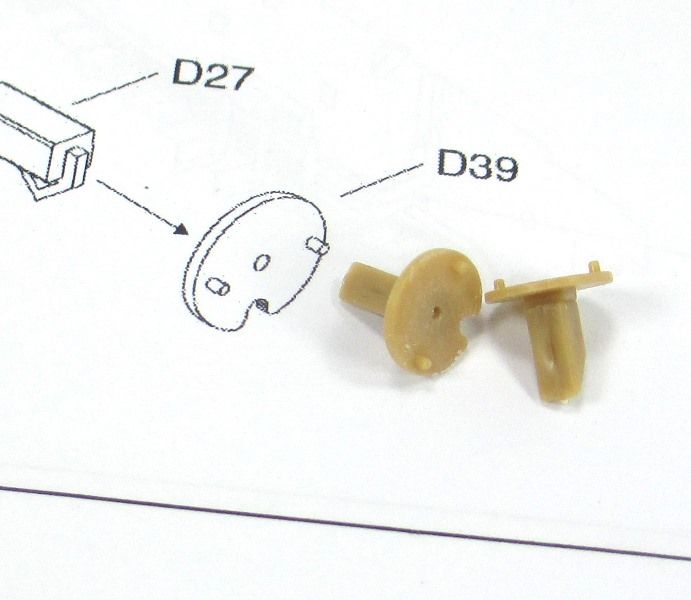 That is pretty much that for now. I will plug away at this whilst I finish some other items I have been tending too! Thanks for dropping in!! |
|
|
|
Post by Deano on Jan 20, 2014 19:28:42 GMT -5
Oh now I do like this , good to know you are pinging plastic about the bench again T... Ima watchin!
|
|
|
|
Post by deafpanzer on Jan 20, 2014 22:14:52 GMT -5
Count me in! Never knew our neighbor has an army! Kidding... great start!
|
|
|
|
Post by bullardino on Jan 21, 2014 2:45:05 GMT -5
Looks a nice and detailed kit  The styrene tho seems a little "glassy" or is it just a wrong impression? |
|
|
|
Post by wouter on Jan 21, 2014 5:08:38 GMT -5
Nice work and another great T build on the go. Looking forward to this mate
Cheers
|
|
|
|
Post by wbill76 on Jan 21, 2014 18:39:55 GMT -5
Very nice update T, lots of little parts involved there. Be sure you don't sneeze on your work bench!  |
|
paulh.
Senior Member
   
Member since: November 2011
build, fail, learn, succeed - ENJOY
Posts: 2,389
Nov 15, 2011 15:54:51 GMT -5
Nov 15, 2011 15:54:51 GMT -5
|
Post by paulh. on Jan 22, 2014 2:54:19 GMT -5
Must....resist....increasing.....stash.....
Where's ...me... wallet....?
btw... who's got the popcorn??!!
|
|
Deleted
Member since: January 1970
Posts: 0
Dec 2, 2024 0:28:12 GMT -5
Dec 2, 2024 0:28:12 GMT -5
|
Post by Deleted on Jan 22, 2014 14:02:32 GMT -5
nice choice and an interesting vehicle will be watching this one
|
|
|
|
Post by Leon on Jan 22, 2014 14:22:43 GMT -5
Nice to see the glue and styrene meeting together T.   |
|
|
|
Post by TRM on Jan 22, 2014 20:05:30 GMT -5
Deano - Thank brotha'! It feels good to actually work on something even if its sparse...LOL!! Andy - Thanks! I know right? LOL!! I know they have a Destroyer too...I worked with a guy that served on one for 25. May not exist now thought!!  Luigi - Thanks!! There is some shine here and there...nothing worth writing home about though!!  Wouts - Thanks...glad to have you along! Bill - Fanx! Good thing Brenda is not here...nice little snack there!! Paul - Thanks for swinging by! Ran out of popcorn...got some pretzels and a granola bar if interested? Pete - Thanks! It's going to be a learning curve for me but should be fun!! Leon - Sure is buddy!! Thanks! Well...a small update! The axle fell off the sprue.... 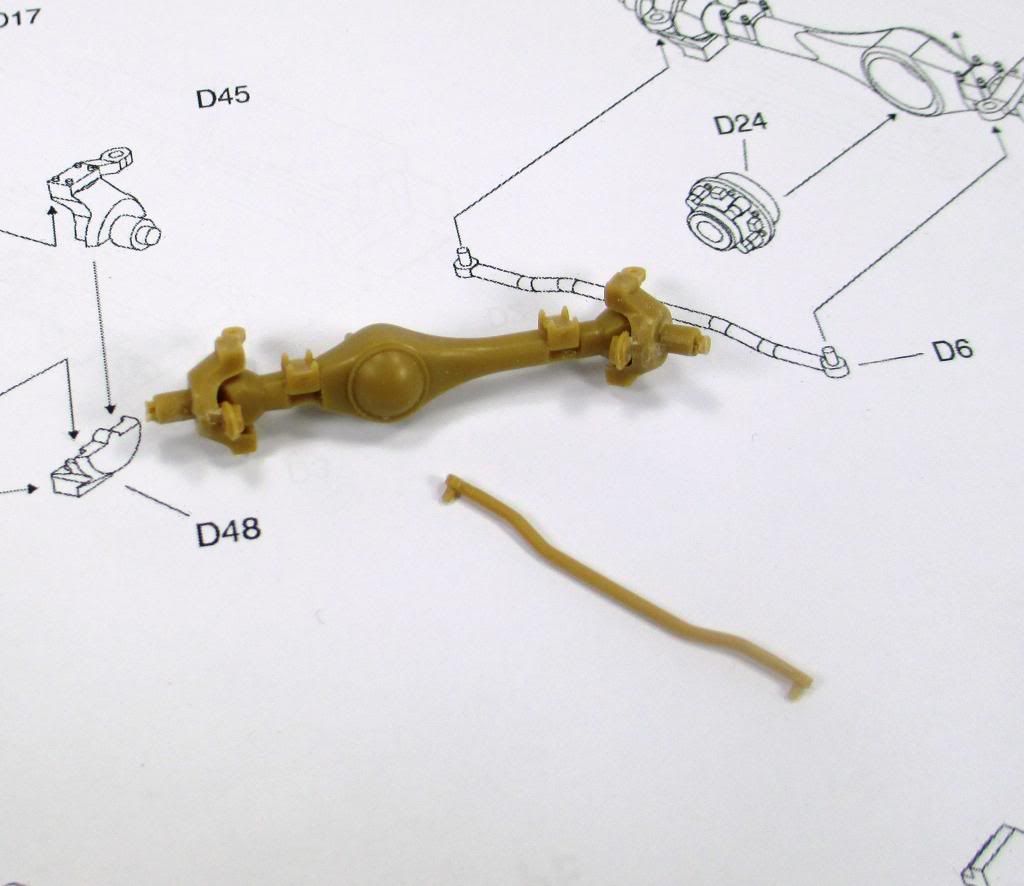 With a close look you can see that I found another small sinkie on what I think is a vacuum control. 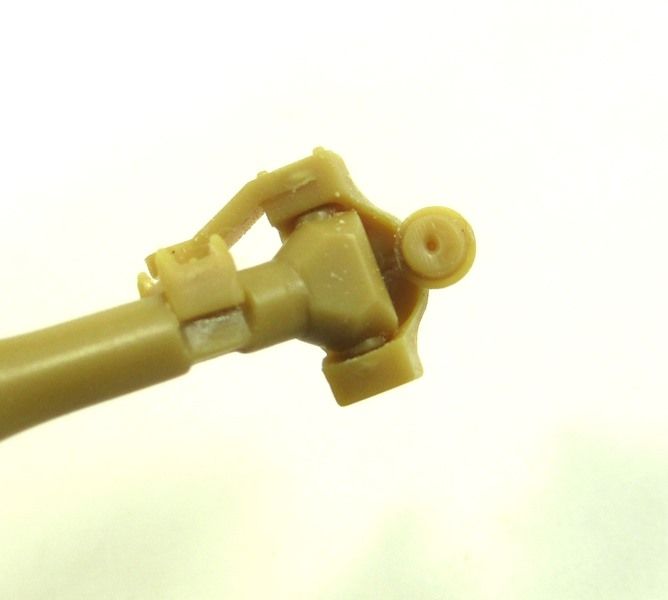 Easy fix with a little filler. If you noticed the steering control bar in the first pic, it is suppose to be glued into both ends. This of course means you would need to position the wheels prior to completion. NOT. I took two 1.7mm discs and 1.5mm nuts and glued the tip of the bar, which stuck up slightly from the opening...gluing just the tip to the round disc allows the steering to remain workable. 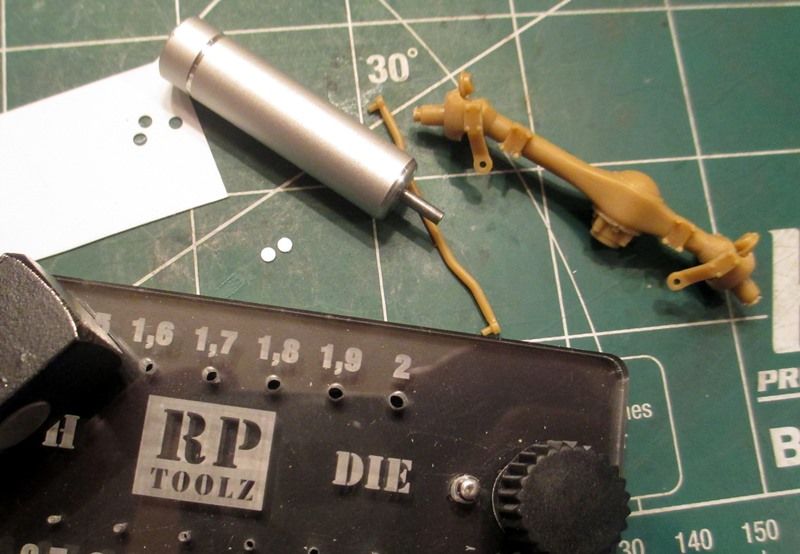 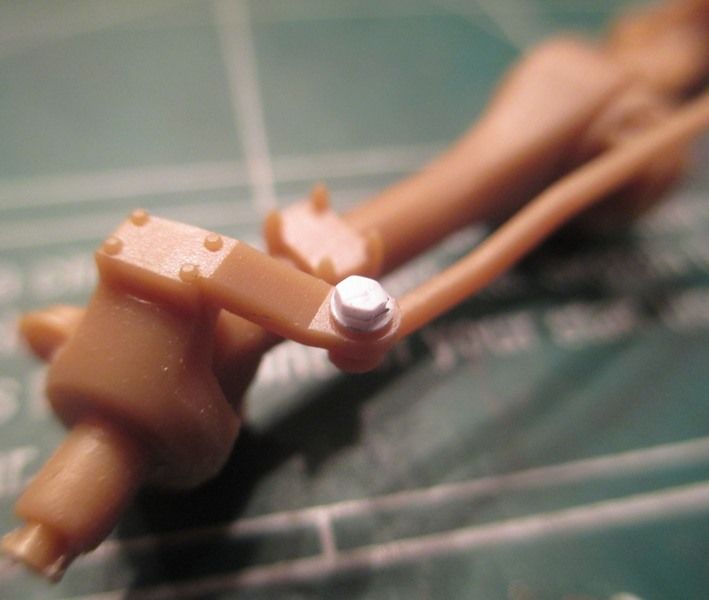 It shouldn't be too much longer before this get's installed, but I think it will work. I attacked those rear axle brackets. After getting them both bent up I chose to go the soldering route. 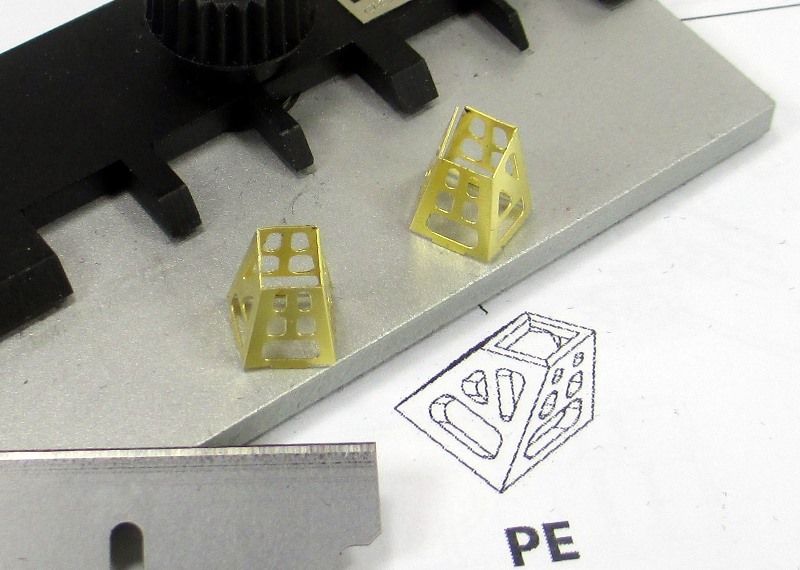 I swtch back and forth to what I tend to use when soldering...often is just some low temp soldering wire from Radio Shack but this time I went with some soldering paste. This comes in real small amounts in a syringe. But the amount you use for one of these just about fits on the tip of a toothpick. 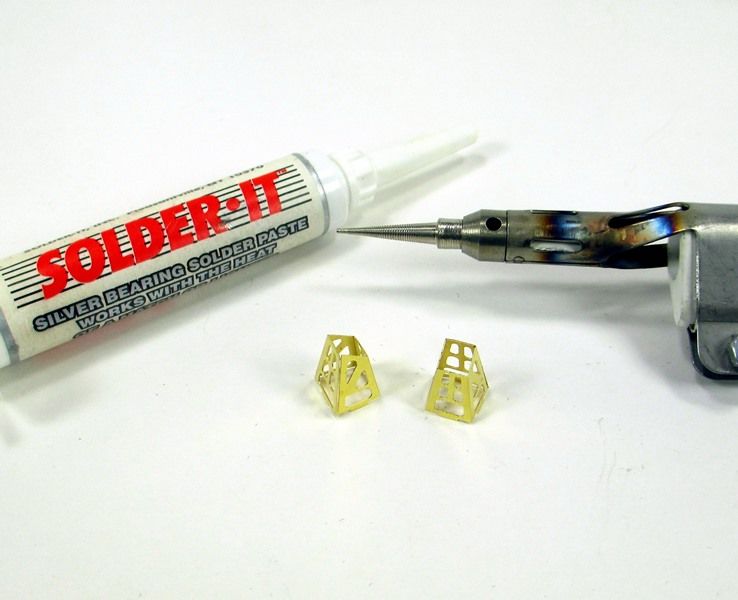 Always use flux! LOL! Even if the solder has it inside, as the paste does, this still aids the application. Place the paste at one end... 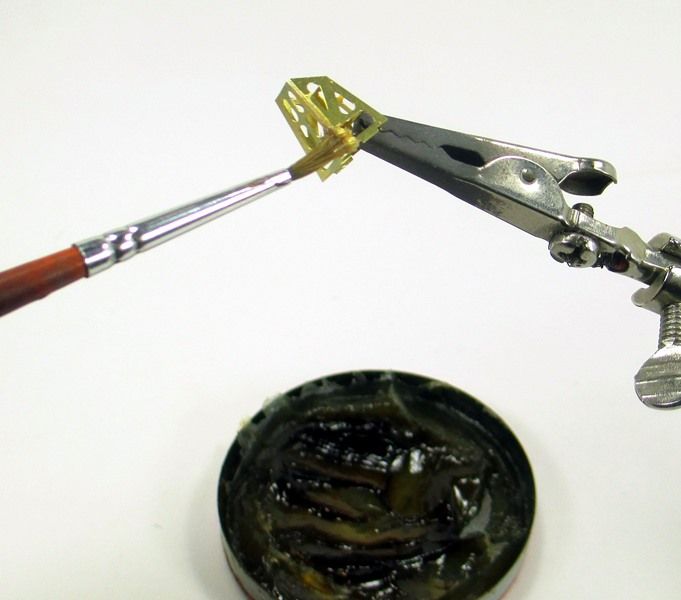 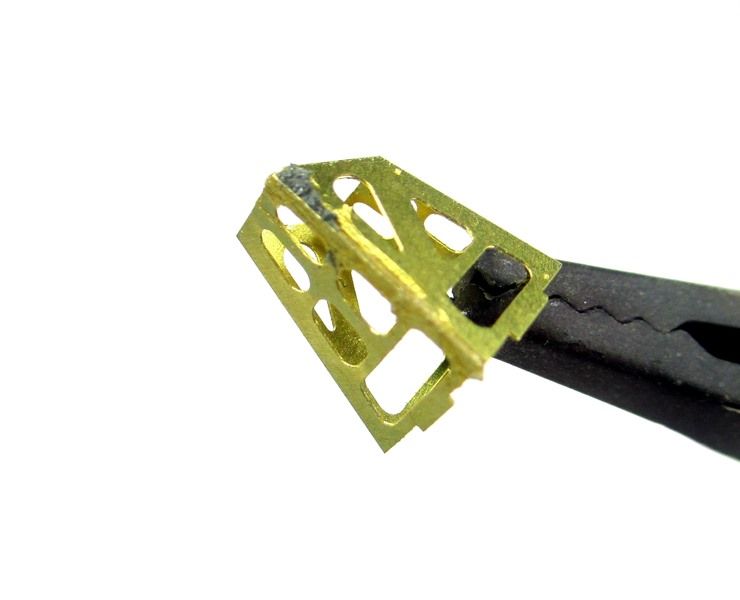 When you heat just one end, the end with no solder, the solder will travel in the direction towards the heat...it flows easily there where you have placed the flux. 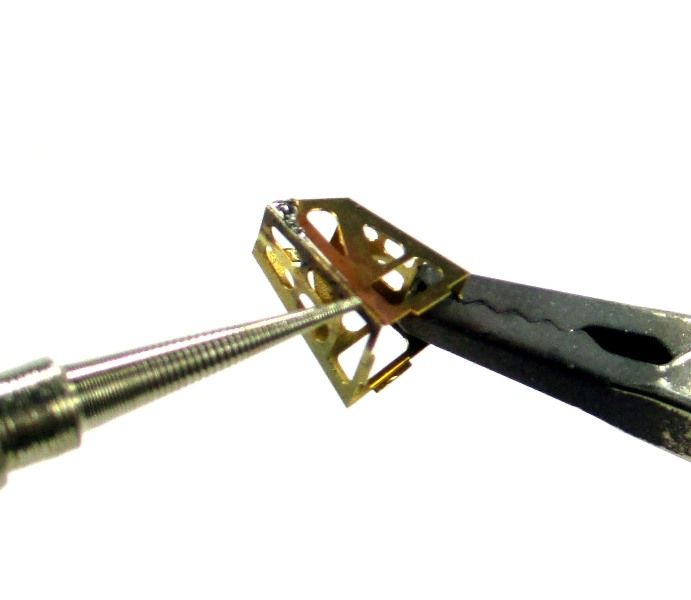 In wanting to keep my fingers busy, I started cleaning and prepping the fenders. 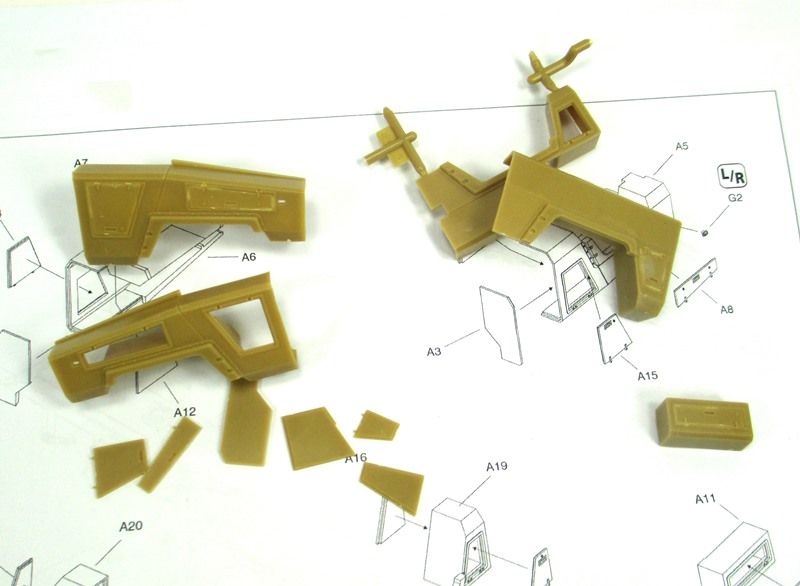 These are not too bad and if you wanted to, position the doors open...I think these are just placed on the exterior on the 1:1 so there are not a lot of interior detail but the sides so it is possible. I wanted these shut at the moment. 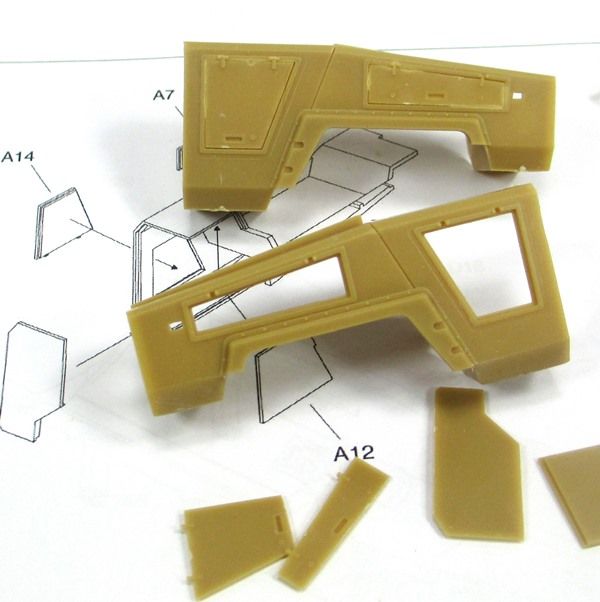 I might get to working on the undercarriage and/or the interior bit clean-up tonight shortly...let's see how the workload looks!! Thanks for tuning in!! |
|
M1Carbine
Senior Member
    November '23 Showcased Model Awarded
Member since: November 2012
Posts: 1,739
Nov 16, 2012 2:49:11 GMT -5
Nov 16, 2012 2:49:11 GMT -5
|
Post by M1Carbine on Jan 22, 2014 20:39:09 GMT -5
T - very nice and tidy soldering my friend. everything look awesome.
Bob
|
|
|
|
Post by wbill76 on Jan 22, 2014 20:45:07 GMT -5
Making good progress T! Brenda would definitely love to get her paws on some of those lovely parts. I have to keep her suitably bribed with chew bones instead!  |
|
|
|
Post by deafpanzer on Jan 22, 2014 22:14:27 GMT -5
Great process! You will have to teach me how to solder when we meet in September. LOL
Canada has a destroyer? Are you kidding me?!?!?
|
|
|
|
Post by TRM on Jan 22, 2014 23:07:40 GMT -5
Thanks Bob...much appreciated!! Thanks Bill! LOL...Chewies are a hot commodity here as well!! Thanks Andy!! I will make sure to pack the iron when we go!!  As for the Tin Can...thinking they got it off us in the 1st place!!  |
|
|
|
Post by bullardino on Jan 23, 2014 2:24:10 GMT -5
Thans for the SBS on soldering, it's something I want to try. The kit looks great and your job is top notch as always  |
|