|
|
Post by Mence on Jan 23, 2014 2:28:30 GMT -5
Looking good already, detail doesn't look too bad.
|
|
|
|
Post by TRM on Jan 23, 2014 21:52:10 GMT -5
Thanks Luigi! Watch Mr. Tony if you really want to see someone have at soldering!!  One of these days I should gather info from everyone and make up a SBS?? Worth a thought anyway!! Thanks Mence! The kit is pretty nice. I don't get to twisted over small shortcomings...EPM's, some sinkies...par for the course. I believe this kit can be had for under $30...worth the aggravation any day I think! |
|
|
|
Post by TRM on Jan 31, 2014 6:57:32 GMT -5
Ahh....a bit more progress! Cleaning up some interior parts 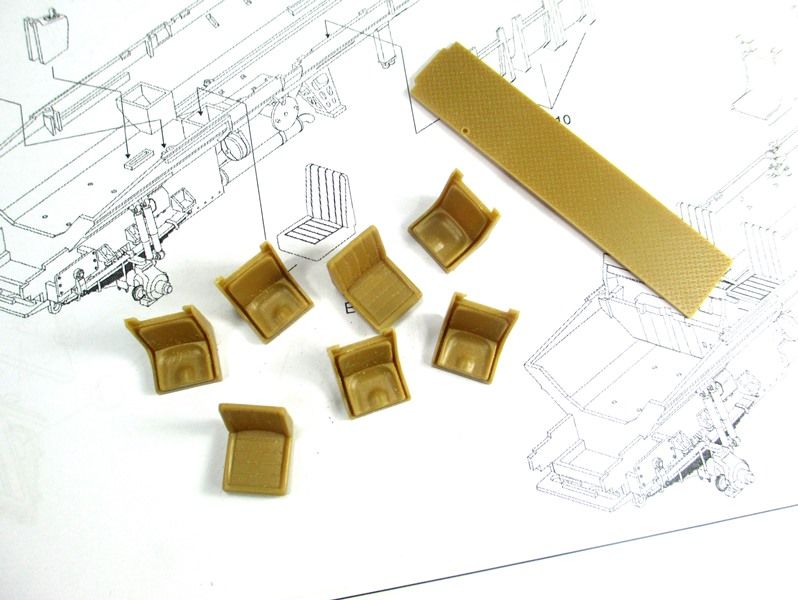 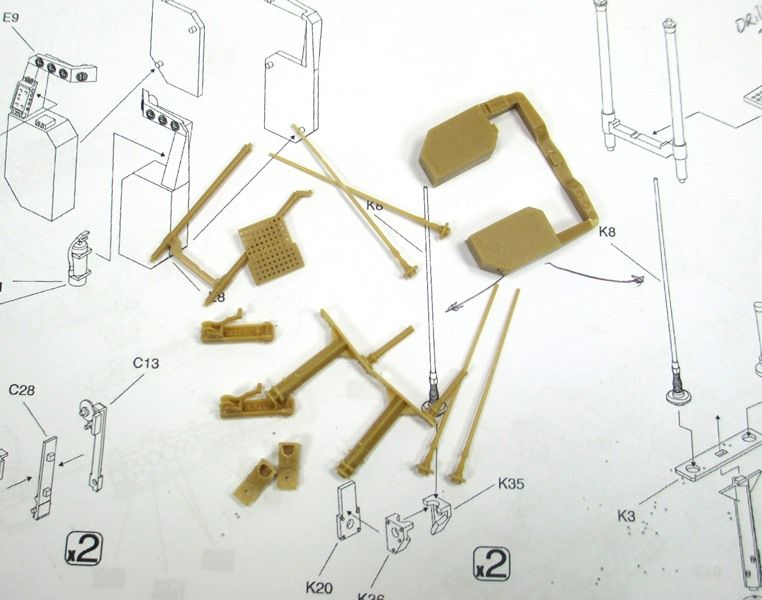 I though it be good to dtill out the grating for the small step plate under the main roof hatch 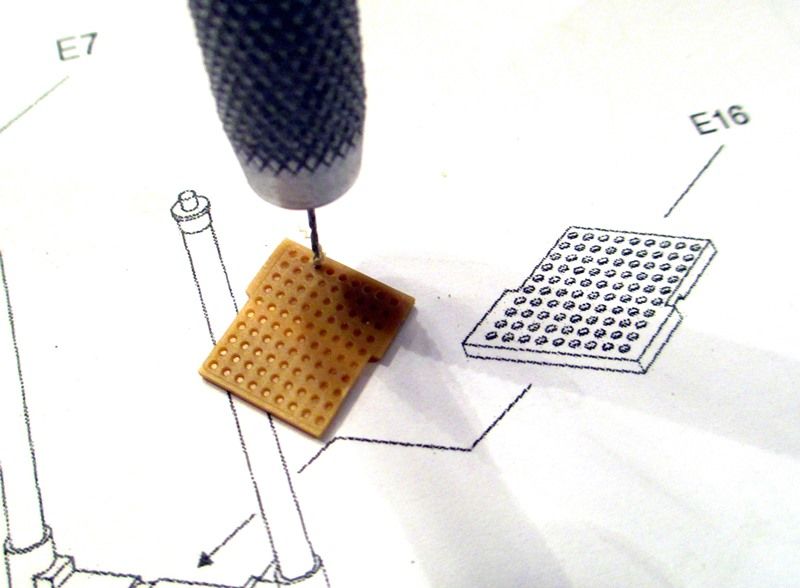 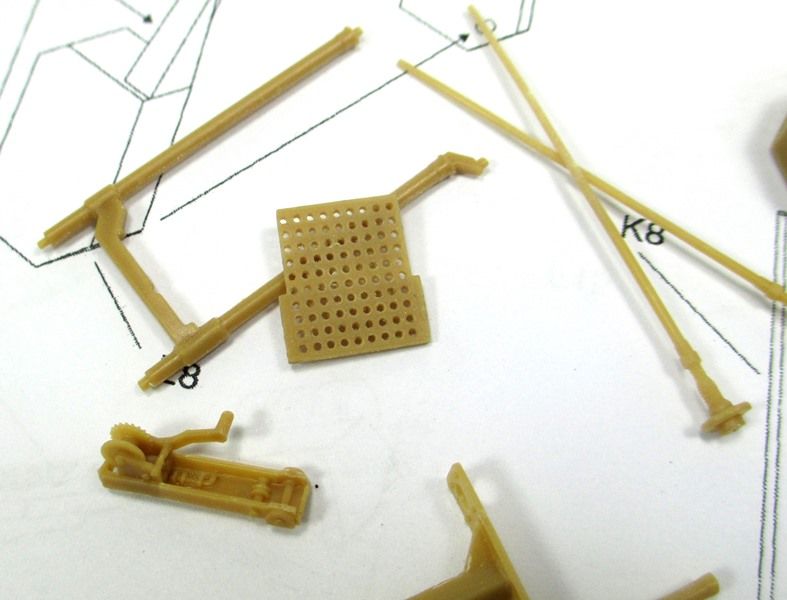 I cleaned part of the bench the other night and found something I picked up a while back. A nice little .50 Cal upgrade set... 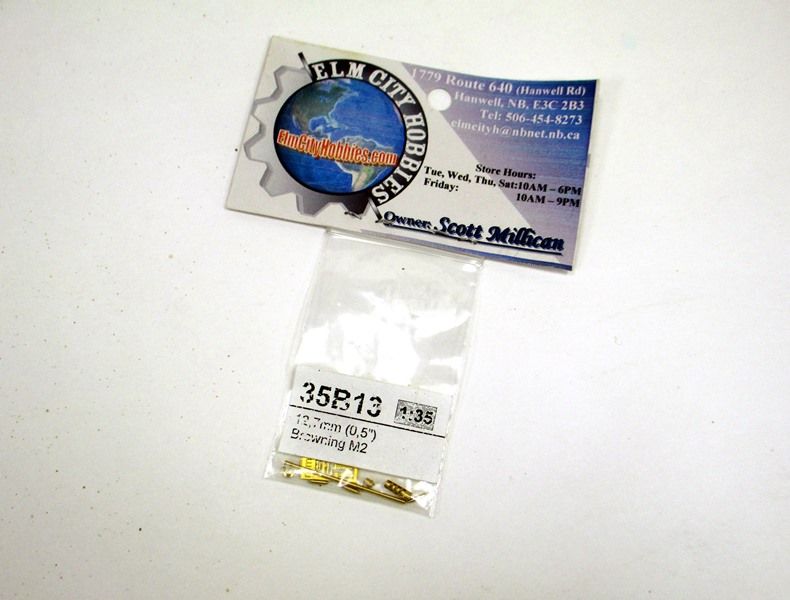 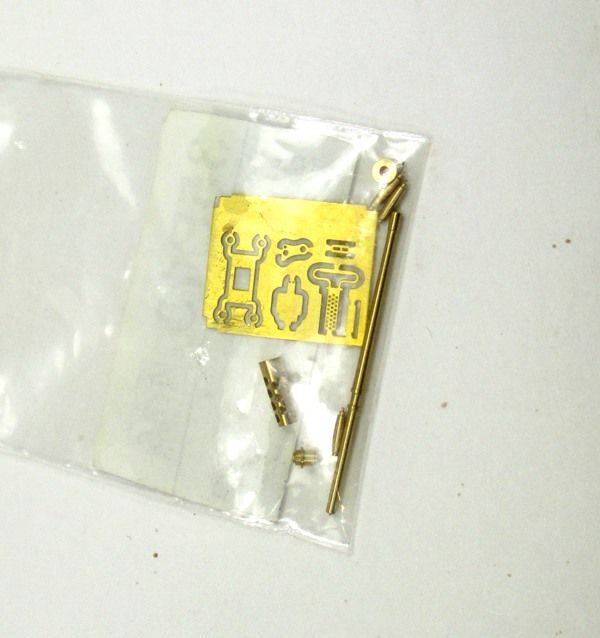 This might help to enhance the RWS once I get to it. 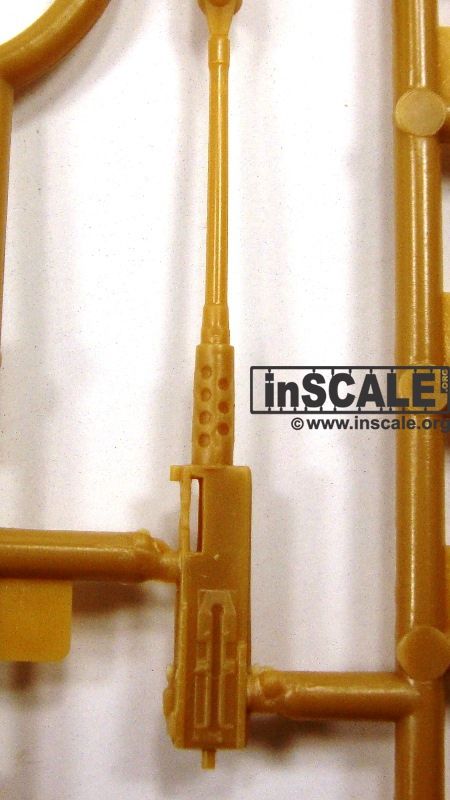 Not too bad for a kit part but it never hurts to add a little bling. In cleaning up some of the smaller interior parts I came across some undesired sinkies. Marked for now, I will get things filled up and sanded this weekend....small side-step! 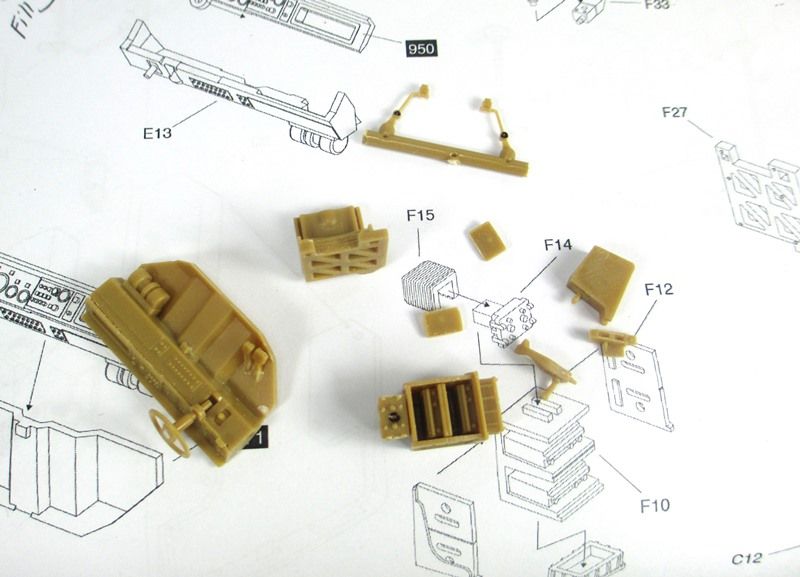 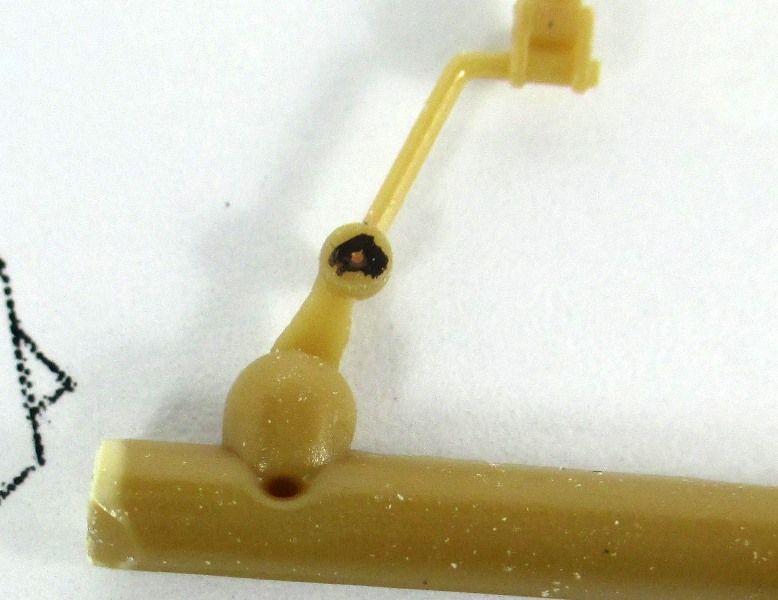 I started popping the dash together...again a small sinkie on the steering wheel. Nothing a little filler won't cure. 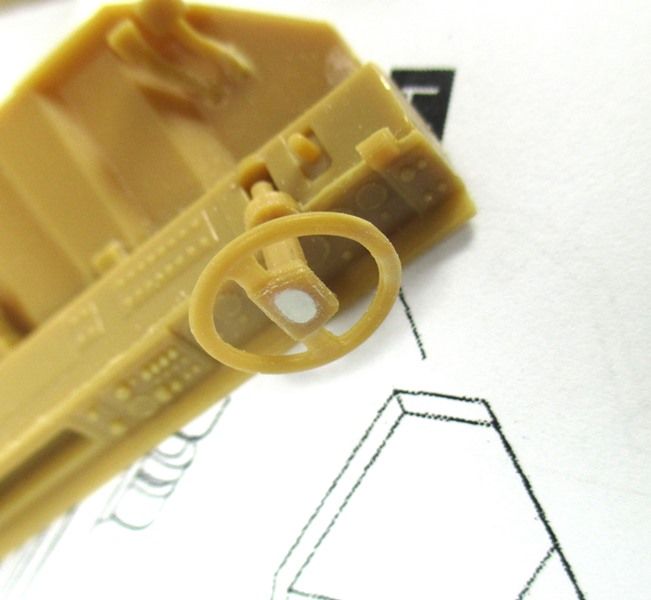 A little package arrived the other day for me. Some interior placards and bezels for the dash. There is solded outlines for the bezels on this kit but now decals to show them off. Archer to the rescue! The gauges are "US" but I am pretty sure I won't get beat up too bad for using them!!  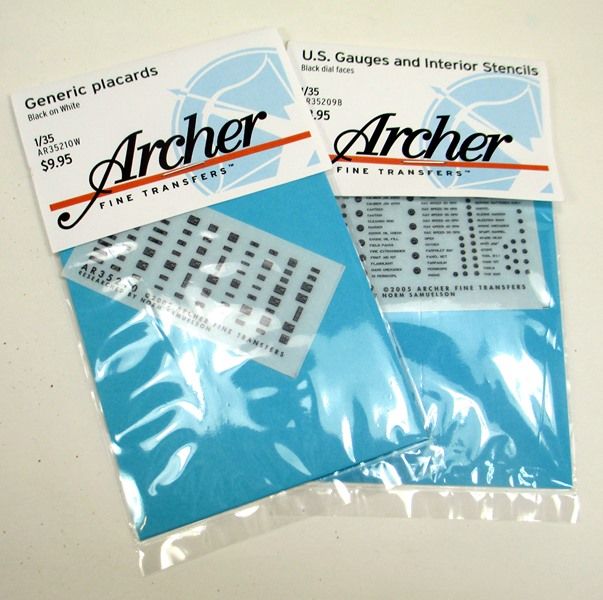 I popped out some bolt heads to enhance the undercarriage a little. A little "smoke and mirror" stuff in anyone feel inclined to pop their head behind the wheels later on. 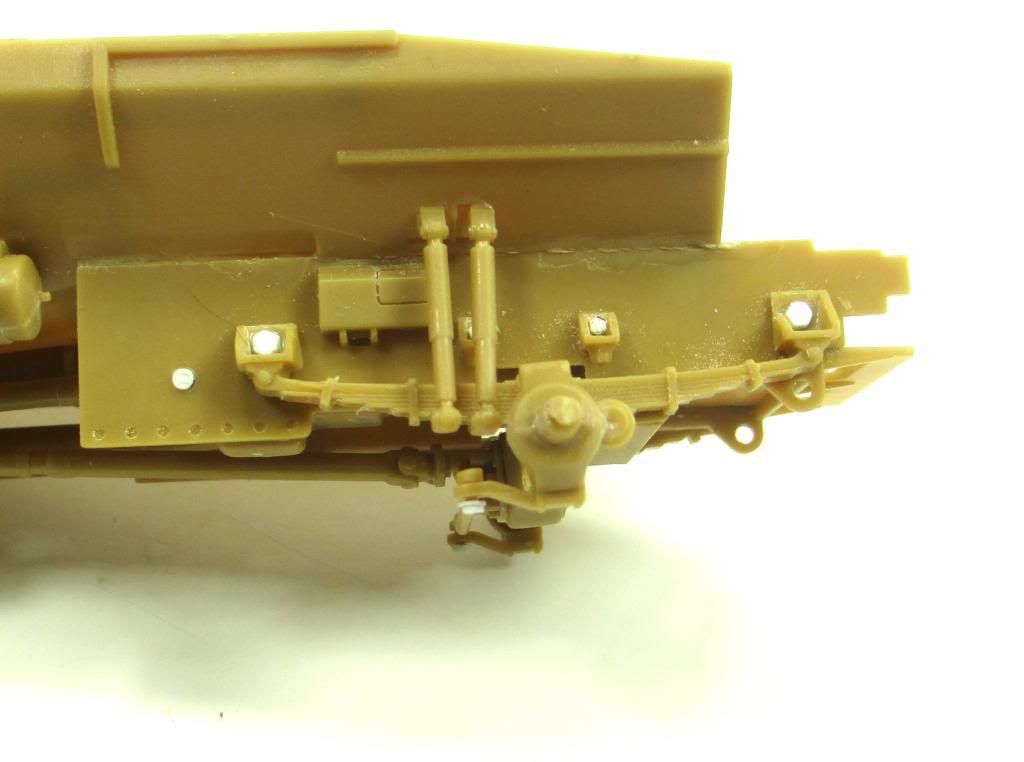 Here you can see the steering box and linkage...whne I made the front axel workable, I needed to pin the linkage as well. The swing arm needed to be repositioned, so it was easier to shave things off and then replace. 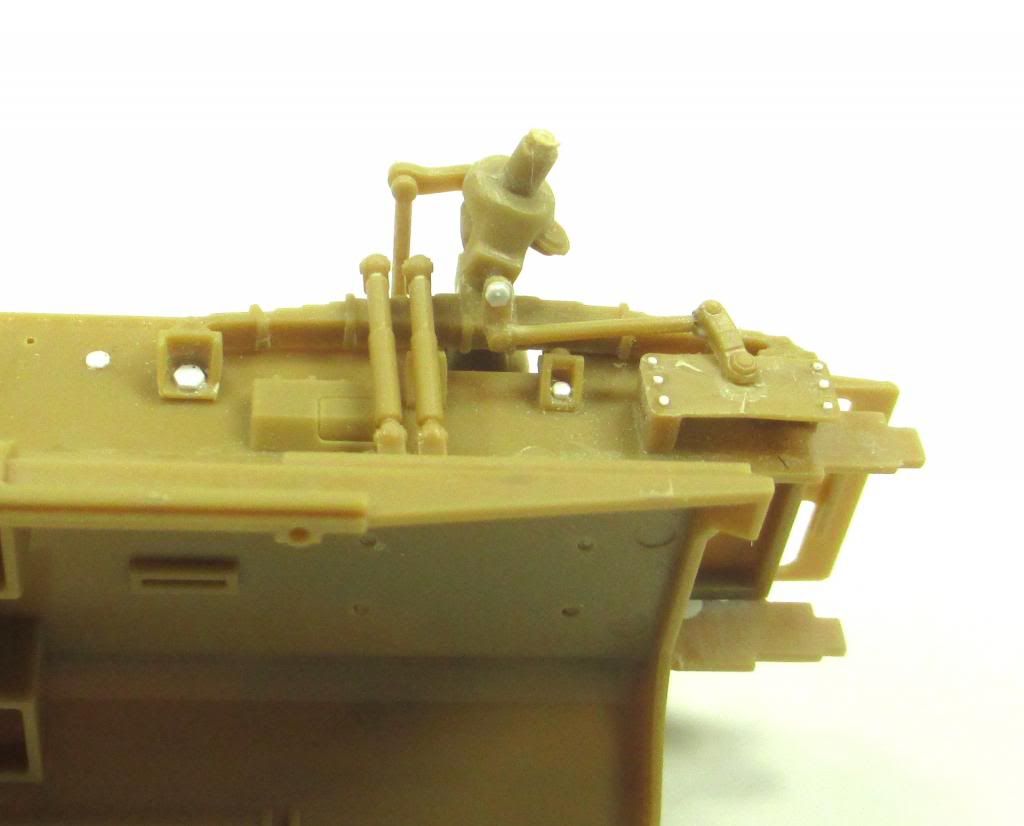 And then finally some attachement... 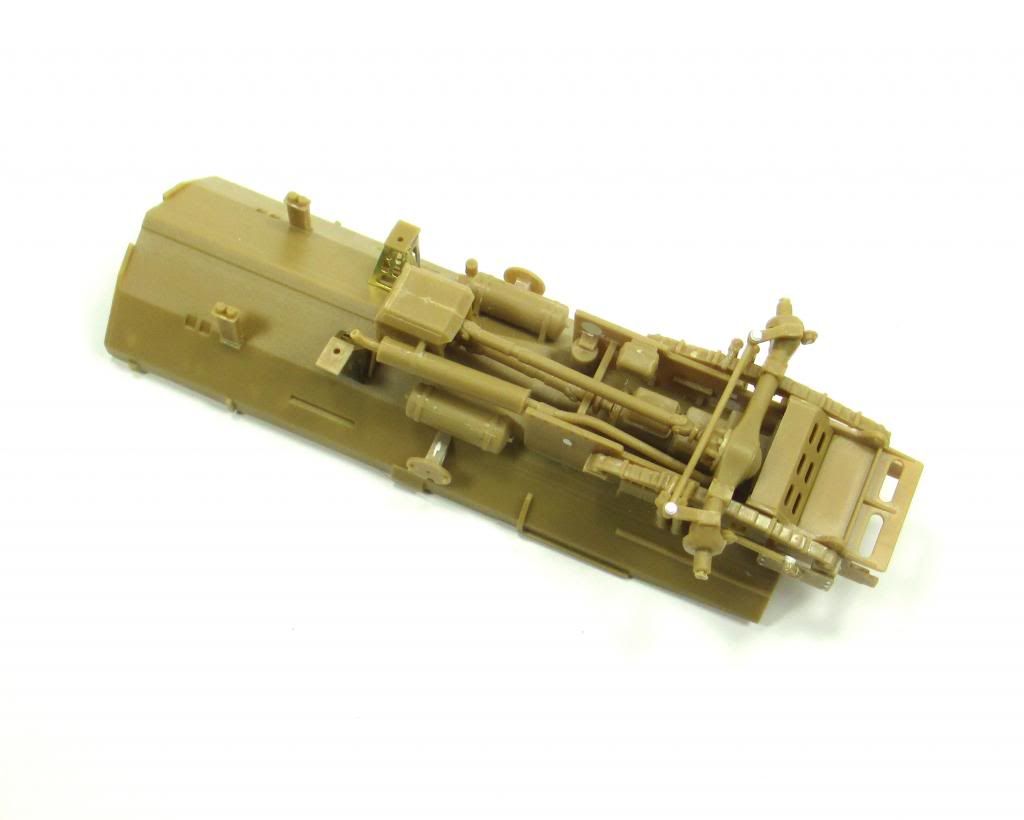 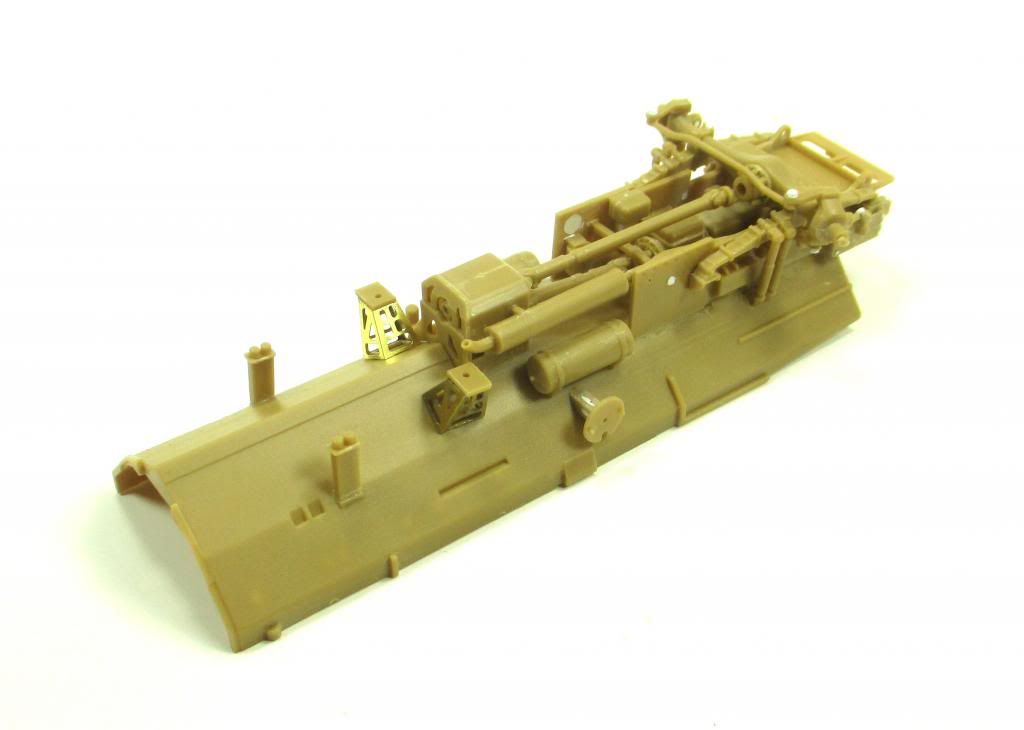 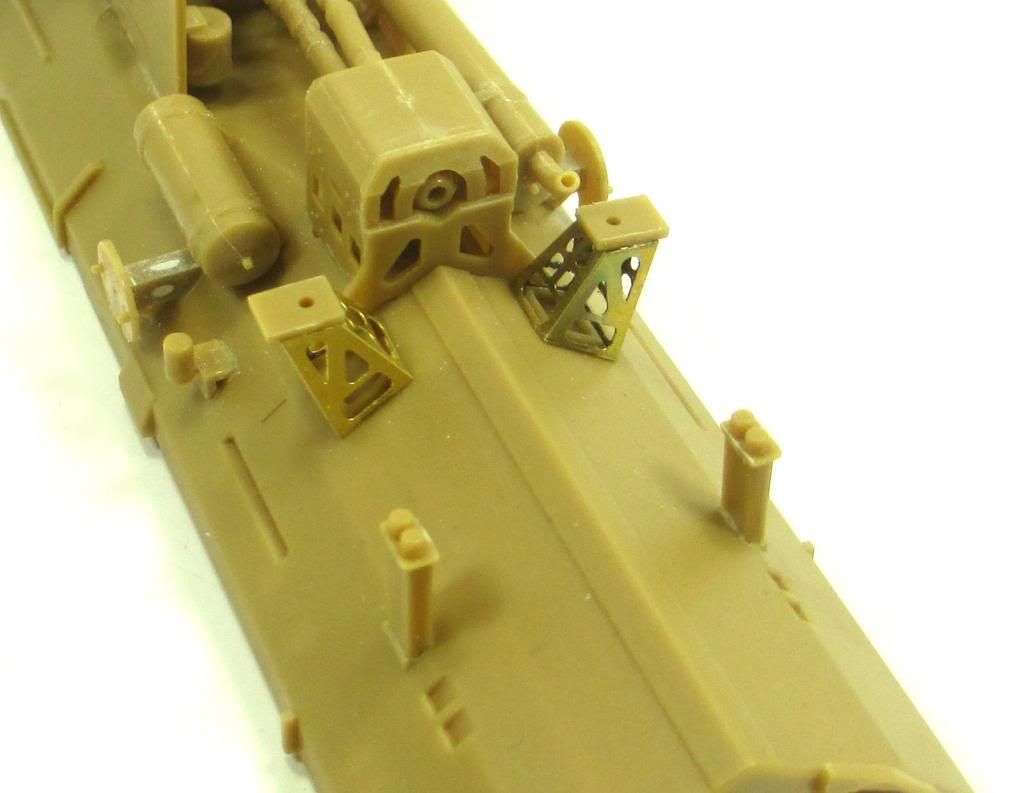 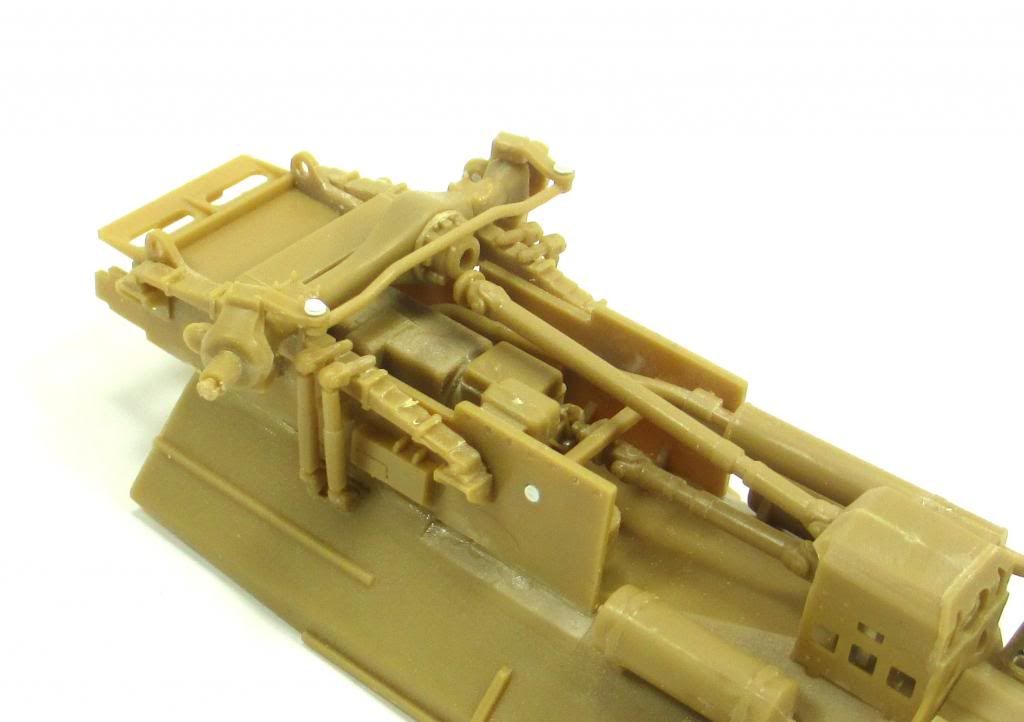 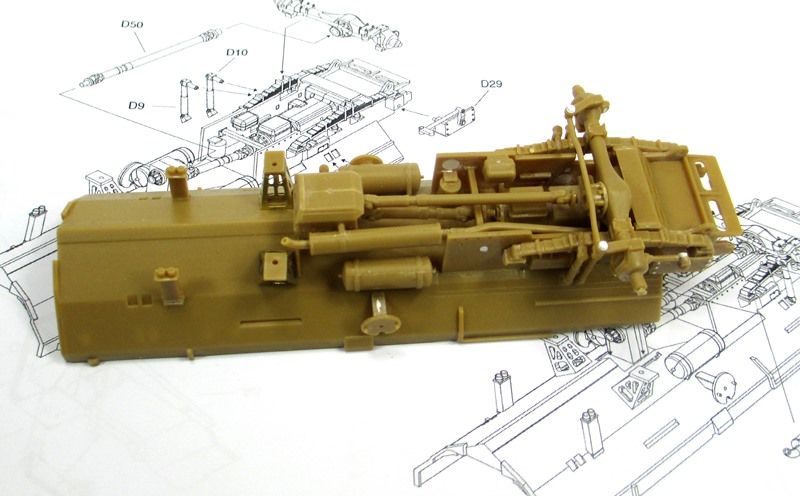 That's it for the moment...I am getting ready to start to mount thing into the interior sections and work my way onto the sies and rear of the exterior panels. 'til next time...thank for playing along!! |
|
Deleted
Member since: January 1970
Posts: 0
Dec 2, 2024 0:37:31 GMT -5
Dec 2, 2024 0:37:31 GMT -5
|
Post by Deleted on Jan 31, 2014 7:43:12 GMT -5
slips into a seat on the back row....... apologies for being late.
I have seen this knocking about for a little while now and was curious as to how it measured up...... looks good and for the price very reasonable indeed.
great work so far, coming together well.
|
|
|
|
Post by TRM on Jan 31, 2014 13:15:10 GMT -5
No worries on the timing Vlad! Glad to have you along...plenty of time left to go too!!  Thank you!! |
|
|
|
Post by rbaer on Jan 31, 2014 14:21:02 GMT -5
Nice work, T. It looks like that kit has more sink holes than Florida.
|
|
|
|
Post by wbill76 on Feb 2, 2014 11:47:48 GMT -5
Making good progress T! The number of sink-marks is a disappointing annoyance I'm sure but you're handling each in stride.
|
|
|
|
Post by bullardino on Feb 3, 2014 12:38:23 GMT -5
Magnificent job, T. I really like all the enhancements you are adding along the way
|
|
|
|
Post by Leon on Feb 3, 2014 20:39:14 GMT -5
Just getting caught up Todd,nice work on the steerable steering.  |
|
paulh.
Senior Member
   
Member since: November 2011
build, fail, learn, succeed - ENJOY
Posts: 2,389
Nov 15, 2011 15:54:51 GMT -5
Nov 15, 2011 15:54:51 GMT -5
|
Post by paulh. on Feb 4, 2014 6:59:44 GMT -5
Nice progress Todd.
Looking forward to the innards on this one.
P
|
|
|
|
Post by Deano on Feb 4, 2014 10:31:52 GMT -5
Excellent detailing Mr T , look forward to updates buddy!
|
|
|
|
Post by TRM on Feb 9, 2014 22:28:45 GMT -5
Rich - Thank you Sir! The deeper I dig there are many sinkies popping up. This does not change my thought too much on the kit, I still like it and has been fun so far to work on. I just go into fill and sand mode and forget about being bent out of shape from the little holes being there!!  Dicky - Thank you!! The steering didn't really "need" to be done, but figured since I was there anyway....  Leon - Thanks Buddy!! Appreciate you stopping in!!  Paul - Thank you!! Working my way into the inside my friend!! A little bit of work stands in the way 1st!!  Deano - Much appreciated!! No need to wait any longer than you and the rest waited for me to respond from the comment!! Ahhh, time for a quick update on this one! I managed to squeeze some time whittling away at this one. Not wanting to waste too much time typing away, I will get right to it... Moving forward I grabbed the upper section of the RG and began preparations to work on the interior. There were a couple items to tend to first. Since Kinetic uses the same model for a couple variants of the vehicle, there is a round section on the roof that gets installed so that one of the two masts can be installed. Unfortunately the fit was not completely desirable. So some filling and sanding to be done.   I took the liberty of adding my own handles... The interior had its share of side-steps. There was a couple of EMP's on the roof, but again, some filling and sanding and all is good in the world of plastic!!  The rear door was started as well and again, I replaced the grab handle here using some Armor Farm Track wire. There is still the lights to contend with and some PE grates but there will need of some painting before I head down this path!!  I decided to spruce up the aerials a bit. A little bit of 0.015" solder wire did the trick.  Again I ran into a sinkie to deal with. I ended up removing the knob details off the face of the receiver, filling, sanding and then replacing the knobs as best I could for the moment.  The back or the rack mount is actually seen after the window construction, so I added some more soldering wire to liven things up!  Oh look...an RG Toilet seat!!  Not really, this is the main hatch to access the RWS. I wanted to show the hatch in the open position. This is a 2-piece part and able to just position open but I thought the detail was a bit light. So I cut out the hinge barrel and control and replaced with some aluminum rod and styrene. I managed to make up a small bracket and control lever which was lacking in this kit.  Time to move to the lower end again! I had to clean up the front bumper as the corner were sunk a bit...top and bottom.  If you have a keen eye, you would have noticed the wire and those black rubbery things sticking out where the engine would have been if this kit came with one...This next pick should explain what is going on down there.....  Some hydraulic lines...........  I keep doing this to myself. I could have been happy just building this one straight, but once you add one thing...that becomes something else and so on and son and...... If I play dummy...wait, that's not right...If I play around AND dummy this up for a second, this is what I have!  Slowly this is coming together. I will be bogged down this week with a few personal items and a couple of projects I HAVE to move forward but will be kicking this back to the front line by the end of the week I think!! I will leave you with a couple more additions to the mix here. I grabbed some VALUE GEAR off the shelf and I think I can find a home for a few pieces from the Universal Gear package. There is some ammo boxes from Voyager which I picked up for a steel on the Web and finally my thought, intentions...whatever, were to pop a figure or two with this by the time I finish. Black Dog comes to the rescue with the two figure Canadian set...I took a peek in the box with these and I think I like what I see!!  I think that is all I have for this one right now!! As always, thank you for taking the time to swing in!! |
|
|
|
Post by Leon on Feb 9, 2014 22:47:17 GMT -5
Making really good progress Todd.Great work on the little extra details.   |
|
|
|
Post by TRM on Feb 9, 2014 22:53:37 GMT -5
Thank you again Leon!!  |
|
|
|
Post by bullardino on Feb 10, 2014 4:03:23 GMT -5
All you do unavoidably becomes a source of great inspiration and awe. Mighty fine job, T.
|
|
|
|
Post by TRM on Feb 10, 2014 6:02:14 GMT -5
Thanks Luigi...most appreciated!  |
|
|
|
Post by wbill76 on Feb 10, 2014 21:04:25 GMT -5
Nice detail work there T, love all the little wiring details and upgrades you're working into this one.
|
|
|
|
Post by deafpanzer on Feb 10, 2014 22:33:33 GMT -5
Love the figures set... they are perfect!
|
|
|
|
Post by TRM on Feb 11, 2014 6:15:12 GMT -5
Thanks Bill! Still not sure why I do this to myself though!!  Thanks Andy, the set should fit nicely I think to add some flavor to the mix. |
|
|
|
Post by ceresvesta. on Feb 11, 2014 8:16:13 GMT -5
Whoooo, I am soooo in!
Great build so far Todd.
|
|
|
|
Post by TRM on Feb 11, 2014 10:01:25 GMT -5
Thanks Phil!! Glad to have you along for the ride!  |
|
|
|
Post by TRM on Feb 11, 2014 14:44:04 GMT -5
LOL..I should have headed your warning Dicky!! Can't stop now!!  One of these days though, you will have to let me peek over your shoulder while you cleanly bend that small white wiring!!!  Thank for the kind words too...very encouraging!!!! |
|
|
|
Post by TRM on Feb 11, 2014 14:49:01 GMT -5
LOL...Everytime I go to bend some it breaks or I have a beautiful 90 degree angle!!!  MORE HEAT!!! |
|
|
|
Post by Deano on Feb 11, 2014 15:43:23 GMT -5
Yeah at the risk of repeating myself that is some mighty fine detailing ...lookin the business mate !
|
|
|
|
Post by TRM on Feb 11, 2014 16:30:30 GMT -5
Thanks Deano...much appreciated!!
Honestly Dicky, the last time I tried, I think I was trying to bend much thicker than 1mm...will certainly invest in some .5 & 1mm stock and give it a go again! The solder and wire work well for the most part but there are the advantages to working with the white! Time and patience would probably help!! LOL!!!
|
|
modelfreak72
Full Member
  
Member since: January 2012
Why worry, each of us is wearing an unlicensed nuclear accelerator on his back.
Posts: 1,479
Jan 28, 2012 23:21:46 GMT -5
Jan 28, 2012 23:21:46 GMT -5
|
Post by modelfreak72 on Feb 12, 2014 11:55:20 GMT -5
Got some mighty fine detail work going on around here! Geez I got some catching up to do, been away to long. Keep the work work coming sir!
|
|
|
|
Post by TRM on Feb 12, 2014 14:57:41 GMT -5
Hey Pete!! Thanks for stopping in and for the kind words!!
|
|
Deleted
Member since: January 1970
Posts: 0
Dec 2, 2024 0:37:31 GMT -5
Dec 2, 2024 0:37:31 GMT -5
|
Post by Deleted on Feb 12, 2014 15:27:37 GMT -5
great additions this is going to look good
|
|
Deleted
Member since: January 1970
Posts: 0
Dec 2, 2024 0:37:31 GMT -5
Dec 2, 2024 0:37:31 GMT -5
|
Post by Deleted on Feb 12, 2014 16:18:48 GMT -5
Superb build of a great kit T  Glad I found it!  |
|
|
|
Post by rbaer on Feb 12, 2014 16:29:15 GMT -5
I'm really diggin' the extra detailing.
|
|