reserve
Senior Member
   
Member since: July 2012
Si vis pacem para bellum
Posts: 2,372
Jul 11, 2012 9:11:45 GMT -5
Jul 11, 2012 9:11:45 GMT -5
|
Post by reserve on Feb 24, 2016 19:01:29 GMT -5
Great detail work on both recent items I can only imagine how good they'll look under paint
The guys at the LHS here are always badgering me to join one of the local modeling clubs and I always give a non-committal response. Why? For the very same reasons you give concerning the local IPMS who needs to be around people like that
Regards,
Mark
|
|
|
|
Post by Leon on Feb 24, 2016 19:48:06 GMT -5
Just keeps getting better and better PJ!  |
|
|
|
Post by panzerjager2 on Feb 24, 2016 22:13:30 GMT -5
Thanks again to all for the very kind words.......
To Mark, I just wanted to say NOT all IPMS chapters are like the Seattle, NO FAR from it. I travel to Portland and Arizona JUST for those chapters....my point is don't throw the baby out with the bathwater.....give others a try. Please note I was around the Seattle modeling "scene" for almost 20 years. Then I found others like I mentioned.
Anyway that's one mans view
|
|
|
|
Post by panzerjager2 on Feb 28, 2016 2:48:23 GMT -5
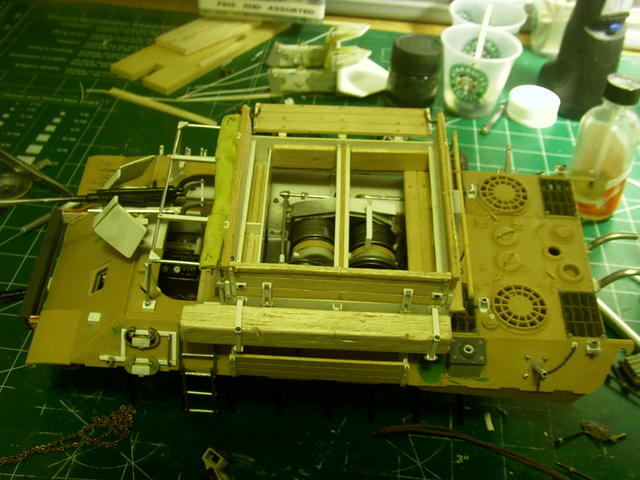
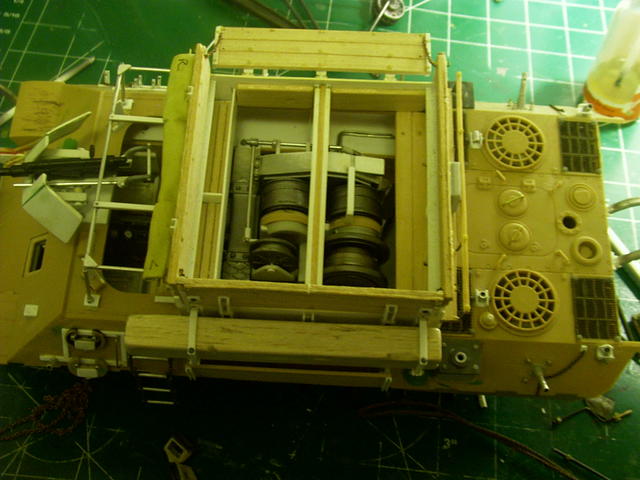
OK this is the 2nd real test fit of the 40 to winch, It fit pretty good, there's an issue with the placement of the "rear" support beam, but that's gonna be a relative easy relocate.
As to the winch itself, this thing currently at about 90% complete has 130 parts/pieces. I think it's gonna top out at 175.
|
|
|
|
Post by dierk on Feb 28, 2016 4:32:35 GMT -5
If my knee wasn't so buggered at the moment, I'd be jumping up and down with excitement!
|
|
vlpbruce
Full Member
  
Member since: March 2013
Posts: 1,463 
|
Post by vlpbruce on Feb 28, 2016 8:37:15 GMT -5
Awesome work PJ.
|
|
Deleted
Member since: January 1970
Posts: 0
Nov 25, 2024 20:00:21 GMT -5
Nov 25, 2024 20:00:21 GMT -5
|
Post by Deleted on Feb 28, 2016 9:56:41 GMT -5
Like this?

|
|
|
|
Post by wbill76 on Feb 29, 2016 15:59:57 GMT -5
Well worth all the effort you've put into the winch PJ, nice!
|
|
|
|
Post by deafpanzer on Mar 4, 2016 23:52:18 GMT -5
Those wood planks look fantastic!
|
|
|
|
Post by Leon on Mar 5, 2016 19:13:50 GMT -5
Awesome finish on the Ferdinand PJ! Looking forward to seeing it at home on the base.  |
|
|
|
Post by Leon on Mar 5, 2016 19:17:49 GMT -5
I'm with Bill on the effort you put into the winch PJ!  That is some great scratch work.  |
|
|
|
Post by panzerjager2 on Apr 2, 2016 17:17:18 GMT -5
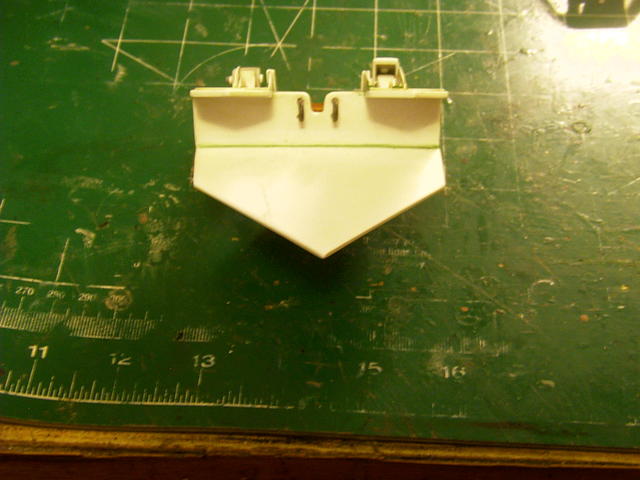
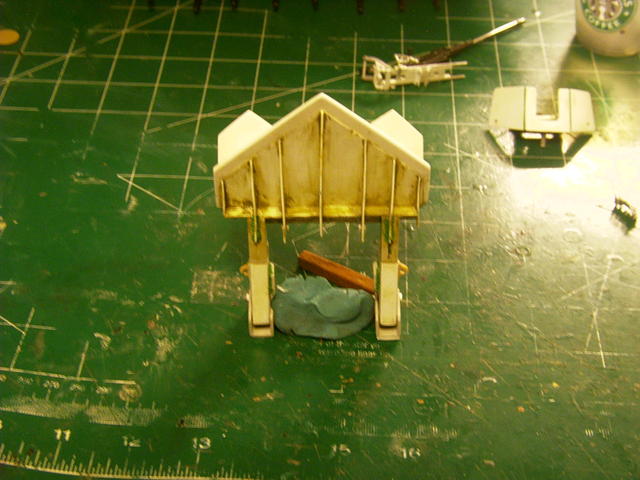
Well things have been "out a wack" lately so I haven't been building as much. Today I began working on the Spade/Sporn for the BergePanther. Please remember that the base of the Spade is from 25 years ago. I have updated elements, and am gonna finish it totally.
So far I've added weld lines, braces, hooks and new locking loops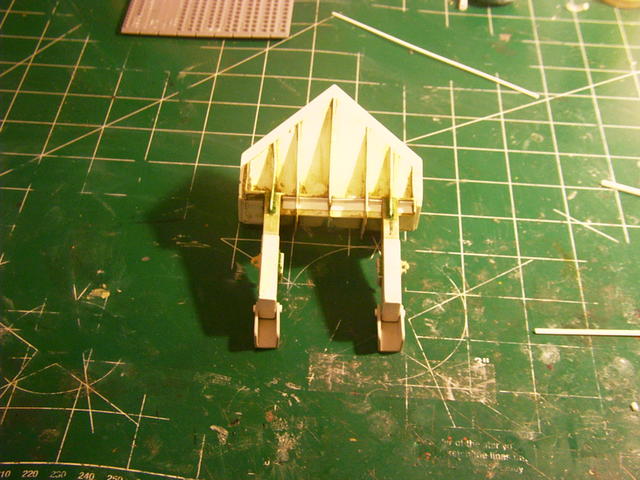 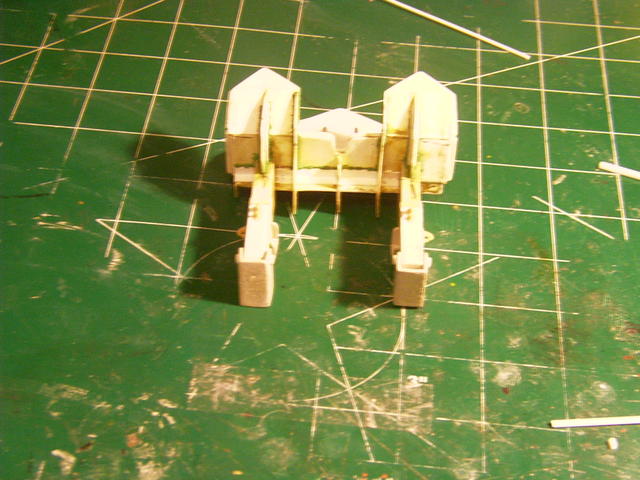
|
|
Deleted
Member since: January 1970
Posts: 0
Nov 25, 2024 20:00:21 GMT -5
Nov 25, 2024 20:00:21 GMT -5
|
Post by Deleted on Apr 2, 2016 17:33:52 GMT -5
nICE PROGRESS. wHAT TECHNIQUE DO YOU USE FOR THE WELDS? 
|
|
|
|
Post by panzerjager2 on Apr 2, 2016 22:52:04 GMT -5
Well that is a great question.... There are two techniques I use, like and have got a handle on. They are:
1). Milput works great. First you mix per instruction, then roll into fine threads(?). Applied directly to the area such as on the crane mounts for the Berge. Then using a toothpick simply "teeth" the putty till it takes on that weld look.
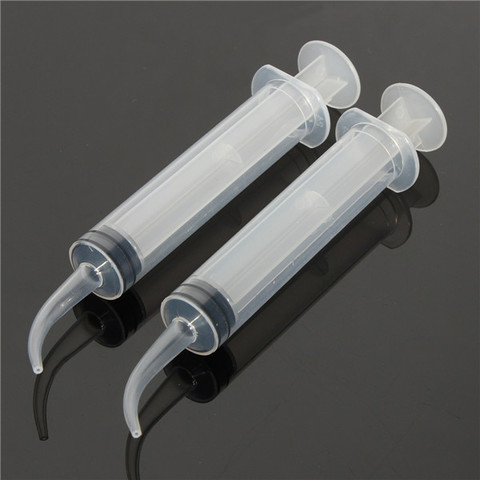
2). Take a syringe, purchased at Hobby Town USA, (sorry for the plug, but that's the only place I have found them. See picture) Fill it with Green or White Stuff putty. Apply directly to the area. Again go over it with a toothpick
.
That's what I do...hope it helps
|
|
|
|
Post by Leon on Apr 3, 2016 3:55:34 GMT -5
Nice work on the spade PJ!  |
|
Deleted
Member since: January 1970
Posts: 0
Nov 25, 2024 20:00:21 GMT -5
Nov 25, 2024 20:00:21 GMT -5
|
Post by Deleted on Apr 3, 2016 7:25:26 GMT -5
Great! Thanks! 
|
|
vlpbruce
Full Member
  
Member since: March 2013
Posts: 1,463 
|
Post by vlpbruce on Apr 3, 2016 7:42:43 GMT -5
Excellent work PJ.
|
|
|
|
Post by panzerjager2 on Apr 7, 2016 10:39:52 GMT -5
Well lets hope that these pic's are better that the usual......
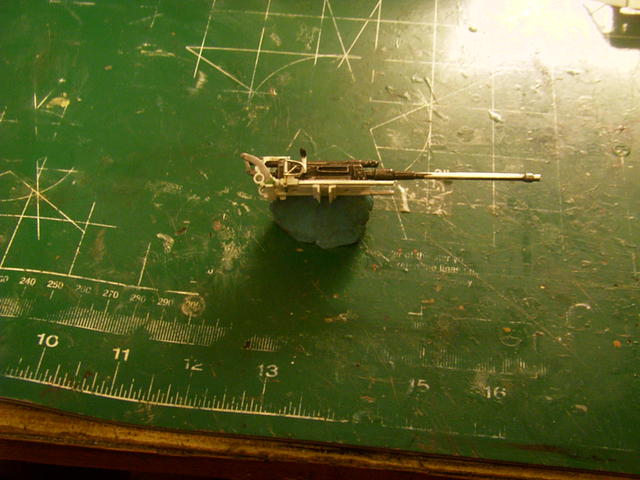
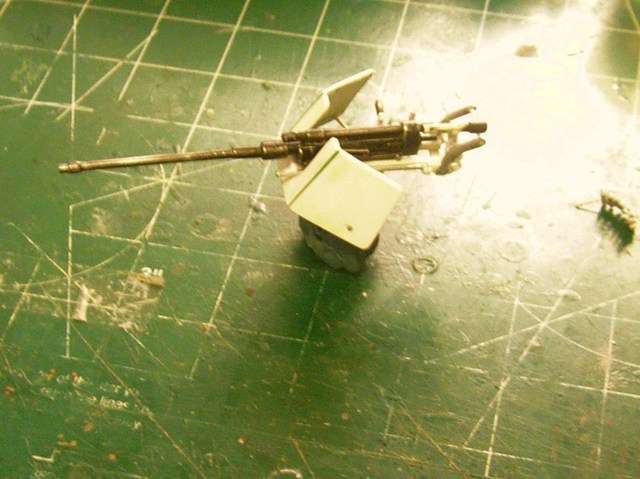
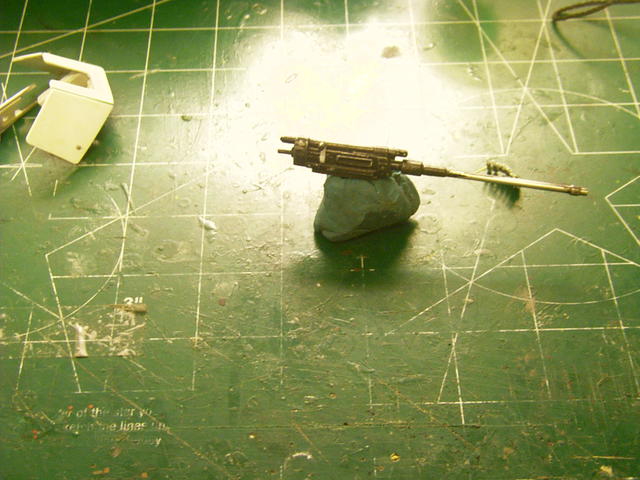
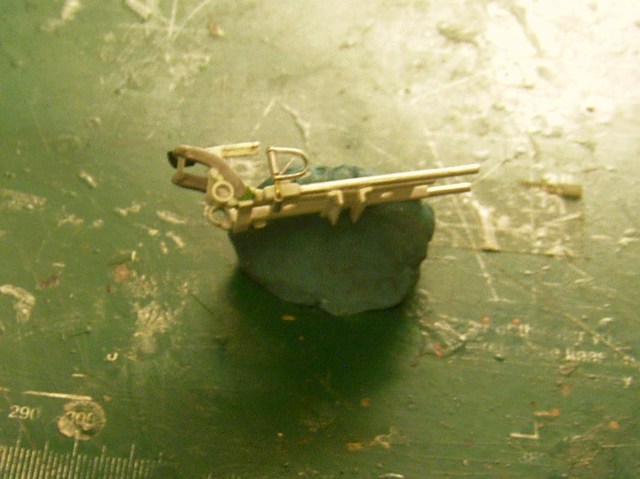
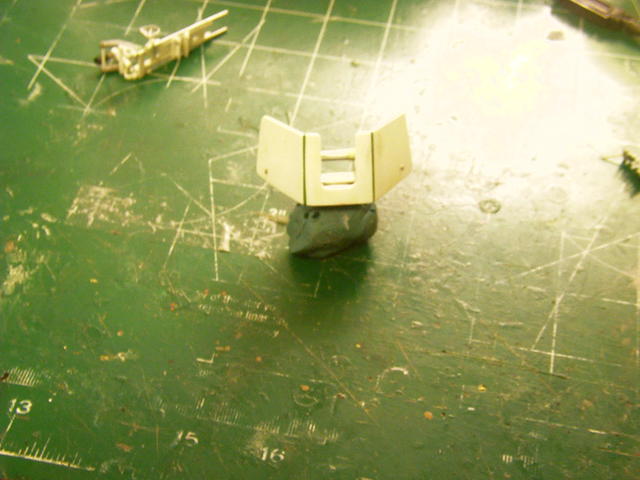
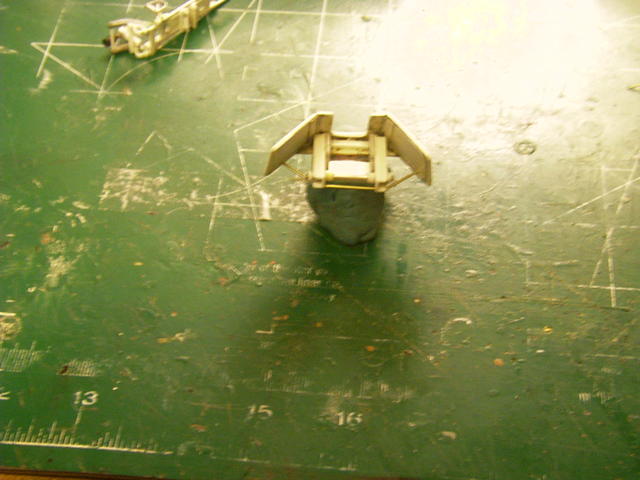
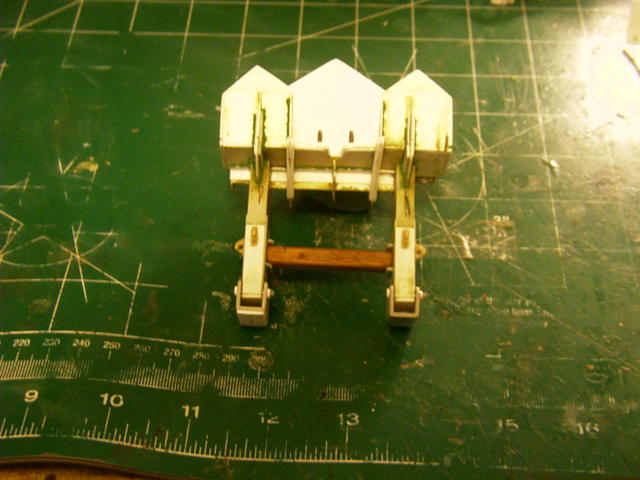
So the back story on both the 151 2.cm and the Spade/Sporn is: (this maybe useful for those thinking of building a BergePanther)
The Spade as a rule were weak structurally. Not completely FUBAR, but in need of reinforcement at key points. Now since my represents a "refurbished" BergePanther, the crew has field modified this repair. To include lateral support between the arms. And support to the vanes that run vertically.
Now the MG 151 (2.cm ) IS NOT the standard weapon for a Demag produced BergePanther. That would be a KWK 38 2.cm gun. This weapon, mount and even sighting system have been changed or completely upgraded. I did this because I like "tweaking" the norm as it were. The really cool twist is that the scope/sight actually has lenses...no way I can take a pic of it....we all know I can't take a pic worth a @#%^&$@.
|
|
|
|
Post by dierk on Apr 7, 2016 11:27:55 GMT -5
Love your attention to detail, and the subtle changes you've introduced to give the Berge some individuality! Karma+1 me thinks.
|
|
|
|
Post by panzerjager2 on Apr 7, 2016 11:43:51 GMT -5
THANKS big "D"
|
|
|
|
Post by Leon on Apr 7, 2016 12:54:32 GMT -5
Nice rework on the MG and spade PJ!
|
|
|
|
Post by panzerjager2 on Apr 7, 2016 14:21:23 GMT -5
Leon
Thanks for the kind words........
In the preamble I wrote prior to this build.... We as modelers RARELY go back and rebuild or 2.0 or redo a build/kit.... It's been fun and sometimes I actually say to myself.... "This is the build I wanted to create 20 25 years ago". The MG 151 has been it's own reward and curse at the same time........ I even toyed with the idea of a 3.7 cm 36/37 AT gun I found in a picture.........But went with the 151.
Cheers
|
|
|
|
Post by wbill76 on Apr 7, 2016 14:29:57 GMT -5
It's been neat seeing you update and upgrade it with different features. 2.0cm weapons were to the Germans what the .50cal was to the US and they certainly had plenty of surplus MG 151s laying around when your Bergepanther would've gone through its refurb so why not spice it up a bit?  |
|
|
|
Post by panzerjager2 on Apr 7, 2016 14:59:59 GMT -5
Exactly, THANKS Bill.....
|
|
Deleted
Member since: January 1970
Posts: 0
Nov 25, 2024 20:00:21 GMT -5
Nov 25, 2024 20:00:21 GMT -5
|
Post by Deleted on Apr 8, 2016 5:28:22 GMT -5
Excellent detail work!
|
|
Ray Dunakin
Full Member
  
Member since: February 2013
Posts: 409 
|
Post by Ray Dunakin on Apr 8, 2016 23:42:10 GMT -5
Awesome!
|
|
|
|
Post by panzerjager2 on Apr 9, 2016 9:27:40 GMT -5
THANK YOU
|
|
|
|
Post by panzerjager2 on Apr 9, 2016 17:55:15 GMT -5
A couple of updates....
The winch is progressing nicely, I did try test fitting the cable...WHAT A DISASTER.
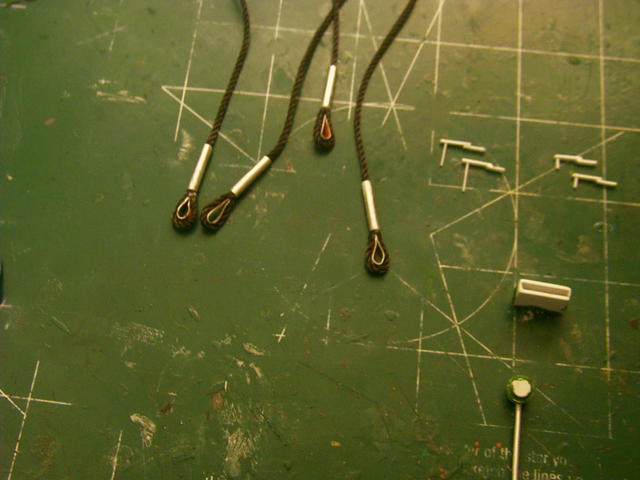
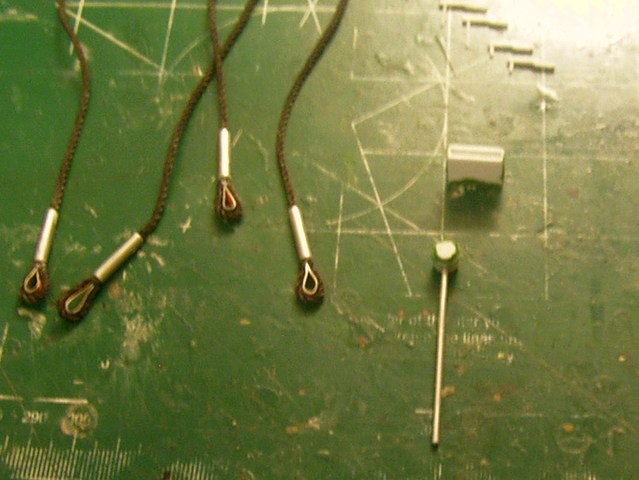
Tow cables came out pretty good. I used a wine bottle metal sleeve for the tow cable eye.
The latch handles are pretty delicate, but pretty cool.
The control box for the winch, (something I TOTALLY FORGOT), is taking shape.
Bosch Headlight is progressing.
  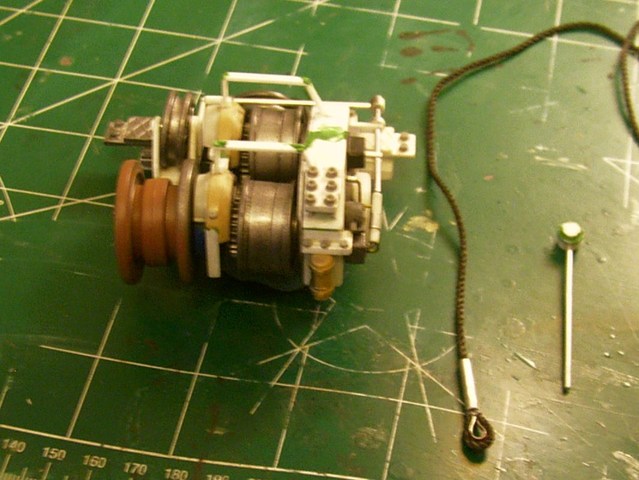 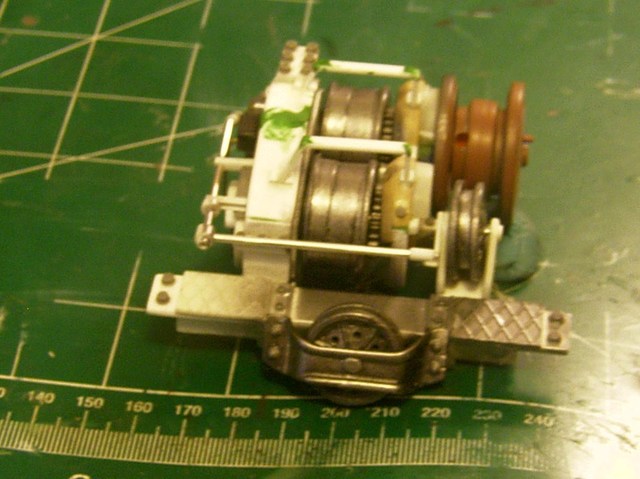
|
|
|
|
Post by Leon on Apr 9, 2016 18:41:41 GMT -5
Some more fine looking scratch work PJ!  |
|
|
|
Post by panzerjager2 on Apr 10, 2016 0:17:54 GMT -5
Thanks Leon.......
Here are a couple more pretty good pic's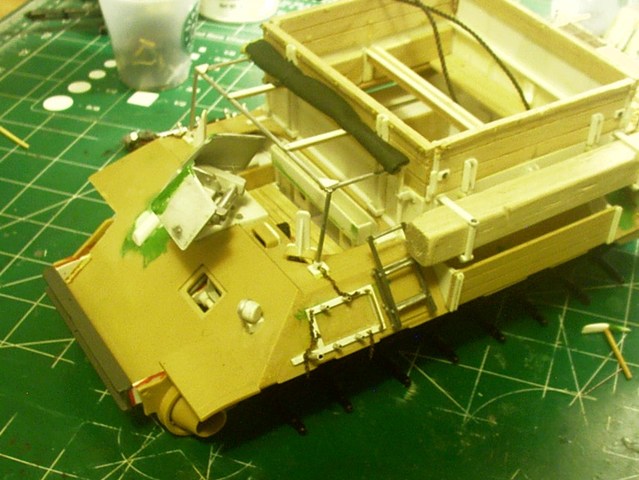 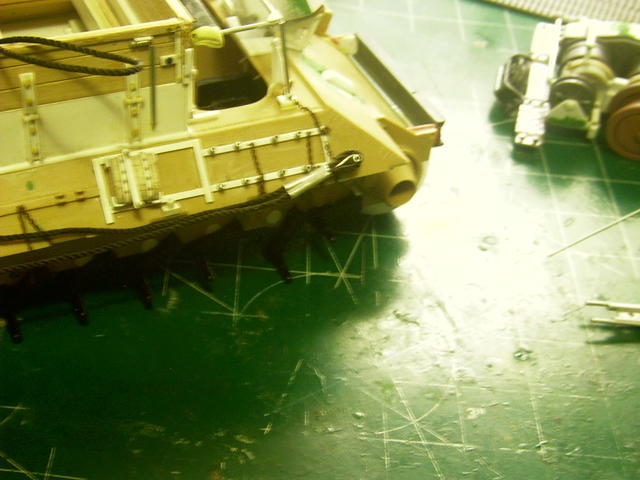 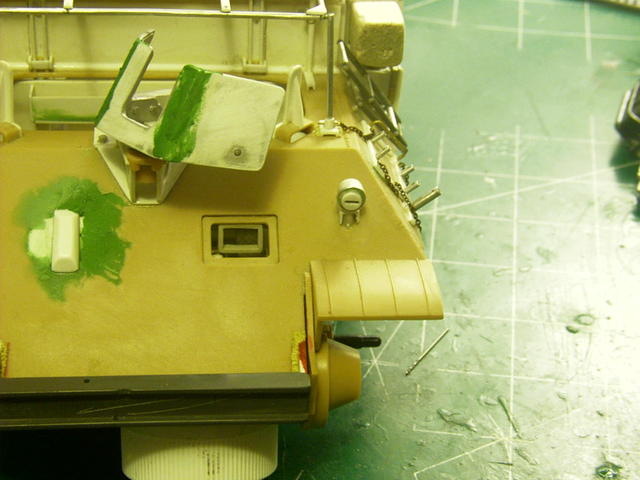
|
|