|
|
Post by `Boots` on Nov 4, 2014 19:08:22 GMT -5
Just checkin` lol
|
|
|
|
Post by TRM on Nov 4, 2014 19:51:24 GMT -5
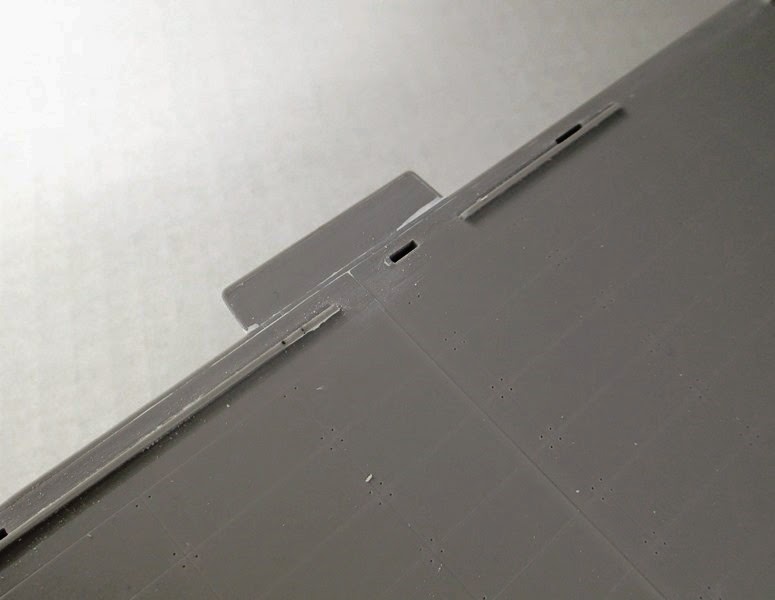
LOL...Thanks for the check Books!! Like I said, I need to have someone on my arse to keep me going!!  Well I am not getting into this one full blown yet, but I did crack the box and sort some items and unleashed some glue. The hanger deck installation is the first thing on the list. My apologies for the pictures. I am still getting a handle on fitting this into the picture booth. There will be adjustments coming soon!!     This thing is just BIG! The majority of the first half of the instructions cover installation of parts from the flight deck down. So for a while I have to set aside a good chunk of the building area dedicated to the tub. Once things move to the PE and sub assemblies of the superstructures things will be a bit more manageable I think. There are going to be a few minor issues to deal with along the way here....first being the bulbous on the front of the hull. The joint is less than desirable. There will be some filling and sanding coming real soon on this one!  I finished off last night sanding deck extensions off the hanger deck level. I may try to get these installed tonight and keep moving the tub section along! As always, thanks for stopping in!! |
|
|
|
Post by deafpanzer on Nov 4, 2014 19:52:11 GMT -5
Man, she is BIG! Hope you have enough room in your man cave? LOL Can't wait to see more...
|
|
|
|
Post by TRM on Nov 4, 2014 19:59:19 GMT -5
Thanks for hanging out Andy! If not the cave, the pool for sure!!  |
|
Tojo72
Forum Moderator      Sept '24 Showcased Model Awarded
Member since: November 2012
Posts: 5,312
Member is Online
MSC Staff
|
Post by Tojo72 on Nov 5, 2014 8:55:37 GMT -5
Good start on this one.
|
|
|
|
Post by wbill76 on Nov 5, 2014 13:14:16 GMT -5
You need to rig up some kind of hoist so you can lift it up off the bench and then set it back down again as you move around.  Definitely takes up a good chunk of real estate.  |
|
|
|
Post by Leon on Nov 5, 2014 19:21:27 GMT -5
WOW!!! That is massive looking Todd.   |
|
|
|
Post by eastrock on Nov 6, 2014 10:17:17 GMT -5
the shipyard will be busy lol
|
|
|
|
Post by `Boots` on Nov 8, 2014 19:47:42 GMT -5
Yay way too go fella............my she is a whopper  , good too see ya going at it buddy albeit in small chunks  |
|
|
|
Post by TRM on Nov 8, 2014 21:54:17 GMT -5
Thanks Anthony! You have no idea Bill!! LOL!!! Way too much space! Looks and is Leon!  I actually was thinking of making it the bench!!  The graves are busting with excitement ER!!  Thanks Boots!! I was thinking when I was done, I sail her over and you and I can enjoy a pint or two!!  Slowly working my way through things here, I have to clean up the edge around the entire hanger deck. There was a little gap and things are not as smooth as hoped. Some filler and a bit of tactful sanding has been happening....    A couple of divisions have been added to the stern. Of course there are some joint sanding in need but nothing that should hold things up here.  Only a little more sanding left tonight and I can begin to layout the side walls to the hanger deck which I cut off the sprue already and did some prep-sanding to. As always...thanks for hanging about!! |
|
|
|
Post by eastrock on Nov 9, 2014 3:57:21 GMT -5
Coming along T, notice that you mark each part... seems like I need to learn more on shipbuilding  |
|
|
|
Post by TRM on Nov 9, 2014 6:36:24 GMT -5
Thanks ER! I will indeed number some parts sometimes, especially if I am cleaning a bunch of parts at once. Makes it easier to decipher which one is which when it comes time to install...for me anyway!!  |
|
|
|
Post by eastrock on Nov 9, 2014 6:54:10 GMT -5
Will do that in next build... probably wait for another one lol
|
|
bbrowniii
Full Member
  
Member since: March 2012
If you are not part of the solution, you are part of the precipitate.
Posts: 1,238
Mar 25, 2012 22:08:04 GMT -5
Mar 25, 2012 22:08:04 GMT -5
|
Post by bbrowniii on Nov 9, 2014 8:49:25 GMT -5
Looks great, T. Going to be a fun project!
|
|
|
|
Post by dupes on Nov 9, 2014 11:16:51 GMT -5
Does this kit have full interior options? Can all of the elevator doors be opened?
|
|
|
|
Post by TRM on Nov 9, 2014 12:10:31 GMT -5
Thanks Boyd! I am hoping myself...LOL!!
Dupes - When you say "full interior" I assume you mean the hanger deck? The deck is detailed, however, the walls and ceiling(underside of the Flight Deck) is not. I am dry fitting the sides of "superstructure", meaning the walls of the hanger deck and the flight deck to see how much is actually seen through the open doors. I am contemplating adding some details in there...simple framing at least. The forward elevator does have some wall details surrounding it so that when in the down position will show the sides. The external elevators can be placed at optional elevations.
|
|
|
|
Post by dupes on Nov 9, 2014 18:09:32 GMT -5
Yeah, hangar decks is what I was thinking. Sounds a lot like the Trumpeter Nimitz kits - the holes are there, but up to you to provide the detailing!
|
|
|
|
Post by TRM on Nov 9, 2014 19:35:15 GMT -5
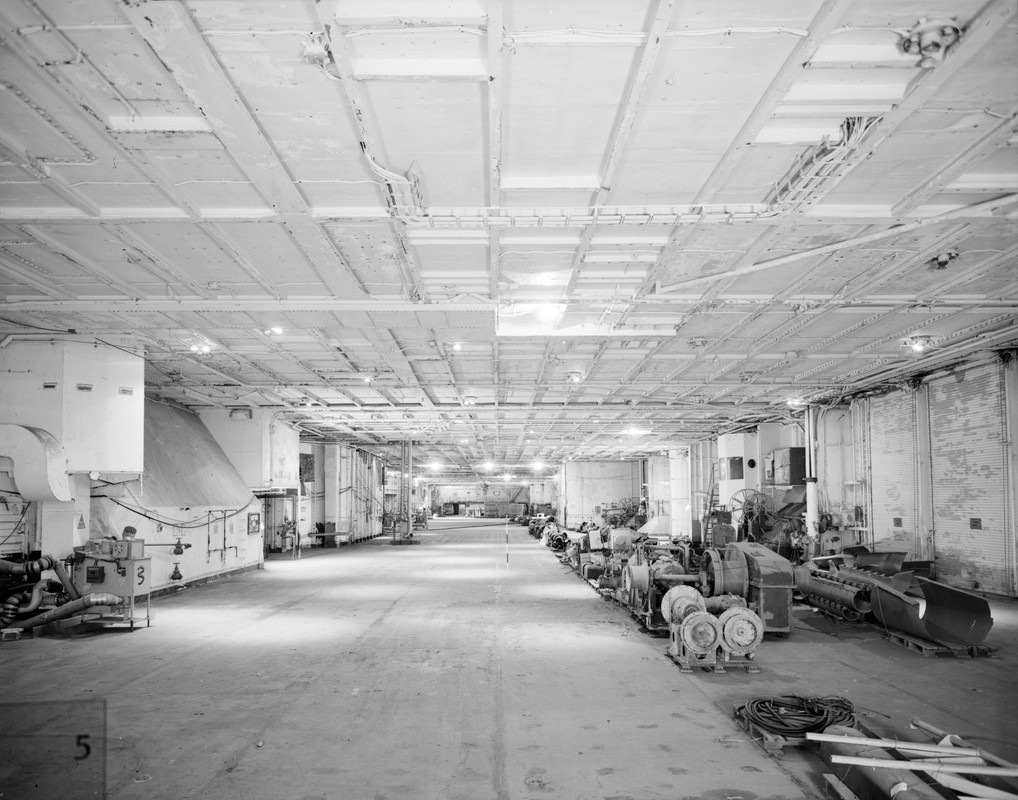
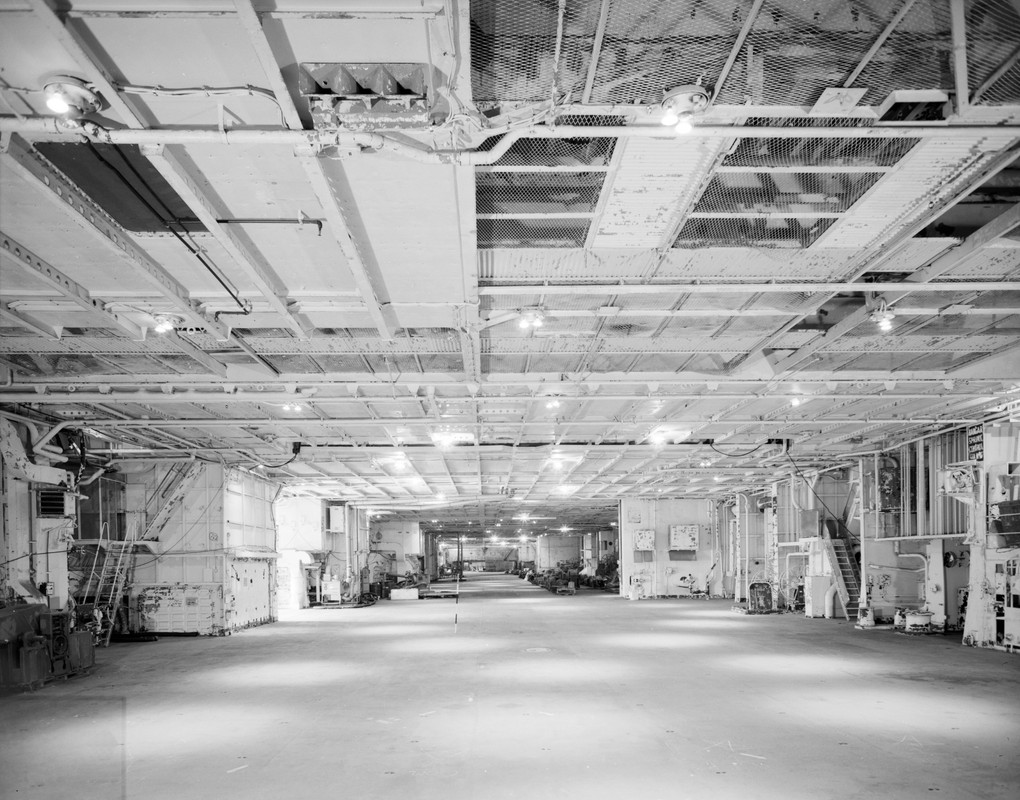
Shouldn't be too difficult to add some detail if I go that route. These are the inside of the Hornet, I do have a couple here and there of the "I". A few framing details and some paint it might look not half bad.   |
|
|
|
Post by Leon on Nov 9, 2014 20:39:01 GMT -5
Todd! If could pull this off that would be awesome looking.   |
|
|
|
Post by eastrock on Nov 9, 2014 23:20:49 GMT -5
the question is how long he will finish it lol
|
|
|
|
Post by deafpanzer on Nov 10, 2014 11:47:25 GMT -5
the question is how long he will finish it lol Four years... give or take! LOL |
|
|
|
Post by eastrock on Nov 10, 2014 12:31:05 GMT -5
the question is how long he will finish it lol Four years... give or take! LOL make it 5 lol  |
|
|
|
Post by wbill76 on Nov 10, 2014 14:55:21 GMT -5
Making good progress on the big parts of the old girl there Todd! Looks like you could add some eye-candy details to the hangar deck area if you were so inclined without a whole lot of difficulty...after all, it was largely the space where the aircraft were worked on and such, so lots of empty space as a rule!  |
|
|
|
Post by TRM on Nov 10, 2014 17:42:35 GMT -5
Nice...thanks for the encouragement gents!  If I have anything to say about it, this suck is done before the stroke of midnight on New Year's Eve...LOL!! I agree Bill! I test fit the deck to see what could be seen...not much really. If I leave the doors open on both sides you can see the wall and look up to see the ceiling. I might cover things with some sheet stock and add some simple ribbing here and there, nothing over the top by all means! Right now the superstructure, hanger deck walls are going in. The time is coming for all that PE though...COuple pages in the instructions and the shinny stuff shows up!!  |
|
M1Carbine
Senior Member
    November '23 Showcased Model Awarded
Member since: November 2012
Posts: 1,730
Nov 16, 2012 2:49:11 GMT -5
Nov 16, 2012 2:49:11 GMT -5
|
Post by M1Carbine on Nov 10, 2014 23:30:10 GMT -5
T - coming along nicely so far. I Need to try a floaty thingy again....maybe, but I would probably embarrass myself.
Bob
|
|
|
|
Post by TRM on Nov 13, 2014 20:19:52 GMT -5
Sounds like a great idea Bob! Doubt you would embarrass yourself! Need to find a scale you are cofortable with...and of course a subject and then go to town!!!  Well the time has come to start getting the hanger deck walls together. This step is fairly straight forward as there are only a small handful of pieces. The walls are detailed nicely and once you add a few vents and doors things begin to come alive.  As you can see there is little is no interior detailing other than the floor. My thought, mind you this is a small one, is to add some detail just to give some flavor to the inside.  Like I said, not much will be seen...unless you get a penlight and stick it in the hole...LOL!!  There is a section that needs to be built around the forward deck elevator if you plan on showing the elevator in any position other than up.  Some PE coming out of the box already. Here on the stern a few ladders get placed. The keen eyed will see a casualty of handling for the pics!   The external elevators popped up in the instruction next. There is some PE involved in these two. Grabbing my trusty Gator Glue I hit the bench....   These look great I thought. Gallery did well even if the framing is a bit off from the original. Close enough I thought | |)   So I will spend some time thinking about adding something in the way of some interior detailing. Next up is a bunch of exterior ladders and platforms from the shinny stuff! As always...thanks for having a LQQY!! |
|
|
|
Post by Leon on Nov 14, 2014 4:12:48 GMT -5
WOW!!!! Nice PE work on the elevators Todd.Looking really good.  |
|
|
|
Post by TRM on Nov 14, 2014 7:19:08 GMT -5
Thanks Leon!! Still another 5 1/2 sheet to go!!  Things are moving along nicely for the moment at least!!  |
|
|
|
Post by deafpanzer on Nov 14, 2014 12:32:25 GMT -5
holy cow! No wonder you have been so busy... looking stunning!
|
|
|
|
Post by TRM on Nov 14, 2014 14:55:32 GMT -5
Thanks Andy! The problem is being "busy"...just on too many other things!! LOL!!
|
|