|
|
Post by dupes on Jun 17, 2024 14:04:26 GMT -5
Maaaan...that is a TON of rigging. Good on you for tackling it! Some of these WNW kits I won't even touch because there's so much.
|
|
thug626
Senior Member
   
Member since: January 2013
Posts: 2,035
Jan 15, 2013 13:05:28 GMT -5
Jan 15, 2013 13:05:28 GMT -5
|
Post by thug626 on Jun 17, 2024 21:43:32 GMT -5
Maaaan...that is a TON of rigging. Good on you for tackling it! Some of these WNW kits I won't even touch because there's so much. The first kit of theirs I built was the J.1. Only a couple pieces of rigging. Corrugated metal skin covering it. This one though takes the cake for rigging. Cheers Dave |
|
thug626
Senior Member
   
Member since: January 2013
Posts: 2,035
Jan 15, 2013 13:05:28 GMT -5
Jan 15, 2013 13:05:28 GMT -5
|
Post by thug626 on Jun 21, 2024 20:22:17 GMT -5
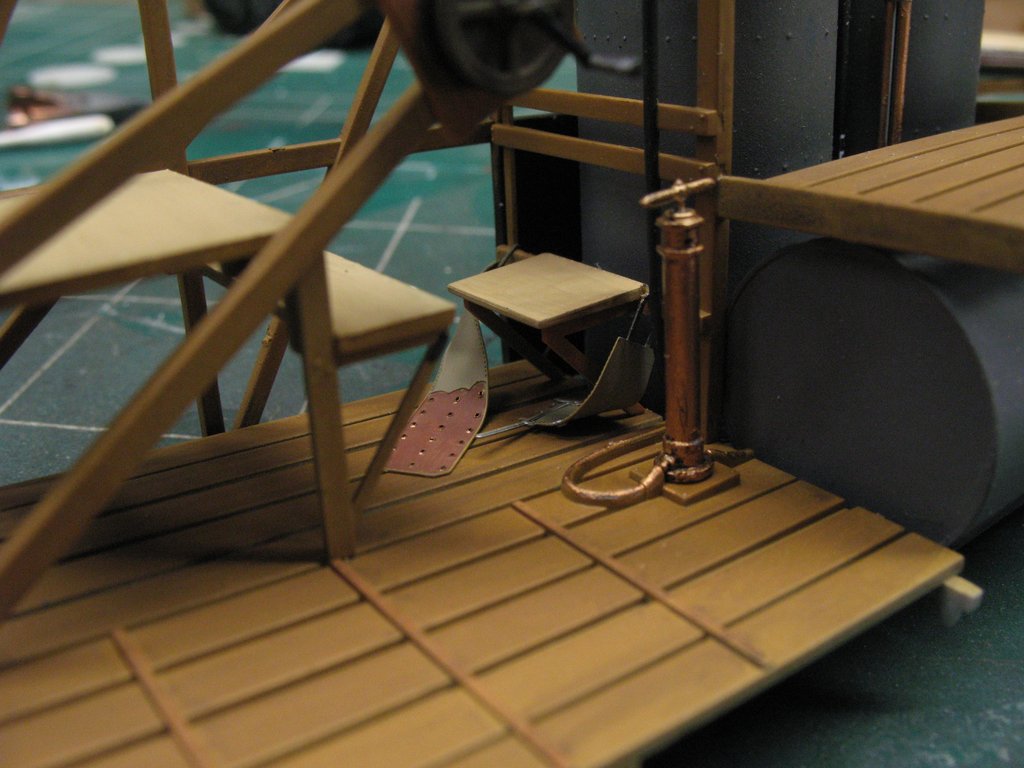
More painting accomplished, and even some assemblies have been built. This is the aft deck.  Comparing decks with a wash (left) and a deck without (right). Still more work to happen with all decks.  This is the wireless hutch. It has a canvas cover with snaps.   
Cheers Dave |
|
jeaton01
Full Member
   Sept '23 Showcased Model Awarded
Member since: October 2013
Posts: 1,301 
|
Post by jeaton01 on Jun 21, 2024 20:27:28 GMT -5
Sweet!
|
|
|
|
Post by keavdog on Jun 21, 2024 20:29:56 GMT -5
Wow... I said wow four times looking at that. No idea what goes where but it looks awesome.
|
|
thug626
Senior Member
   
Member since: January 2013
Posts: 2,035
Jan 15, 2013 13:05:28 GMT -5
Jan 15, 2013 13:05:28 GMT -5
|
Post by thug626 on Jun 21, 2024 21:12:33 GMT -5
Thank you kindly! Cheers Dave |
|
thug626
Senior Member
   
Member since: January 2013
Posts: 2,035
Jan 15, 2013 13:05:28 GMT -5
Jan 15, 2013 13:05:28 GMT -5
|
Post by thug626 on Jun 21, 2024 21:14:48 GMT -5
Wow... I said wow four times looking at that. No idea what goes where but it looks awesome. The pictures with the covered wireless hutch are essentially the mid portion of the flight deck. Immediately in front of the wireless operators station, you can see the rudder pedals. Cheers Dave |
|
|
|
Post by kyledehart5 on Jun 22, 2024 3:42:57 GMT -5
Oh boy. Great stuff. This is so cool. Love the wireless hutch.
|
|
406 Silverado
Global Administrator     
Member since: November 2011
Posts: 10,300
Member is Online
MSC Staff
|
Post by 406 Silverado on Jun 22, 2024 8:15:59 GMT -5
All I can say initially is just WOW!! There’s a ton of details in this model and your moving through it quite well so far Dave. Can’t wait until the next installment…….
|
|
thug626
Senior Member
   
Member since: January 2013
Posts: 2,035
Jan 15, 2013 13:05:28 GMT -5
Jan 15, 2013 13:05:28 GMT -5
|
Post by thug626 on Jun 22, 2024 11:34:57 GMT -5
Oh boy. Great stuff. This is so cool. Love the wireless hutch. Thank you kindly! The detail on the cover for the hutch was a sneaker for me. There were a few subtle areas that were not realized until I had laid the paint down. Cheers Dave |
|
thug626
Senior Member
   
Member since: January 2013
Posts: 2,035
Jan 15, 2013 13:05:28 GMT -5
Jan 15, 2013 13:05:28 GMT -5
|
Post by thug626 on Jun 22, 2024 11:46:16 GMT -5
All I can say initially is just WOW!! There’s a ton of details in this model and your moving through it quite well so far Dave. Can’t wait until the next installment……. Thank you kindly Joe. I am curious as to the detail I will realize as I move through this build. I've built a Bristol F.2b by WnW, and I was pleasantly surprised by the subtle fabric detail that was present. Below are pictures of it. This was when I had access to a proper area for proper finished pics.   
Cheers Dave |
|
|
|
Post by deafpanzer on Jun 22, 2024 14:14:40 GMT -5
WOW! You are off to a great start and I am with you that I like the look of second picture too. I may be late to your show but I will never miss it!
|
|
thug626
Senior Member
   
Member since: January 2013
Posts: 2,035
Jan 15, 2013 13:05:28 GMT -5
Jan 15, 2013 13:05:28 GMT -5
|
Post by thug626 on Jun 22, 2024 14:55:55 GMT -5
WOW! You are off to a great start and I am with you that I like the look of second picture too. I may be late to your show but I will never miss it! No worries my good man, glad to have you along. Cheers Dave |
|
thug626
Senior Member
   
Member since: January 2013
Posts: 2,035
Jan 15, 2013 13:05:28 GMT -5
Jan 15, 2013 13:05:28 GMT -5
|
Post by thug626 on Jun 22, 2024 15:04:52 GMT -5
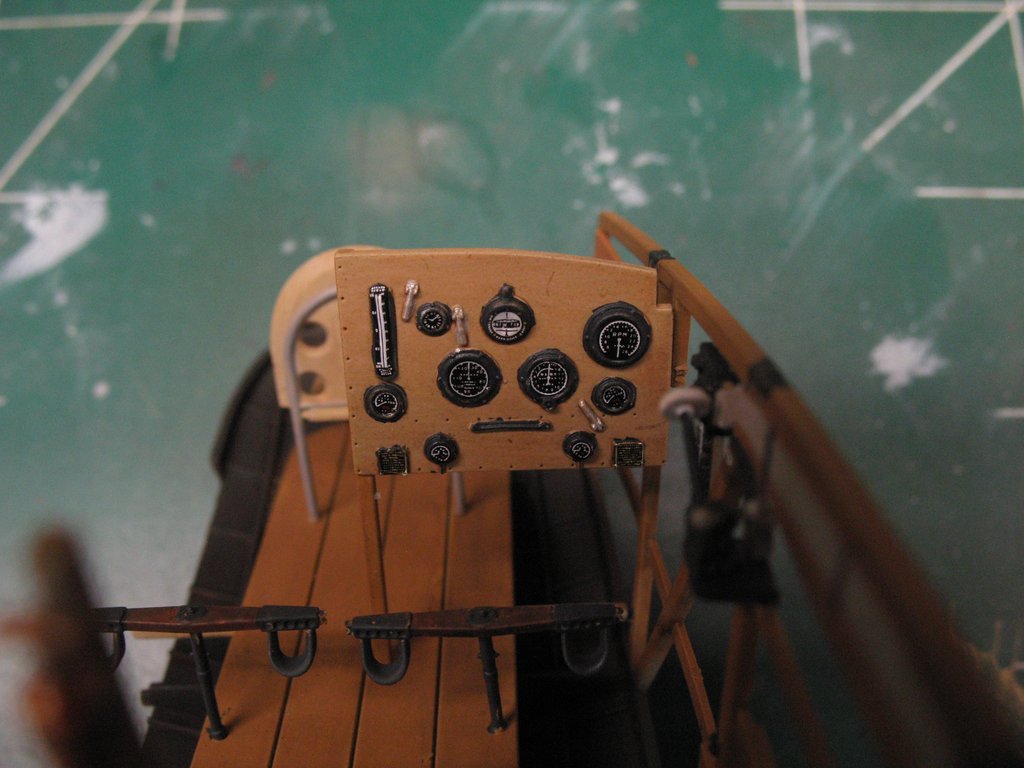
A fair bit of progress at the bench this morning. The first of decal laid down. The first batch was a learning curve for me. Not the decals fault. Purely operator error. They really are lovely to work with. The very first decal laid down.  Yes, there are decals that represent OPEN and CLOSED for the throttles. Tiny does not begin to describe how small they are.     The harness for the radio operator are PE. I annealed them, bent them to shape and then painted them prior to installation.  Every instrument represented is a decal. I used my pointed silicone brush to position them. A game changer in placement of small decals! Oh Damn! I just realized I missed a decal. The slip indicator, low middle of the IP. 
Cheers Dave |
|
|
|
Post by deafpanzer on Jun 22, 2024 16:49:17 GMT -5
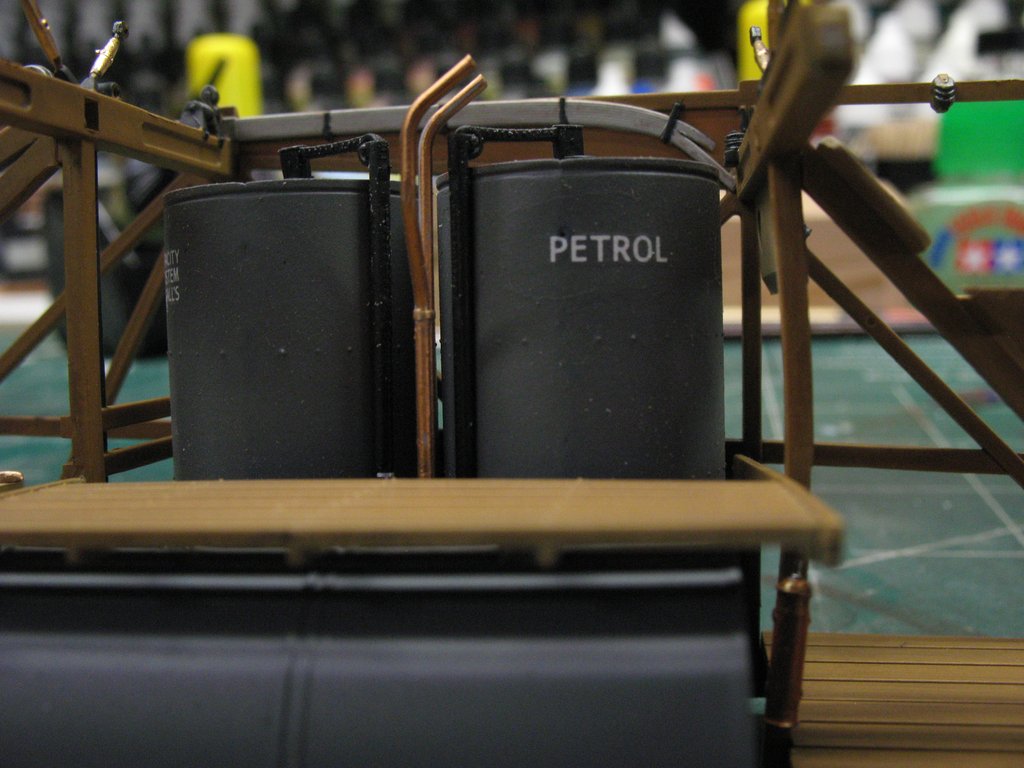
Gosh I'd hate to be sitting or standing next to those two tanks!
|
|
thug626
Senior Member
   
Member since: January 2013
Posts: 2,035
Jan 15, 2013 13:05:28 GMT -5
Jan 15, 2013 13:05:28 GMT -5
|
Post by thug626 on Jun 22, 2024 17:02:27 GMT -5
Gosh I'd hate to be sitting or standing next to those two tanks! I imagine it wouldn’t be a problem for too long  Cheers Dave |
|
|
|
Post by keavdog on Jun 22, 2024 17:29:20 GMT -5
Great details - almost seems a shame to button it up in the fuselage.
Is that a seatbelt on that 'bench'? Expecting turbulence I assume!
|
|
thug626
Senior Member
   
Member since: January 2013
Posts: 2,035
Jan 15, 2013 13:05:28 GMT -5
Jan 15, 2013 13:05:28 GMT -5
|
Post by thug626 on Jun 22, 2024 17:39:02 GMT -5
Great details - almost seems a shame to button it up in the fuselage. Is that a seatbelt on that 'bench'? Expecting turbulence I assume! There will be open areas that can draw the eye in. Yup! It’s a seat belt for the radio operator. There will be the same style for the pilot and co-pilot. Cheers Dave |
|
armornutii
Full Member
  
Member since: March 2023
crystevens@hotmail.com
Posts: 1,201
Mar 18, 2023 17:45:08 GMT -5
Mar 18, 2023 17:45:08 GMT -5
|
Post by armornutii on Jun 22, 2024 18:10:21 GMT -5
Is that bicycle pump next to the radio operators station a fuel pump?
|
|
thug626
Senior Member
   
Member since: January 2013
Posts: 2,035
Jan 15, 2013 13:05:28 GMT -5
Jan 15, 2013 13:05:28 GMT -5
|
Post by thug626 on Jun 22, 2024 18:44:47 GMT -5
Is that bicycle pump next to the radio operators station a fuel pump? I believe it is. There are wind driven fuel pumps, which probably don’t kick in until a certain speed is reached Cheers Dave |
|
armornutii
Full Member
  
Member since: March 2023
crystevens@hotmail.com
Posts: 1,201
Mar 18, 2023 17:45:08 GMT -5
Mar 18, 2023 17:45:08 GMT -5
|
Post by armornutii on Jun 22, 2024 19:41:14 GMT -5
Multi tasker LOL.
|
|
thug626
Senior Member
   
Member since: January 2013
Posts: 2,035
Jan 15, 2013 13:05:28 GMT -5
Jan 15, 2013 13:05:28 GMT -5
|
Post by thug626 on Jun 22, 2024 19:49:19 GMT -5
Pump like your life depends on it! Wait! It actually does! Cheers Dave |
|
armornutii
Full Member
  
Member since: March 2023
crystevens@hotmail.com
Posts: 1,201
Mar 18, 2023 17:45:08 GMT -5
Mar 18, 2023 17:45:08 GMT -5
|
Post by armornutii on Jun 22, 2024 20:11:49 GMT -5
Pump like your life depends on it! Wait! It actually does! Cheers Dave Considering that there might have only bernn2 frequencies the radio operator mightvas well have been an inflight attendent....if you find a coffe maker in the mix then my suspisions can be confirmed LOL |
|
thug626
Senior Member
   
Member since: January 2013
Posts: 2,035
Jan 15, 2013 13:05:28 GMT -5
Jan 15, 2013 13:05:28 GMT -5
|
Post by thug626 on Jun 22, 2024 20:28:48 GMT -5
Pump like your life depends on it! Wait! It actually does! Cheers Dave Considering that there might have only bernn2 frequencies the radio operator mightvas well have been an inflight attendent....if you find a coffe maker in the mix then my suspisions can be confirmed LOL LOL. Given that it’s British I would imagine the inflight beverage would be tea  Cheers Dave |
|
armornutii
Full Member
  
Member since: March 2023
crystevens@hotmail.com
Posts: 1,201
Mar 18, 2023 17:45:08 GMT -5
Mar 18, 2023 17:45:08 GMT -5
|
Post by armornutii on Jun 22, 2024 20:51:30 GMT -5
Considering that there might have only bernn2 frequencies the radio operator mightvas well have been an inflight attendent....if you find a coffe maker in the mix then my suspisions can be confirmed LOL LOL. Given that it’s British I would imagine the inflight beverage would be tea  Cheers Dave Right, my bad....darn Americans LOL. |
|
thug626
Senior Member
   
Member since: January 2013
Posts: 2,035
Jan 15, 2013 13:05:28 GMT -5
Jan 15, 2013 13:05:28 GMT -5
|
Post by thug626 on Jun 22, 2024 20:54:53 GMT -5
LOL. Given that it’s British I would imagine the inflight beverage would be tea  Cheers Dave Right, my bad....darn Americans LOL. It’s all good! Cheers Dave |
|
handiabled
Administrator      Apr '23 Showcased Build Awarded
Member since: February 2023
Posts: 4,475 
MSC Staff
|
Post by handiabled on Jun 23, 2024 4:29:20 GMT -5
What detail in this! The Bristol F.2b you built looks incredible!
|
|
thug626
Senior Member
   
Member since: January 2013
Posts: 2,035
Jan 15, 2013 13:05:28 GMT -5
Jan 15, 2013 13:05:28 GMT -5
|
Post by thug626 on Jun 23, 2024 12:22:33 GMT -5
What detail in this! The Bristol F.2b you built looks incredible! Yes there is, and thank you kindly. The F.2b was the second WnW kit I built. I learned about flying wires, landing wires, drag wires..... still learning Considerably more rigging than their J.1 Cheers Dave |
|
thug626
Senior Member
   
Member since: January 2013
Posts: 2,035
Jan 15, 2013 13:05:28 GMT -5
Jan 15, 2013 13:05:28 GMT -5
|
Post by thug626 on Jun 24, 2024 2:09:50 GMT -5
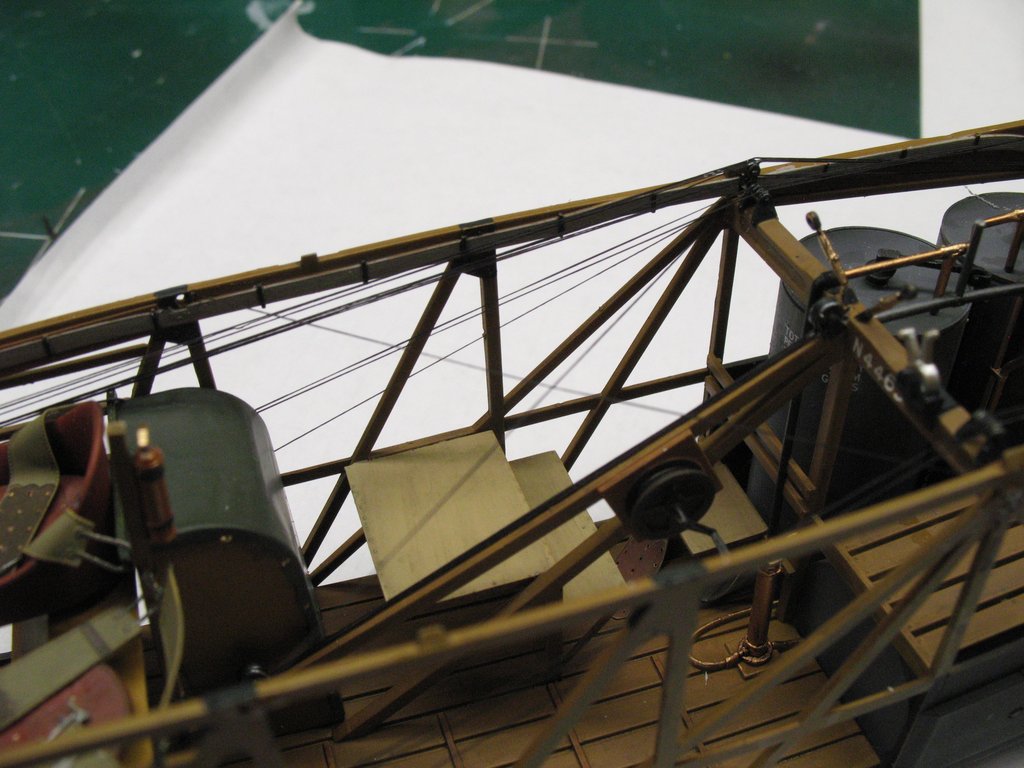
This is going to be a photo dump. A lot of progress today. The flight deck is complete, as is all of the control lines for said flight deck. For the control lines I used EZ Line fine. The pipes have yet to be painted with copper and brass here.  Pilot and co-pilot seats. You can guess who's is who's.   Seats installed on the flight deck.  The IP with the slip indicator now installed.  The seat belts now installed. Some touch up will be needed.  The first of the control lines completed.  Control columns are now permanent.   Beginnings of the control lines. These are rudder and elevator lines on the starboard side.  All of the lines running over the upper pulleys to the right are throttle cables.  One of the lines ended up with some slack. Not sure how that snuck by me, but it did. 
Cheers Dave |
|
thug626
Senior Member
   
Member since: January 2013
Posts: 2,035
Jan 15, 2013 13:05:28 GMT -5
Jan 15, 2013 13:05:28 GMT -5
|
Post by thug626 on Jun 24, 2024 2:17:09 GMT -5
Here are some dry fitting pictures to give an idea of the size of this beastie. It does have some girth. The finicky thing about this part is that the instructions state to install the waist guns at this time, as later will by very tricky to do so. Let's see if I shear them off. The port gun has since been installed.  This was before the flight deck assembly was completed.   
Cheers Dave |
|