|
|
Post by wbill76 on Sept 11, 2014 12:59:46 GMT -5
Making good progress on this one Russ. Looks like the sprocket experiment is paying off!
|
|
|
|
Post by rbaer on Sept 11, 2014 16:54:48 GMT -5
Thanks, Bill.
I had to try, and I think that one late-style and one "real thing" will be plenty believable. I'll know more after this weekend. I had in mind doing a really early T26 with the narrow tracks that look like a PzIV, and the HB super kit has the right turret and narrow fenders, so if by chance I pick up another of these kits......
|
|
|
|
Post by TRM on Sept 11, 2014 19:37:24 GMT -5
Well you are putting a dent in this one Russ!! Looking great!! Love the Fruit-loops!! Nicely done!! Detailing looks super as well!! Keep plugging away!!
|
|
|
|
Post by bullardino on Sept 12, 2014 1:48:04 GMT -5
Nice and steady progress, Russ  |
|
|
|
Post by rbaer on Sept 12, 2014 11:03:51 GMT -5
Thanks, guys. One completed sprocket: 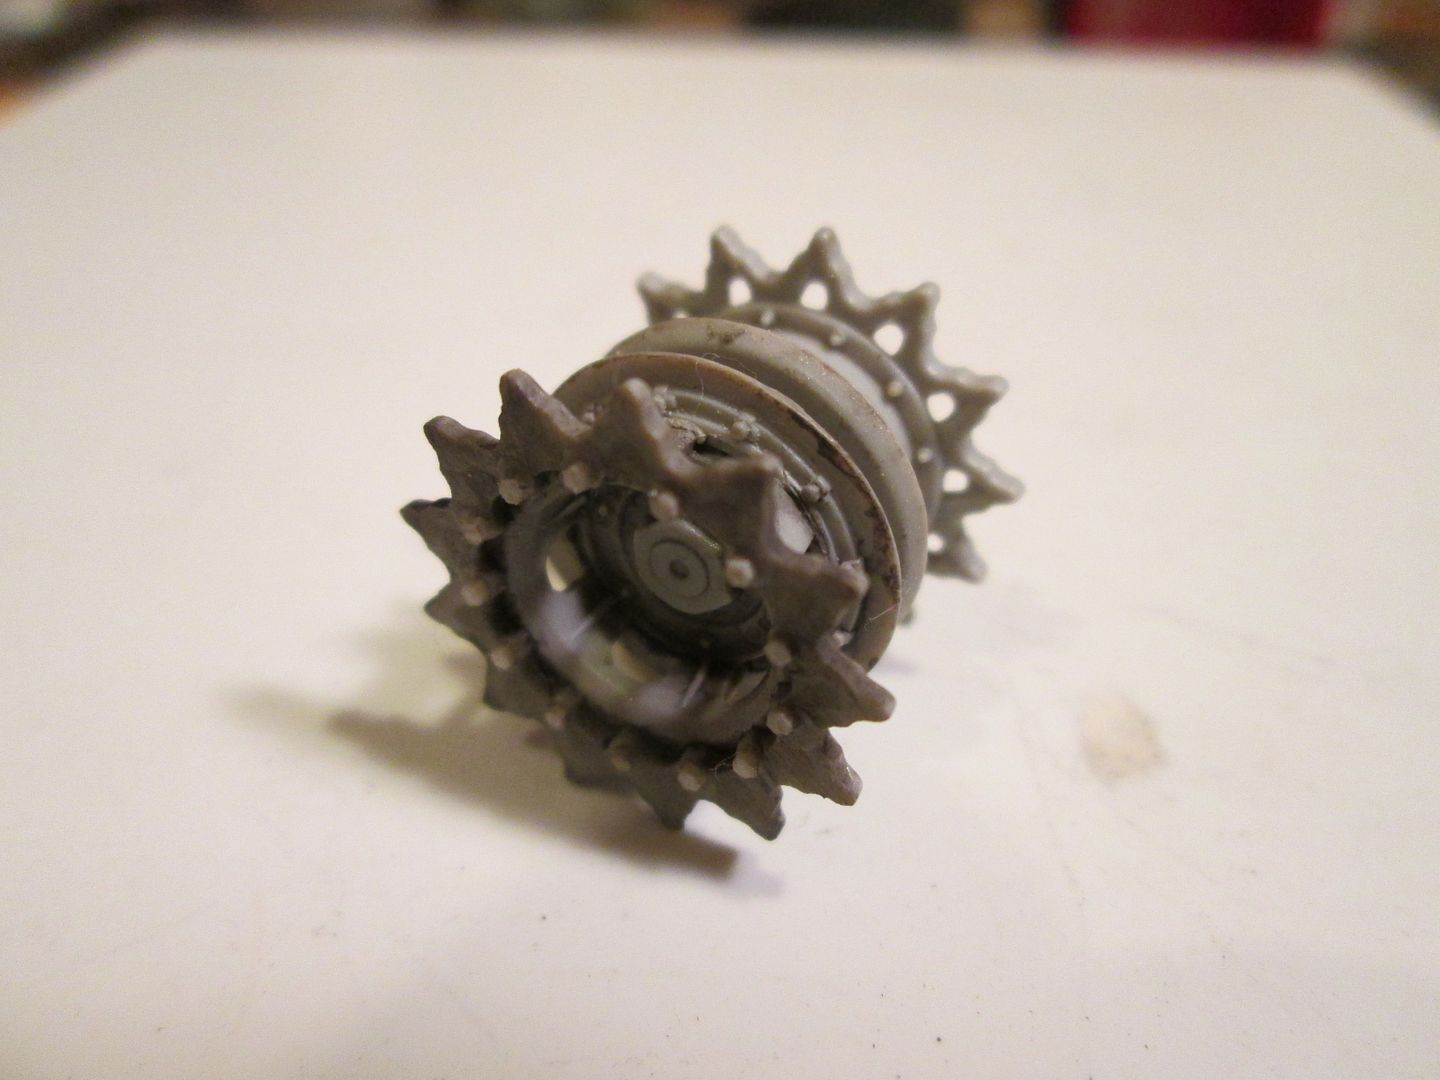 I think I'll pass on converting the inboard side...... |
|
Deleted
Member since: January 1970
Posts: 0
Nov 26, 2024 0:31:32 GMT -5
Nov 26, 2024 0:31:32 GMT -5
|
Post by Deleted on Sept 12, 2014 18:58:44 GMT -5
Always enjoy looking at how you use the parts from several kits to achieve the corrected final model Russ ! I said this before but maybe I'll get the point across better this time .  |
|
|
|
Post by deafpanzer on Sept 13, 2014 16:51:09 GMT -5
That one sure looked much beefed up... great addition with the bolt heads!
|
|
|
|
Post by bullardino on Sept 14, 2014 3:34:22 GMT -5
Are those bolts cut sprue? Great job  |
|
|
|
Post by rbaer on Sept 14, 2014 11:47:57 GMT -5
Thanks guys.
Luigi, the bolts are slices of hex-rod, one of my favorite materials.
Incidentally, No joy yesterday in scoring another HB Super for another sprocket, so it looks like my model will have one "correct" sprocket and one Tamiya sprocket, but I'll survive. What I DID score was two Tamiya Pershings, so I'm going to have a seriously close look at the Tamiya and HB turrets so see just how different they are around the loader's hatch area, and I have a bunch of the low-profile split Sherman TC hatches.....
|
|
|
|
Post by rbaer on Sept 19, 2014 10:35:32 GMT -5
I couldn't leave my one "incorrect sprocket alone...... 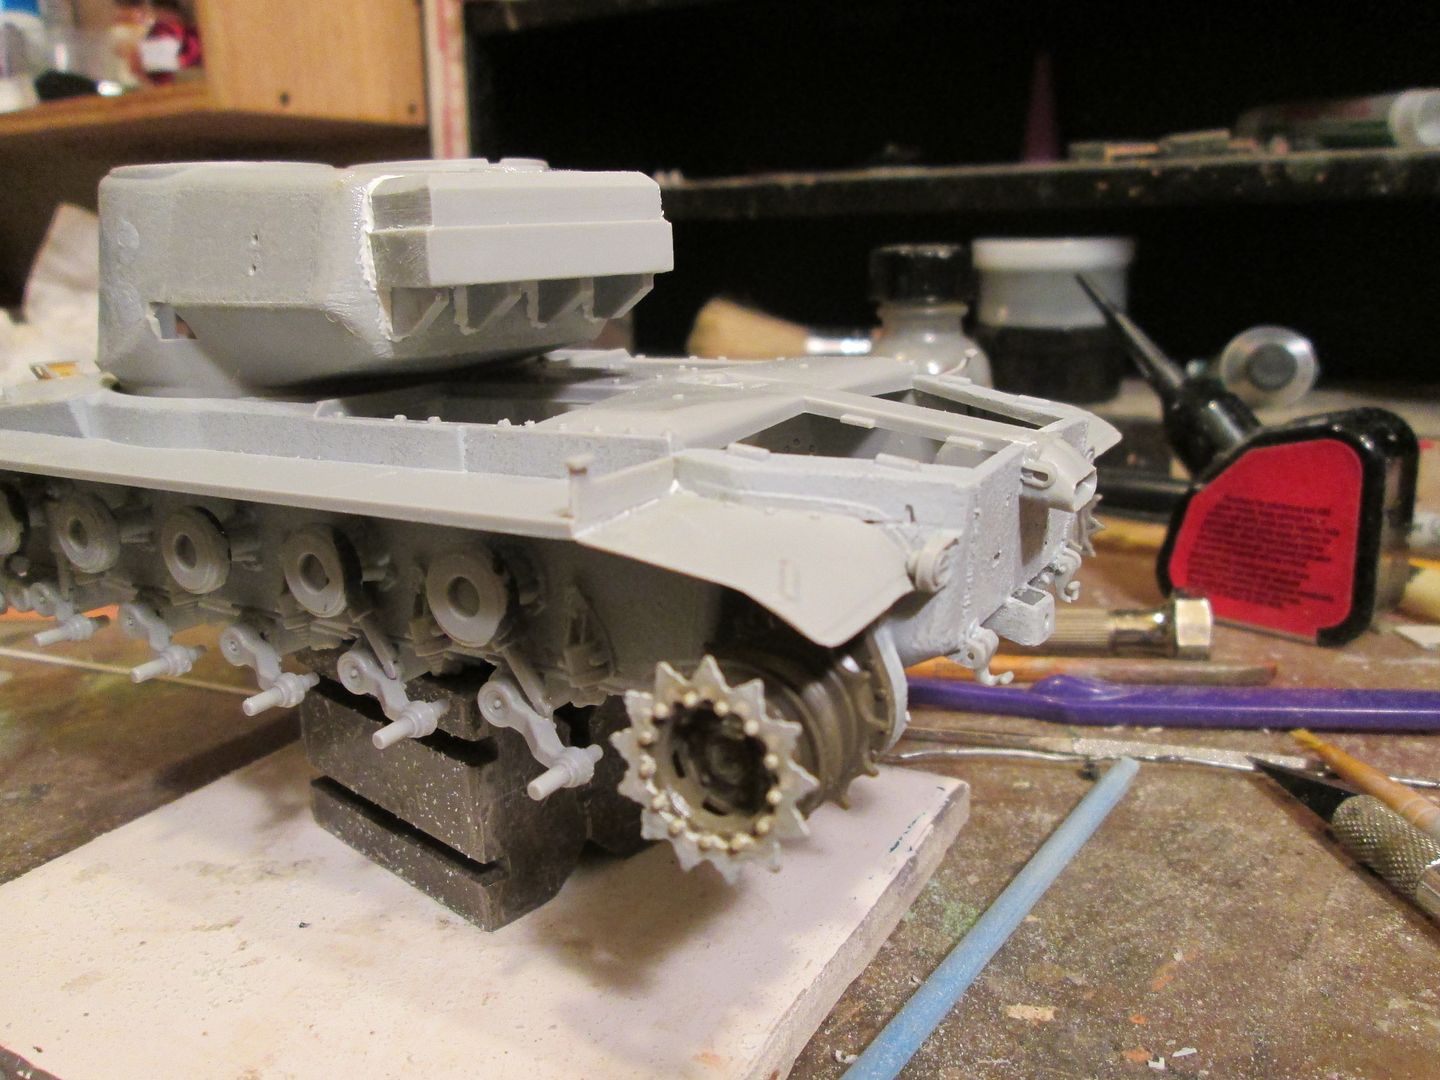 ....so I took the "experimental" part, removed it from the HB hub, removed the Tamiya sprocket ring and, voila! I feel so much better now. You may also notice some rear fenders, installed after a LOT of sanding to make them appear like the thin sheet metal they really were. I have an Eduard etch set for this kit, and these two parts would have been really nice to have been put in this set, but I guess they're in the "fender" set. Harumph. And just because I could, I dragged out some old Verlinden "open" periscopes, and put them in the front hatches, because it's nice to be able to see where you're going. Also assembled was the turret halves, surprisingly good fit here, and the counterweight, not a bad fit but since it needed a weld bead I was okay with it. Weld here is Vallejo putty, my quick method for larger beads. And then there's the gun tube. Mine was warped, and I broke one half attempting to straighten it, but I assembled it anyway. Some putty, sanding and primer reveals the need for more putty, sanding and primer. I will most likely look for an AM barrel, partly because this one still has a bit of warpage, and partly because HB missed the big groove machined into the top of the base of the barrel. Anyway, I'm tired of typing, so here's a couple of pics, cuz without pics, it didn't happen: [ 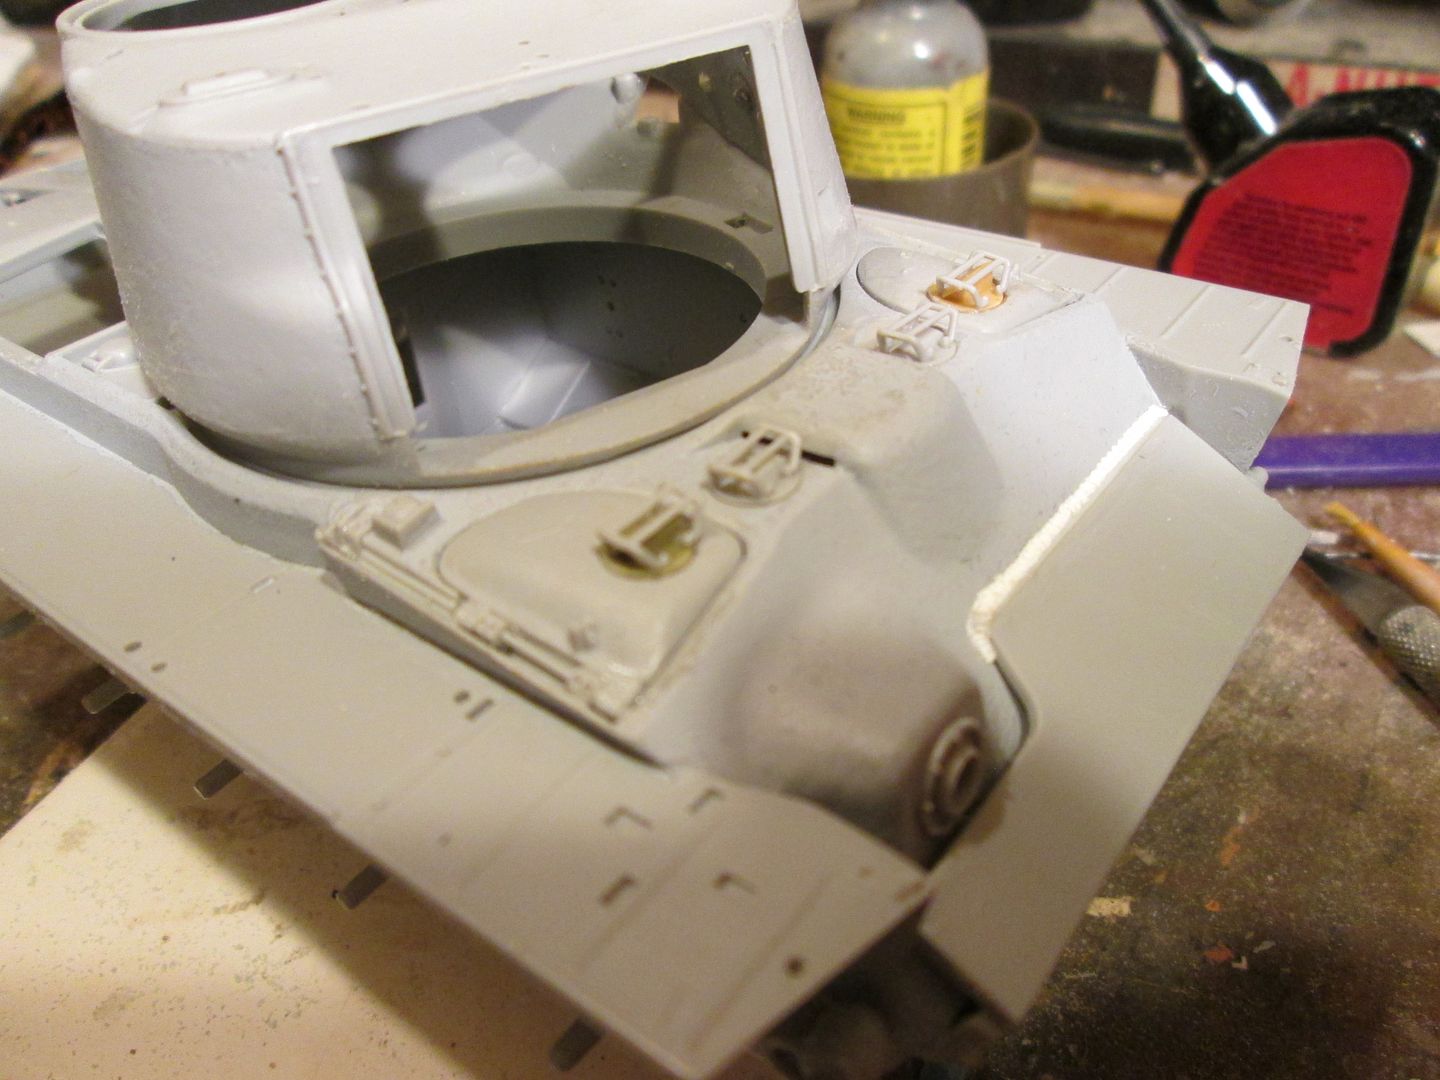 Note to Eduard: There sure are a lot of pieces in the etch set for the Pershing that are better-represented in plastic. Seems like including some of the fender end pieces would have been a better choice than the periscope tops or tow pintle mount...... I'm just sayin'..... |
|
|
|
Post by wbill76 on Sept 19, 2014 13:05:37 GMT -5
I was wondering what would ultimately happen with that sprocket Russ!  I hear you on what the AM guys sometimes decide to include in a fret...you can only shake your head at times!  |
|
|
|
Post by rbaer on Sept 19, 2014 14:50:58 GMT -5
Yeah, shake it, nod it, wiggle it, none of it helped. I sometimes thing the brass is over-rated. On the sprocket, I got nuthin'....  Maybe picking up a couple more of the Tamiya M-26's this past weekend gave me a little courage, having more spare parts in case I goofed. It's either that or I just couldn't help myself. |
|
Deleted
Member since: January 1970
Posts: 0
Nov 26, 2024 0:31:32 GMT -5
Nov 26, 2024 0:31:32 GMT -5
|
Post by Deleted on Sept 19, 2014 23:05:39 GMT -5
Just been looking thru this thread post and it looks like your up to standard build process which I enjoy watching .
I like the nose down on the previous build . That is the standard stance isn't it ?
|
|
|
|
Post by rbaer on Sept 21, 2014 9:43:56 GMT -5
Thanks, Carl.
The nose-down stance on the previous one was more than I wanted, but yeah, I've seen a few pics of them with this attitude.I built this one to fit on a railroad grade crossing that I haven't finished yet, supposed to be posed "down-hill".....
It kind of makes me wonder if they maybe had an issue with faulty torsion bars or something..... and then there's the Super, with about three more tons on junk in front of the CG, must have bottomed out in front a lot.
|
|
|
|
Post by armorguy on Sept 21, 2014 9:52:15 GMT -5
You're putting a lot of dedication in it, it looks good.
|
|
|
|
Post by rbaer on Sept 22, 2014 10:20:04 GMT -5
Thanks, just trying to do what enhancements I can. Speaking of which, I thought I had an opportunity to use some Eduard etch last night for the stowage box lid handles. HB molded the handles as part of the lids, not unexpected, and they were not bad. At first I thought I'd just score under the handles and move on, which seemed to work nicely until I went too deep on a couple and cut them off. Rats. So I shaved all 14 off, removed and did the one bend the 14 Eduard base plates needed, removed and folded up the 14 Eduard handles and glued them all on. My beef: they're flat, and should be rounded, plus they're hugely out of scale big, see 1st pic below: 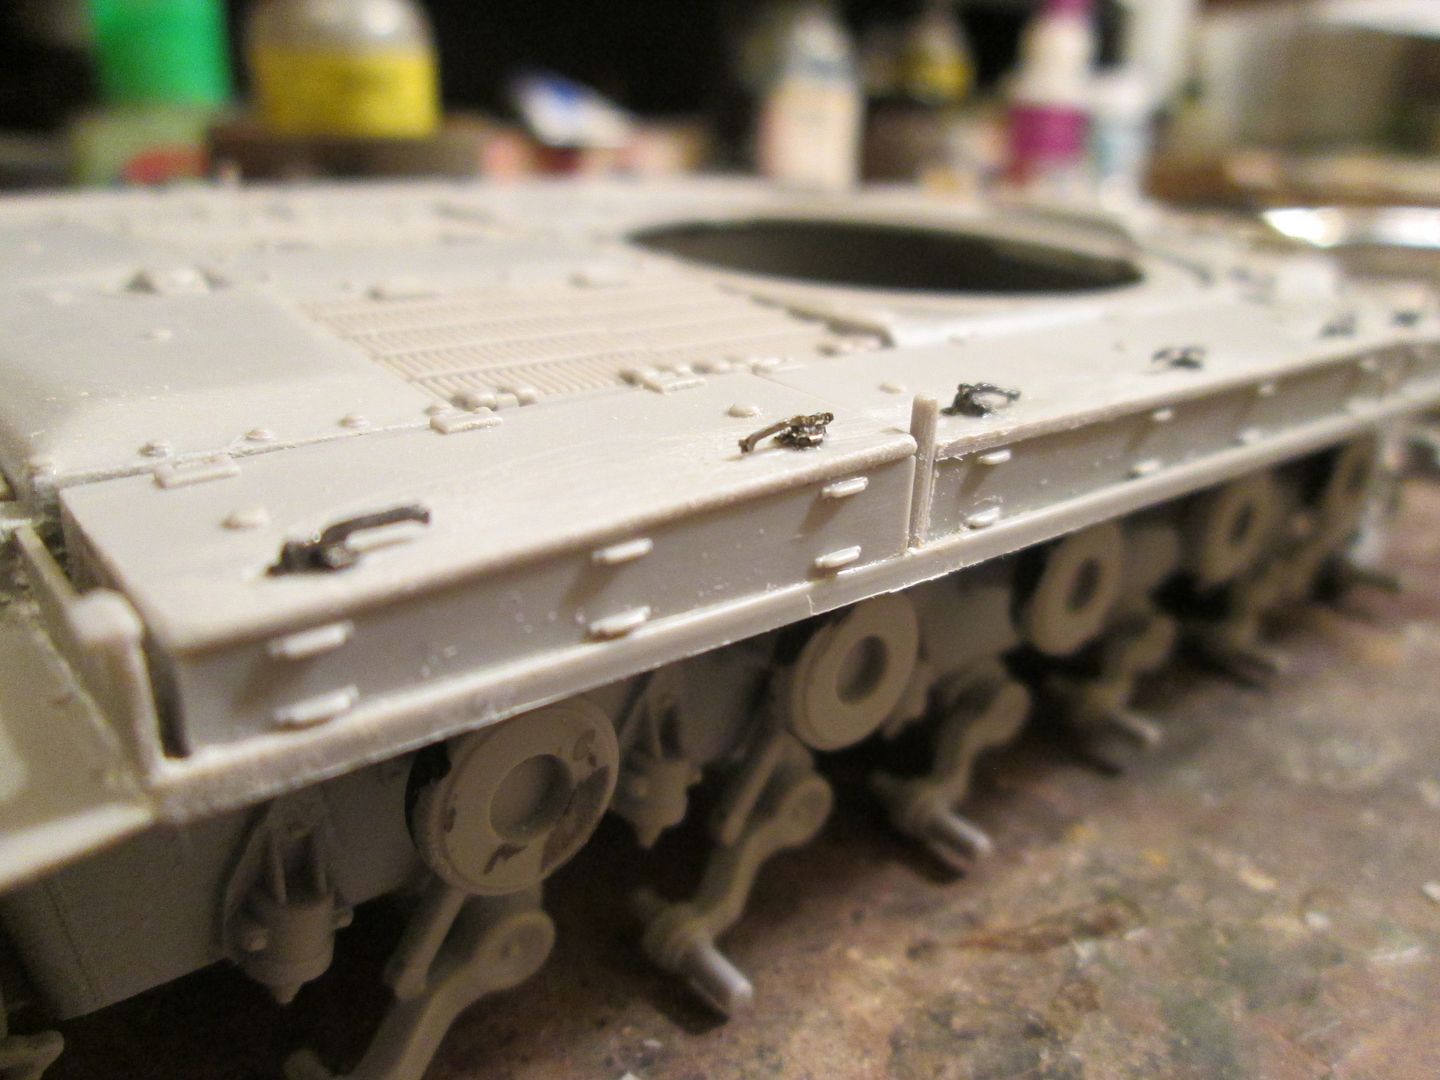 So after noodling bout it for the evening, I popped off the handle part, leaving the base plate, and have this: 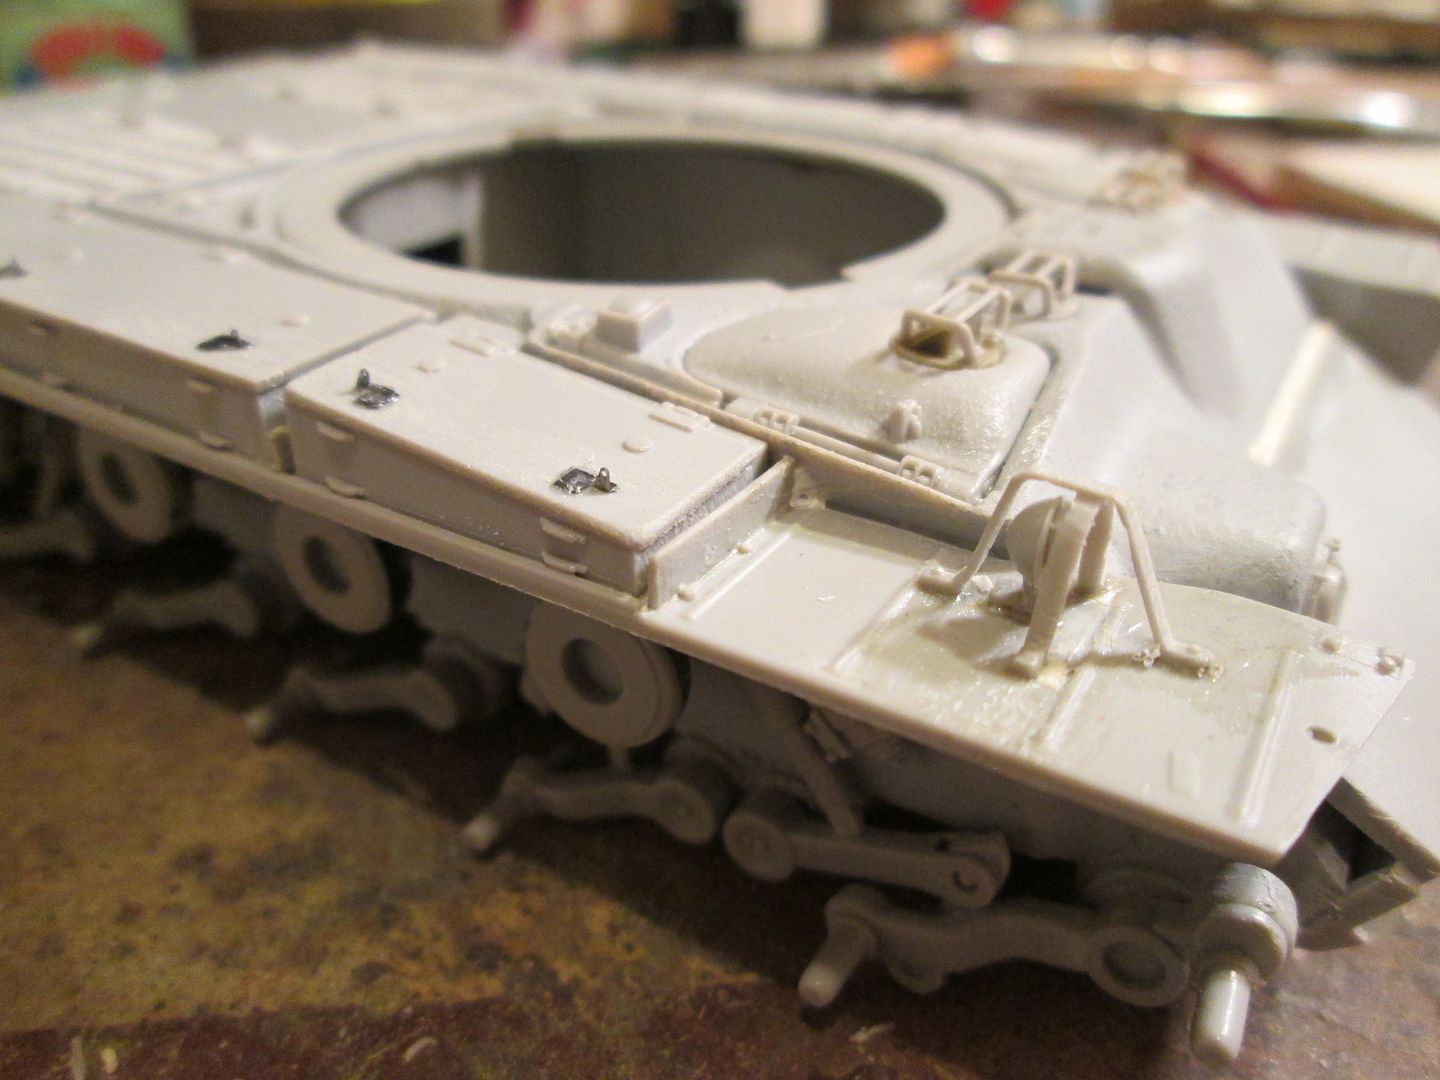 Also visible in the pic above is the thinned kit horn guard, since the Eduard part was too small and thin. I'm noticing a pattern here..... So into the stash for these: 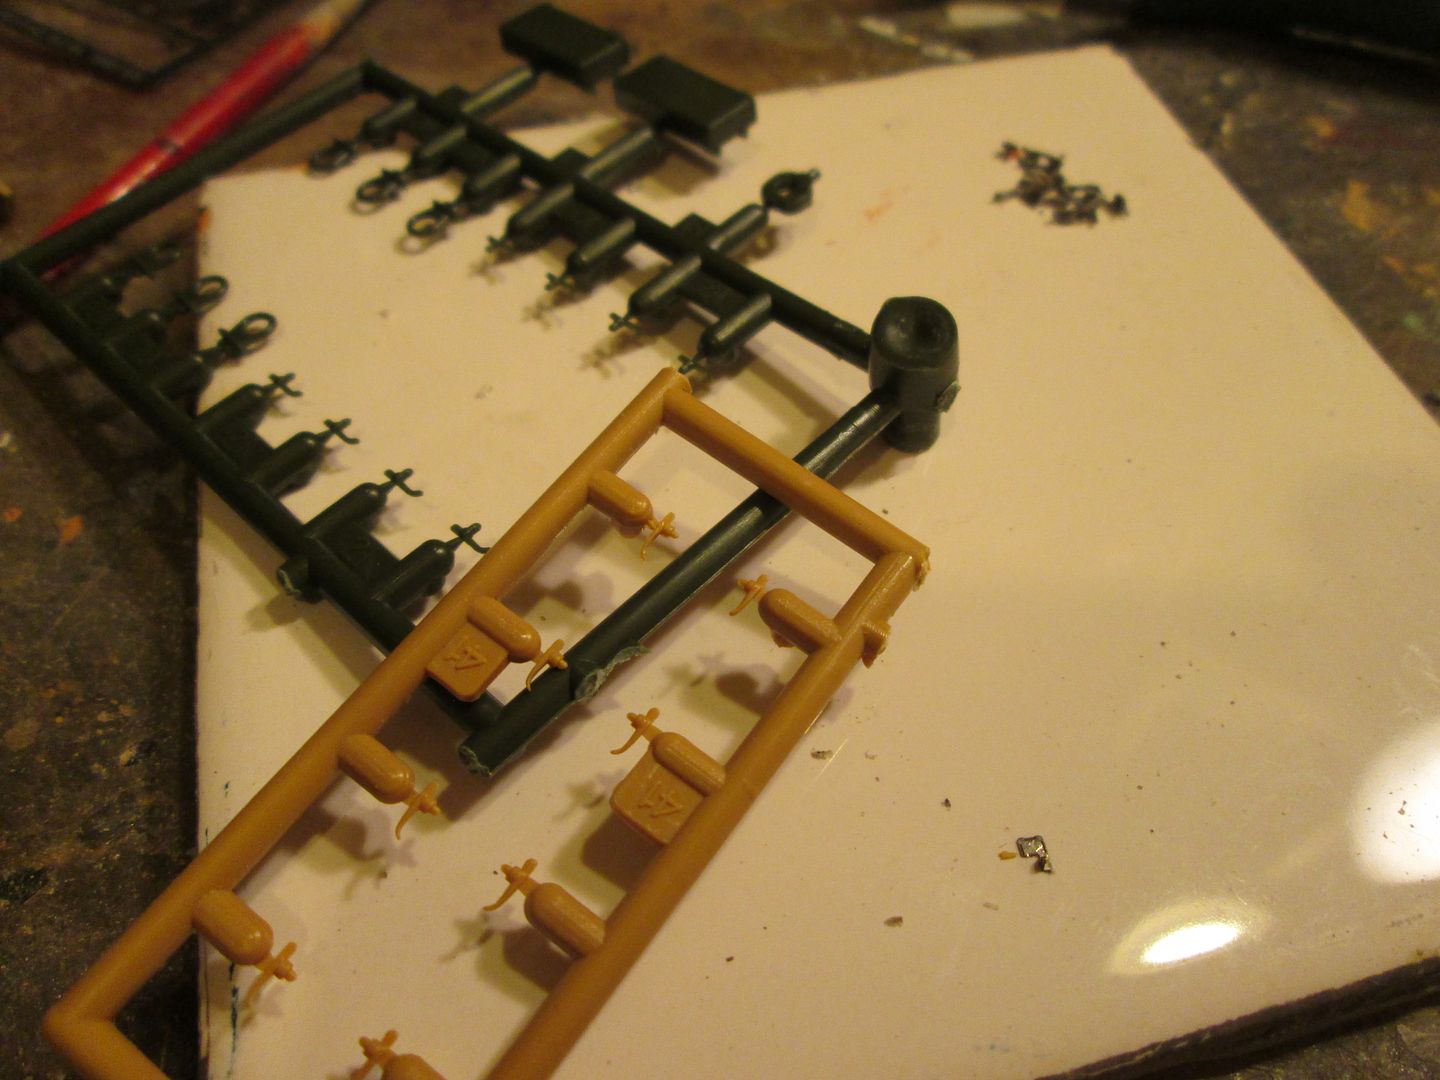 Which are the plastic handles from a couple of M60 parts kits, much more in scale and very close to the Pershing parts. I'll be surprised if I use more than a couple dozen of the 80+ parts Eduard supplies in the etch set for the Pershing, something that is starting to chap my nether-regions, since I actually coughed up about $10 for this etch set. What a waste. |
|
|
|
Post by bullardino on Sept 23, 2014 7:55:05 GMT -5
Great job Russ  Sometimes the etched frets makers tend to overdo and overengineer their job. Looks like you stumbled upon one of those frets... |
|
|
|
Post by rbaer on Sept 23, 2014 10:34:01 GMT -5
I fell head-first down the hole......  So, here's the finished handle assemblies: 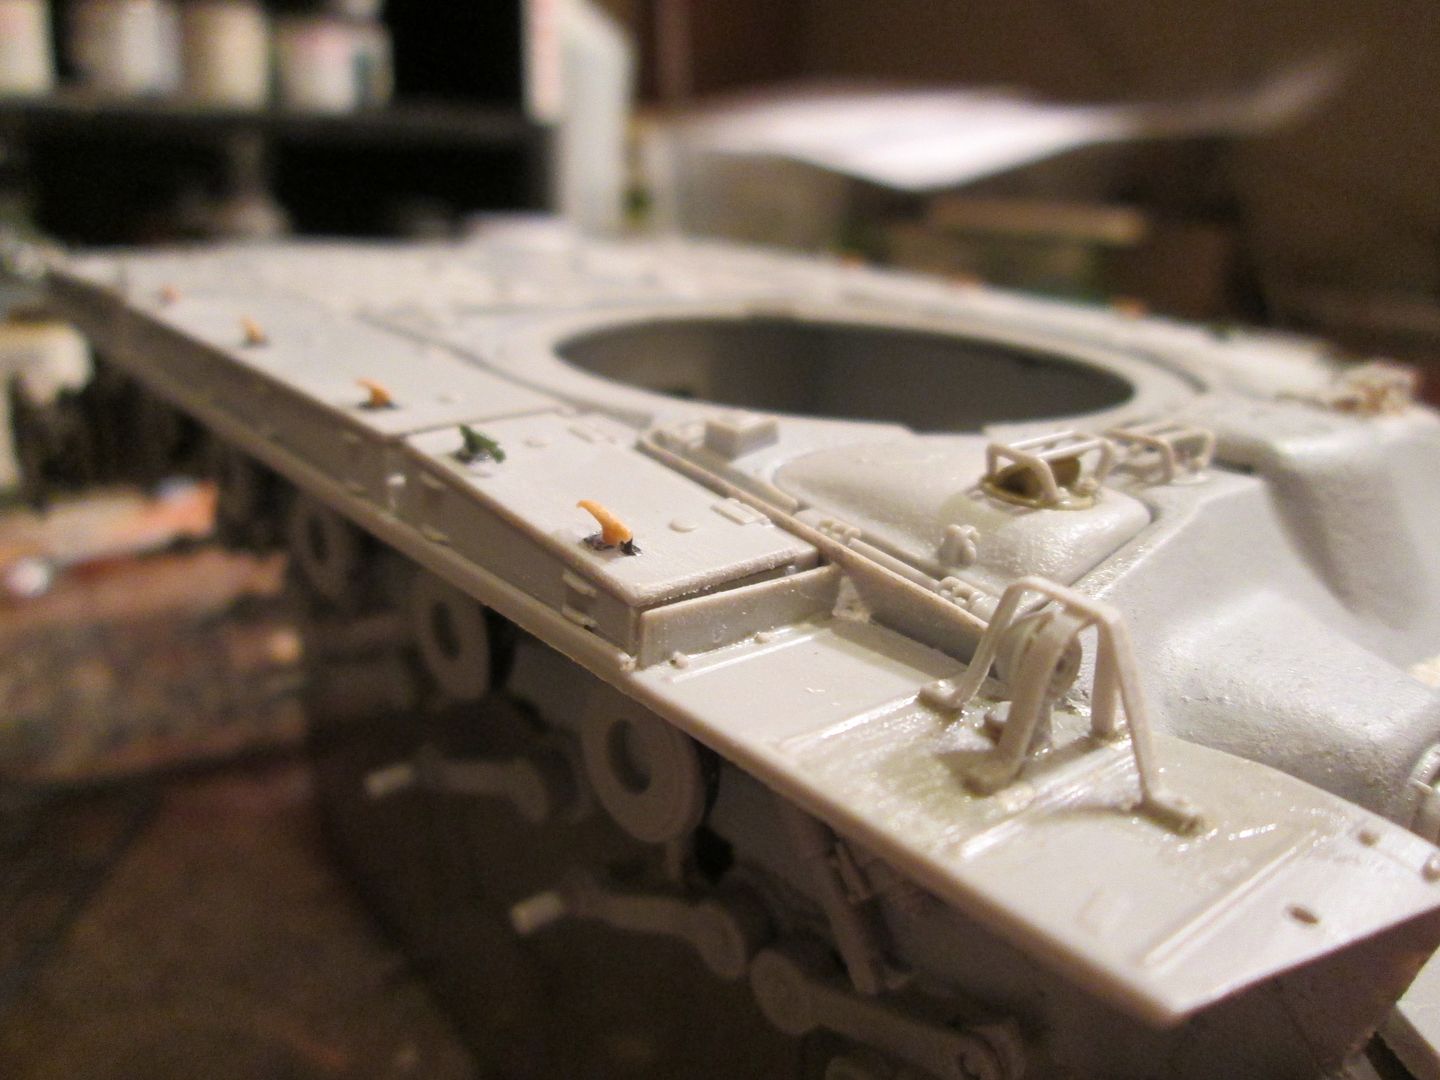 And the barrel is coming along, but I still hope the RB part comes before I need to use this one..... 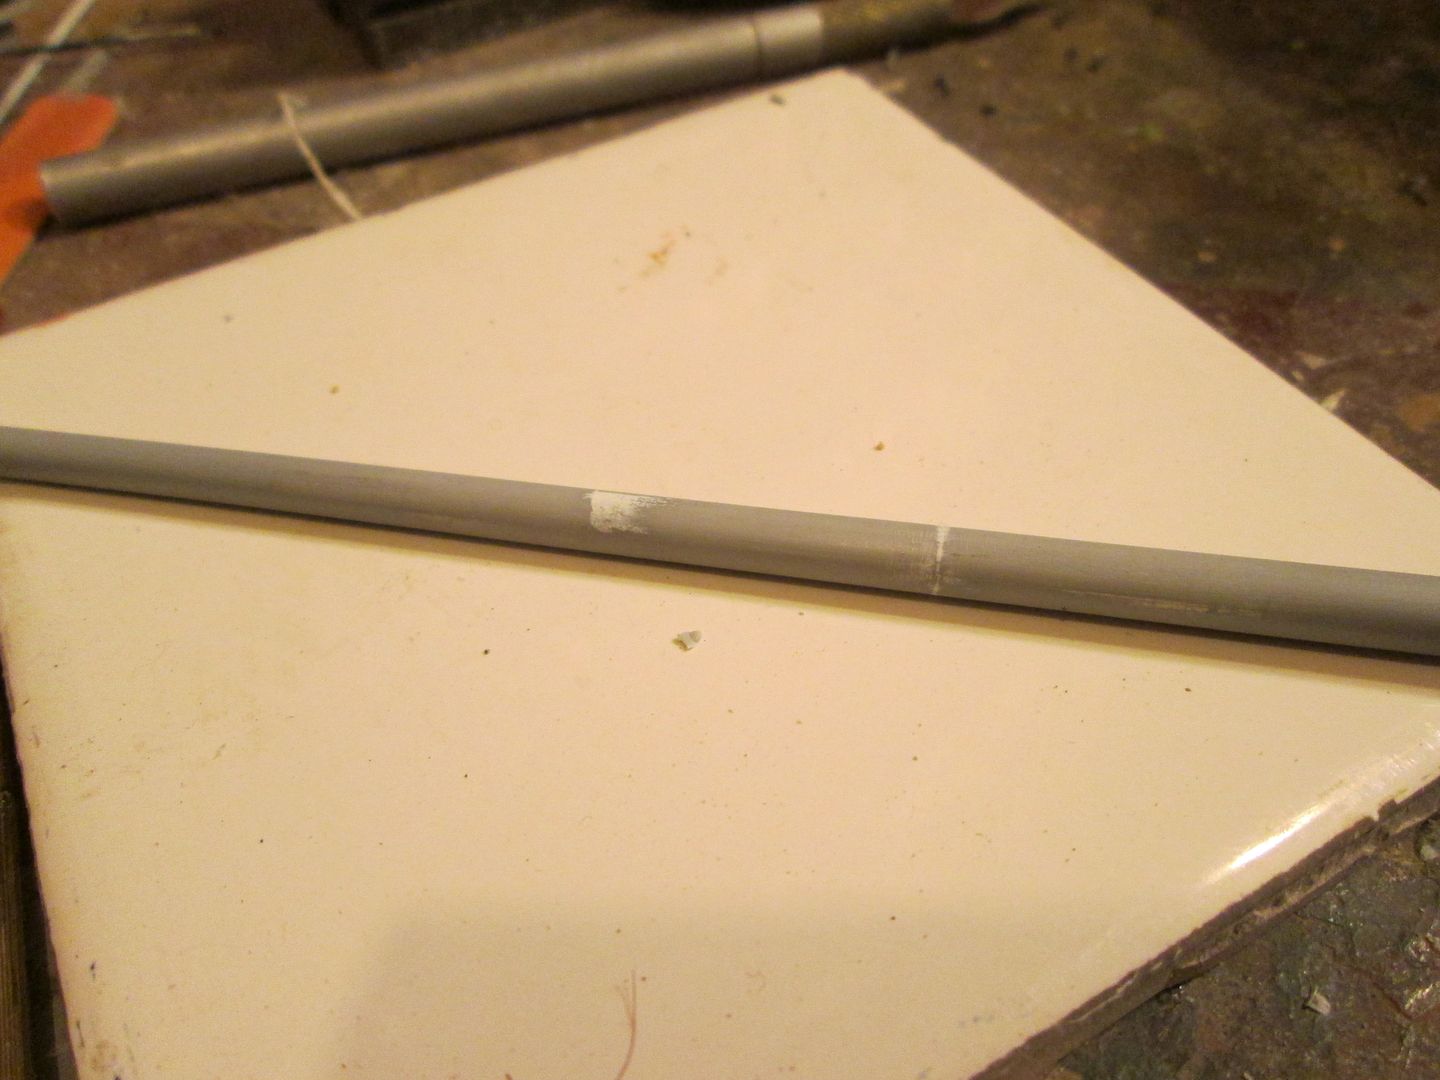 I put another quick coat of Tamiya gray primer on it this morning, after that dries it'll go back under the machining block I use to fold etch with, see if I can get the last of the warp out of it. By the by, I took a look at a one-piece barrel on a King Tiger I built a while ago, and it's amazingly close, and I know where one of those is. I may run and pick it up, just cuz I can. |
|
pantherf..-Email Not Valid
Full Member
  
Member since: July 2013
"Best Job I've Ever Had"
Posts: 1,253 
|
Post by pantherf..-Email Not Valid on Sept 23, 2014 12:09:44 GMT -5
This is just sweet... and sick all at the same time. I want a Super Pershing too! This one will inspire me so keep up the "Super Work"!  Jeff |
|
|
|
Post by rbaer on Sept 23, 2014 17:48:21 GMT -5
|
|
|
|
Post by Leon on Sept 23, 2014 18:30:06 GMT -5
Awesome progress Russ,looking good.  |
|
Deleted
Member since: January 1970
Posts: 0
Nov 26, 2024 0:31:32 GMT -5
Nov 26, 2024 0:31:32 GMT -5
|
Post by Deleted on Sept 24, 2014 1:57:25 GMT -5
Gawd be careful handling the model with all of them little handles Russ ! At least the should stay on better than p.e. .
|
|
|
|
Post by rbaer on Sept 24, 2014 10:18:12 GMT -5
Thanks, Leon. Carl: yeah, it's got lots of little thingies to pop off, and I only have one more of those handles, lost one doing the install..... So, late night progress: My barrel straightener: 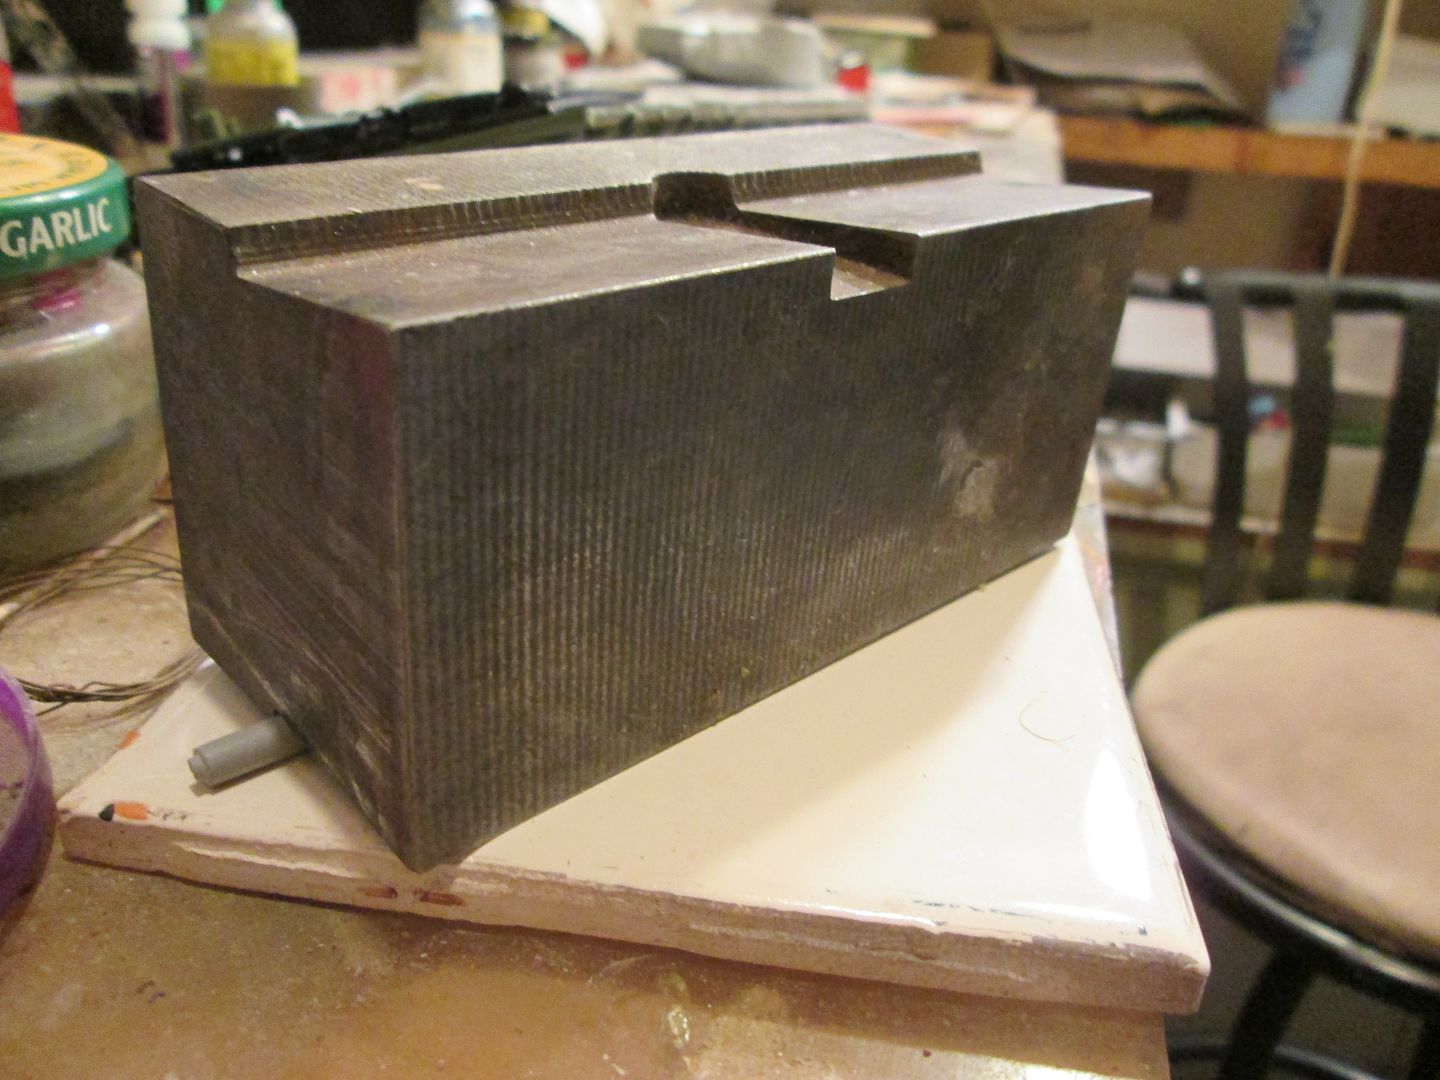 It actually works, so if I end up having to use the kit barrel, at least it won't look like a Three Stooges gun. 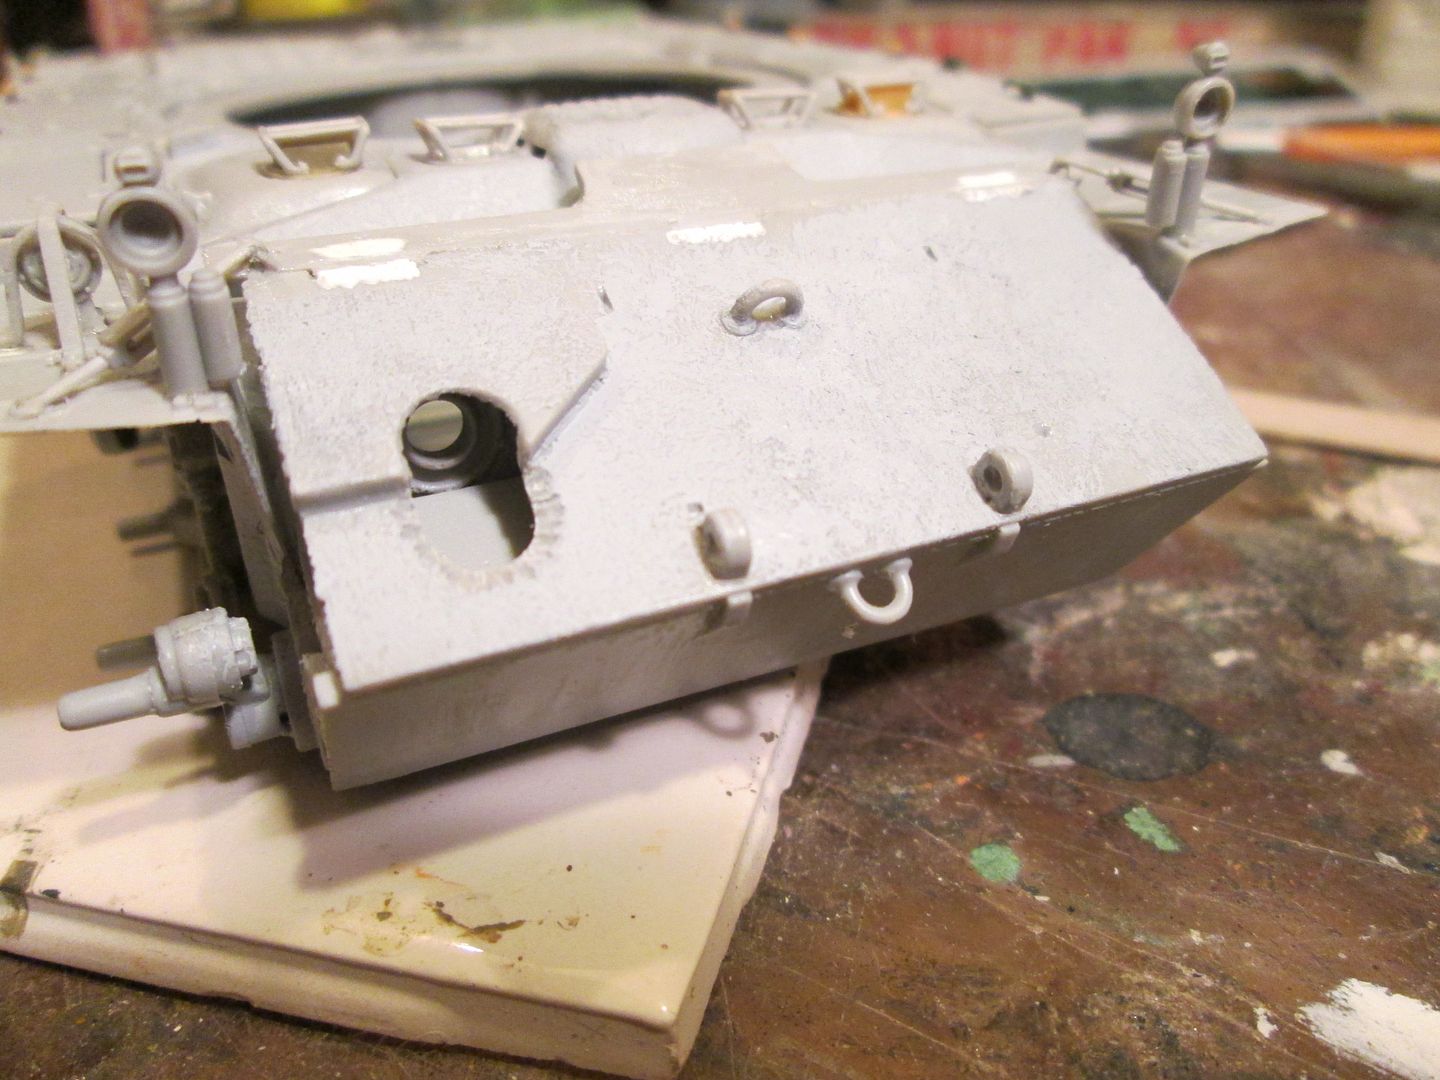 ^ Bow armor on and complete, except for the stowage rack added, probably by the supply guys in Yurrup. I'm not totally sure if I'm going to use this part or not, depends on my final display choice, like maybe as it's being fabbed? 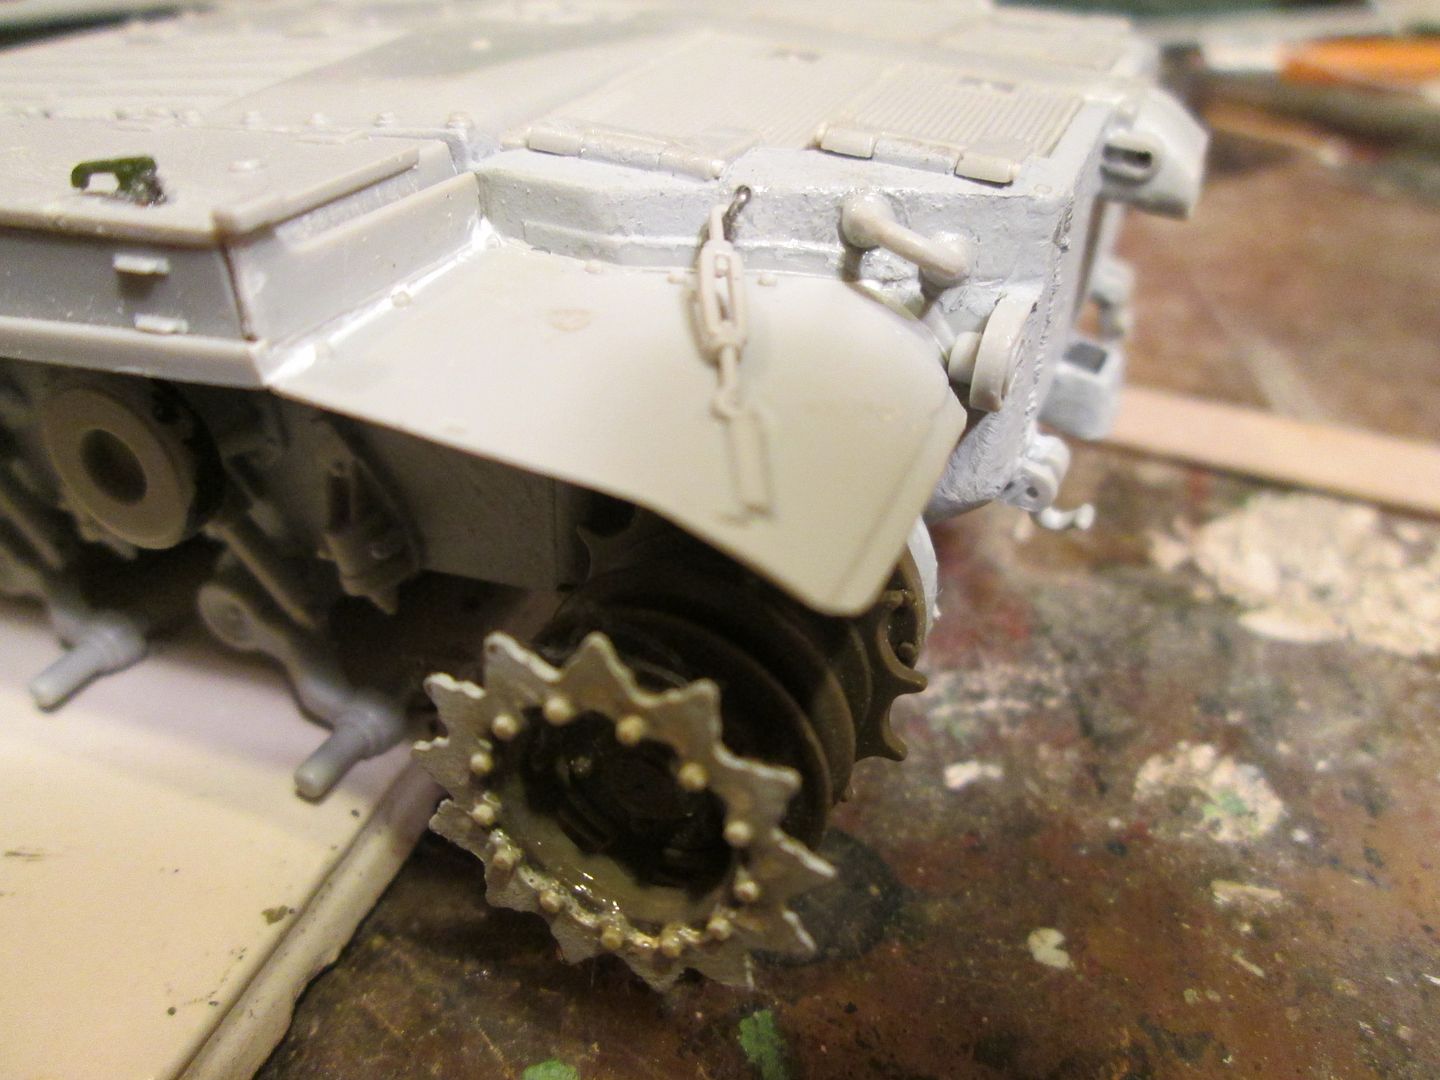 ^ Rear turnbuckles , HB parts, much better that the silly flat etch stuff, even if they are a little chunky. 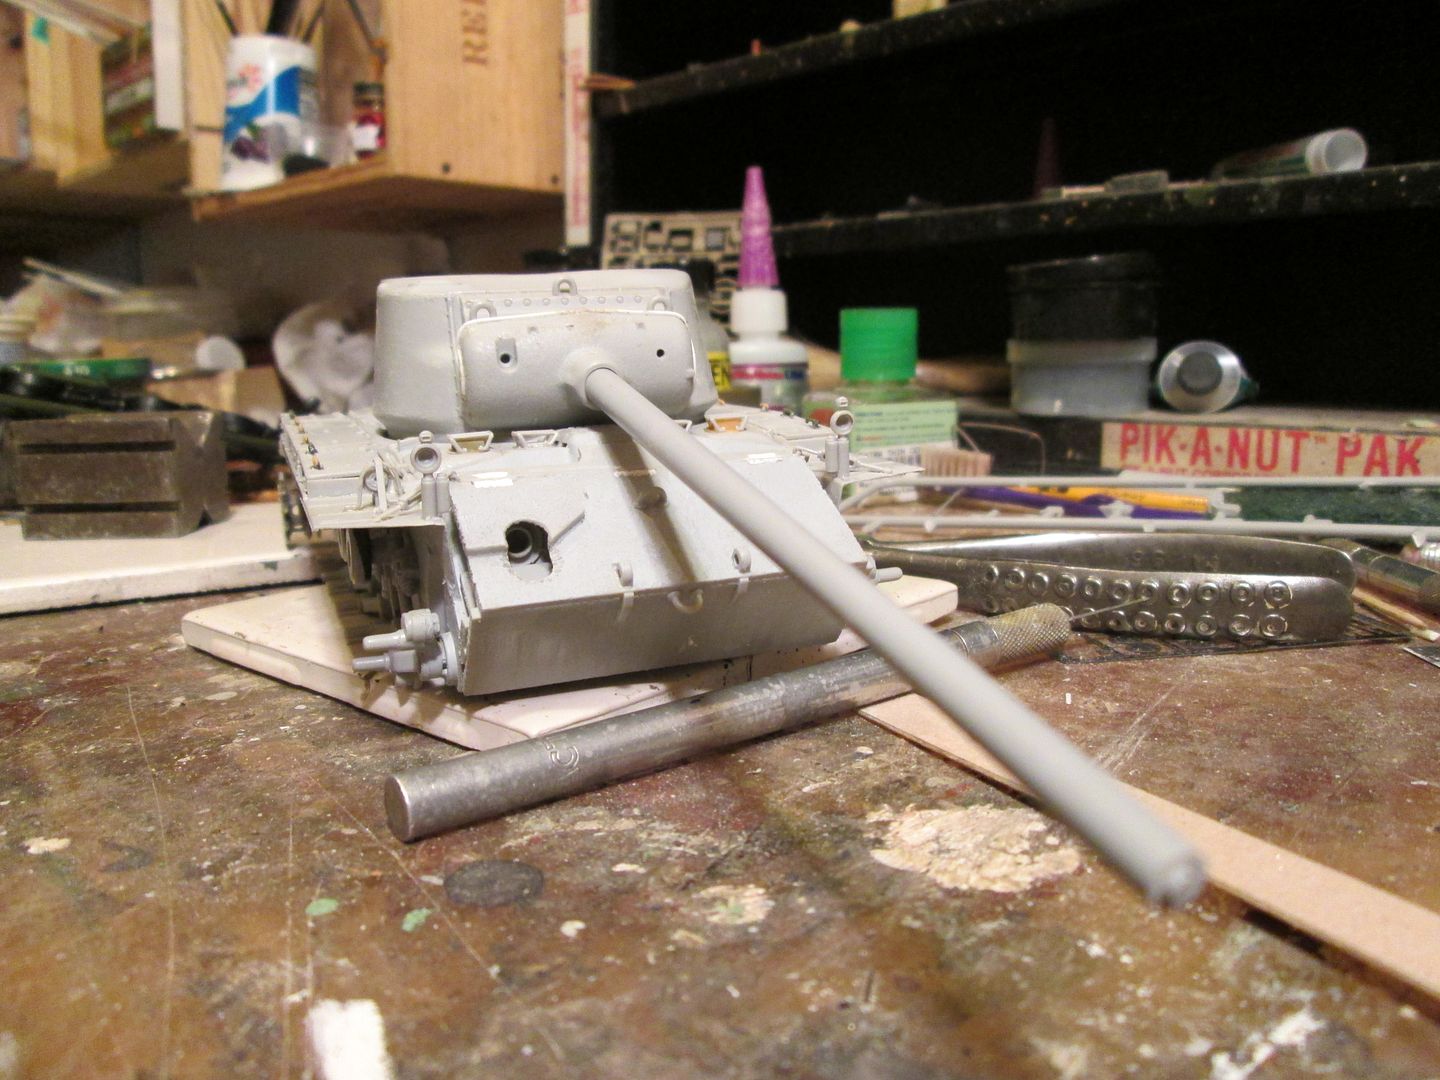 ^ Oy, that's big gun. I'm going to check, but I think this thing will be even more obviously honking big that the gun tube on the M51..... |
|
Deleted
Member since: January 1970
Posts: 0
Nov 26, 2024 0:31:32 GMT -5
Nov 26, 2024 0:31:32 GMT -5
|
Post by Deleted on Sept 24, 2014 11:44:34 GMT -5
Oh man that is bad a$$ looking now !Russ , what the keck is that barrel straightener ? Looks like it weighs 50 pounds .
|
|
|
|
Post by rbaer on Sept 24, 2014 15:30:30 GMT -5
 My barrel "tool" is the beginning of something gone wrong. It was destined to be something else, but failed a quality check early in the machining process and was scrapped. The guy that gave it to me had a box-full, and was using it to hold stuff in a drill press, like tube or other-than-flat stock, back when I had my shop. It actually weighs about 5 lbs, makes a great hand rest when I'm positioning or painting small stuff. I also use it as a small anvil, which involves a teeny little hammer, which gets downright hilarious.
|
|
Deleted
Member since: January 1970
Posts: 0
Nov 26, 2024 0:31:32 GMT -5
Nov 26, 2024 0:31:32 GMT -5
|
Post by Deleted on Sept 24, 2014 16:03:05 GMT -5
You never know what will work out as a handy tool do you ! 1/10 of what I thought it'd weigh . I forgot to take into consideration the scale Russ .
|
|
|
|
Post by Leon on Sept 24, 2014 17:49:06 GMT -5
Great progress Russ!!!!That gun is Huuuuge.
|
|
|
|
Post by wbill76 on Sept 24, 2014 17:54:00 GMT -5
Now that's the ultimate use of 'found' materials to correct a kit flaw Russ. Love it! As for the tiny hammer, we won't tell anyone if you don't...   |
|
|
|
Post by rbaer on Sept 25, 2014 10:34:05 GMT -5
Hammers are my thing..... When I had the shop, I did a LOT of gear changes, and I customized or made most of my hammers. My favorites were a couple of 12lb sledges on 12" handles that I used as "swing presses". There's just no substitute for the right tool.  I got a couple more bits stuck to the turret today in the half-hour or so I have in the morning after I get my wife on here way and before I need to split, just ordinary, non-picture worthy stuff..... Oddly enough, I think this one is past the half-way point, by a fair margin. There's just not that much left in the box. |
|
|
|
Post by deafpanzer on Sept 27, 2014 0:03:00 GMT -5
Gosh, the gun looks little... too... long!!!  |
|