|
|
Post by wbill76 on Apr 14, 2013 20:35:31 GMT -5
I'm with you Bones...don't know how builders do that full assembly and then paint process...but they manage it somehow!  Hope PB is more cooperative for you tomorrow. |
|
|
|
Post by TRM on Apr 15, 2013 5:38:51 GMT -5
Nice work on this so far Teabone!!! Modifications look to be going well on this old one!!! Still think you have the stones to go after that motor!! LOL!!! Taht would be a kit in itself!!! Kepp up the great work!!!
|
|
|
|
Post by Teabone on Apr 15, 2013 16:15:05 GMT -5
Photobucket came through today
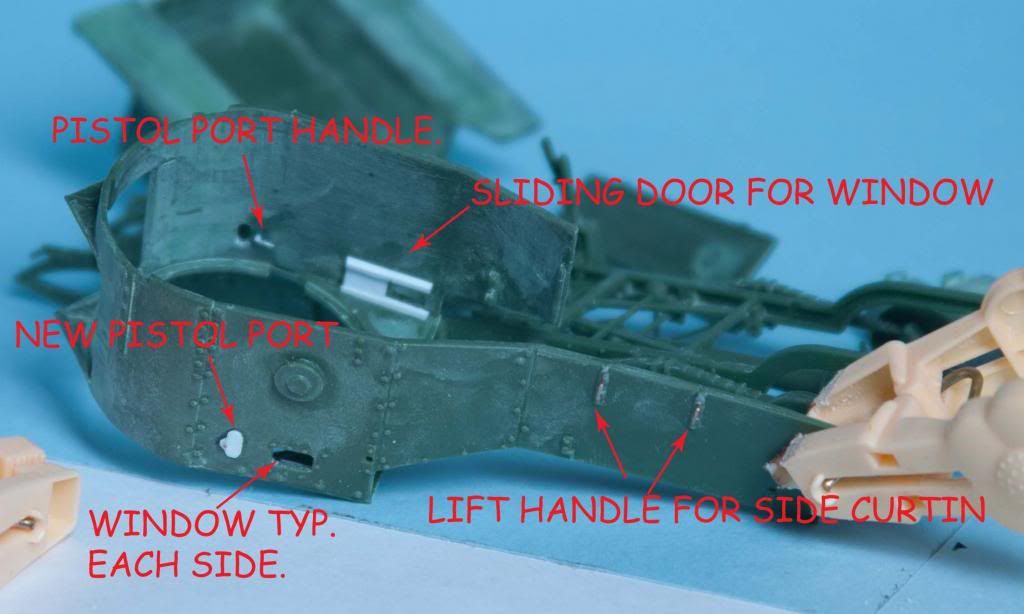
I like to do the pistol ports because they are easy and it makes a nice touch to show one or two open when the interior is detailed.
The sliding cover for the two hull windows came out nice per my reference.
The text says "new" pistol port but only the cover is new the vehicle had a port there.
The engine compartments side curtain needed two handles not provided in the kit so I made some from 28 ga. brass wire.
|
|
|
|
Post by Teabone on Apr 15, 2013 17:05:12 GMT -5
I thought as long as I was posting some pictures I would make it worth looking.
First is a little better shot of the sliding door on one of the two side windows.
Unfortunately Photo-bucket will not allow me to copy the link. This happens quite often and I wonder if it only happens to me or what. When I go to copy the link it opens a clear window in the space for the link and I can copy nothing. Is this just me or do others have the same experience, it is bordering on too much frustration.
Bones
|
|
|
|
Post by wbill76 on Apr 15, 2013 20:29:46 GMT -5
Well at least you were able to get the one pic up Bones! Wish I could help but I've never used PB myself. What I can see looks great though, nice work on the details.
|
|
|
|
Post by Teabone on Apr 15, 2013 22:18:53 GMT -5
Wbill
How do you post pictures?
Here is the picture I promised, caught photobucket off guard and got at least one link.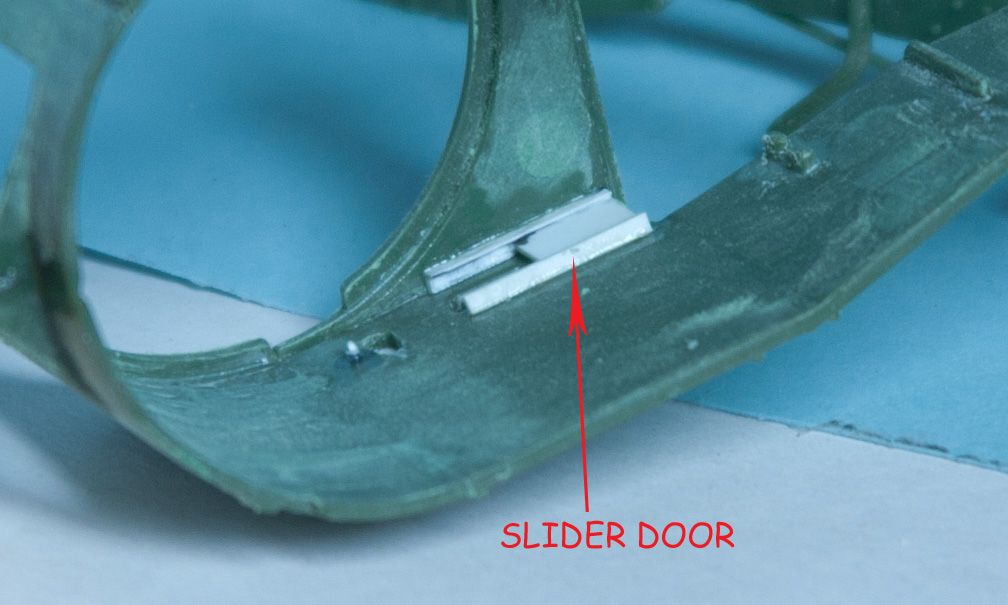
|
|
|
|
Post by Teabone on Apr 15, 2013 22:33:02 GMT -5
Having real fun with the net tonight, this picture is one showing the rear doors for the crew compartment and the pistol ports that I opened and applied new swing doors to. I used a simple handle on them from another build I did but in looking at my reference I can see that the real ones were different but I cant figure out how the worked.
Bones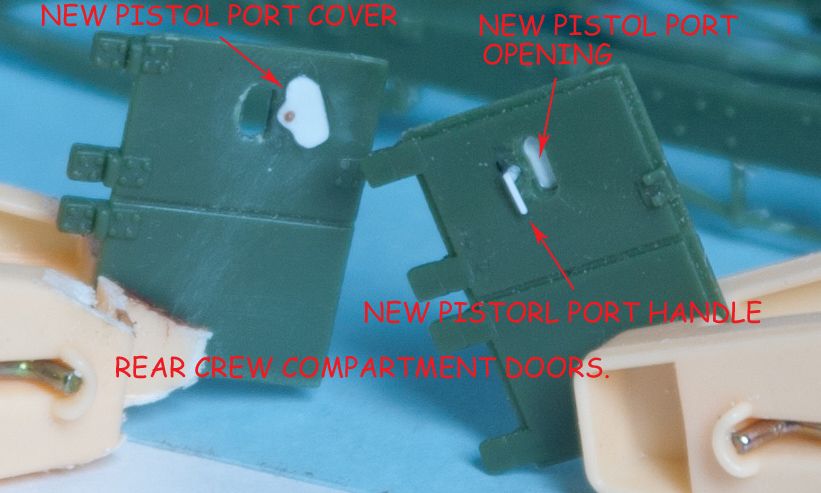
|
|
|
|
Post by Teabone on Apr 15, 2013 22:37:46 GMT -5
And here we have the other end of the vehicle, the radiator shutters which all these vehicles had trouble with when running closed so I am posing them open. The had a cross brace in front of the radiator and the door were held in some kind of trnsion with a spring at the top. I made the spring from lead wire. Bones 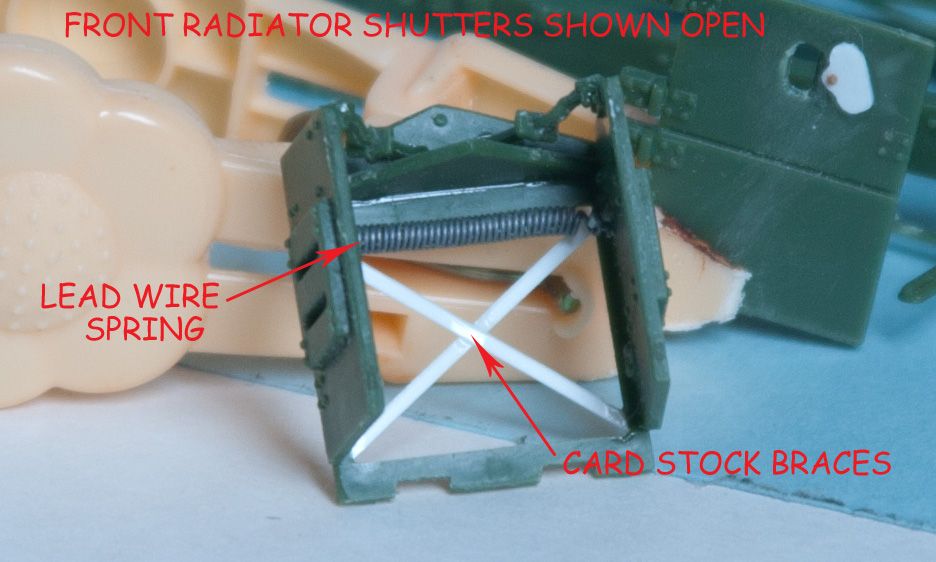 |
|
macmcconnell.
Full Member
  
Member since: December 2011
Posts: 1,238
Dec 11, 2011 12:07:33 GMT -5
Dec 11, 2011 12:07:33 GMT -5
|
Post by macmcconnell. on Apr 16, 2013 2:49:09 GMT -5
Wow some right detail going into this
Mac
|
|
|
|
Post by Teabone on Apr 16, 2013 13:29:07 GMT -5
Thanks guys for taking a look I have more soon.
wbill76 "I'm with you Bones...don't..........."
It is always nice to know one is not alone.
TRM I would hold back on praise for the engine until you see it I think it will deserve something like just a "good effort" when I post it.
macmcconnell Wow some right detail going into this
|
|
|
|
Post by bullardino on Apr 16, 2013 13:36:18 GMT -5
Lots of great details added, Teabone. This will be a real treat  |
|
paulh.
Senior Member
   
Member since: November 2011
build, fail, learn, succeed - ENJOY
Posts: 2,389
Nov 15, 2011 15:54:51 GMT -5
Nov 15, 2011 15:54:51 GMT -5
|
Post by paulh. on Apr 16, 2013 17:08:36 GMT -5
Superb work there Bones, keep it commin'
p
|
|
|
|
Post by Teabone on Apr 16, 2013 19:19:26 GMT -5
You guys are going to get my head a swelled up with all the praise, thanks for looking and I hope you still think its good when I get more pictures posted.
Bones
|
|
|
|
Post by wbill76 on Apr 16, 2013 20:13:33 GMT -5
Wbill
How do you post pictures? I have the luxury of owning my own website(s) that allow for unlimited uploading and linking of photos as a result. So all the photos I post are hosted on my own site without the need to go through PB. |
|
|
|
Post by deafpanzer on Apr 16, 2013 20:40:15 GMT -5
Holy smokes!!! Fine work bringing huge improvements!
|
|
|
|
Post by Teabone on Apr 17, 2013 12:11:04 GMT -5
wbill76
That sure makes the whole process a lot easier.
deafpanzer
Thanks for looking there is more to come. Bones Bones
|
|
|
|
Post by Teabone on Apr 26, 2013 16:58:55 GMT -5
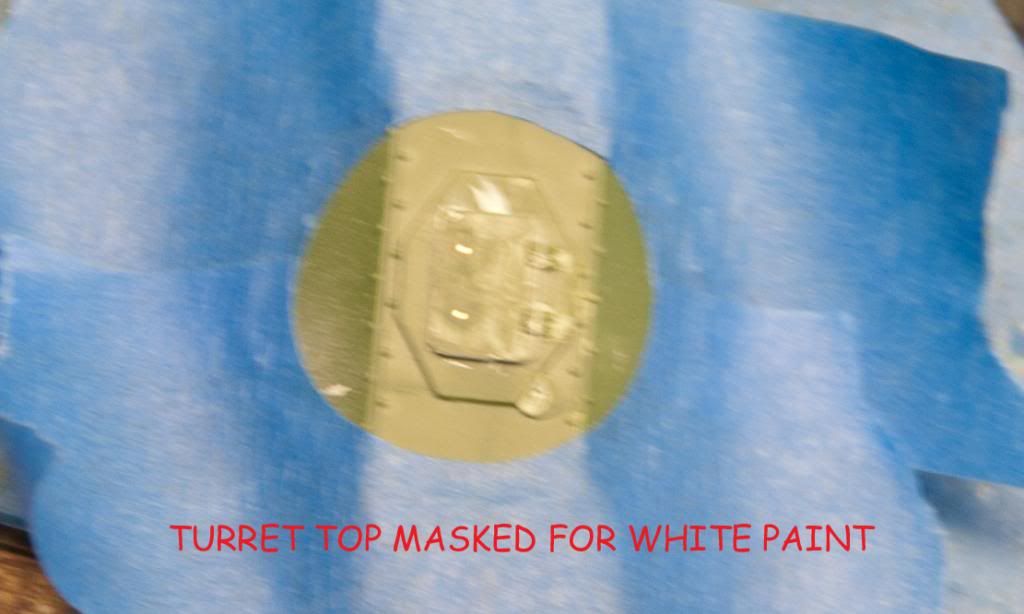
Some more of the build, first shot is top of turret masked for white paint which later became a problem which will be covered with fix.
Bones
|
|
|
|
Post by Teabone on Apr 26, 2013 17:00:48 GMT -5
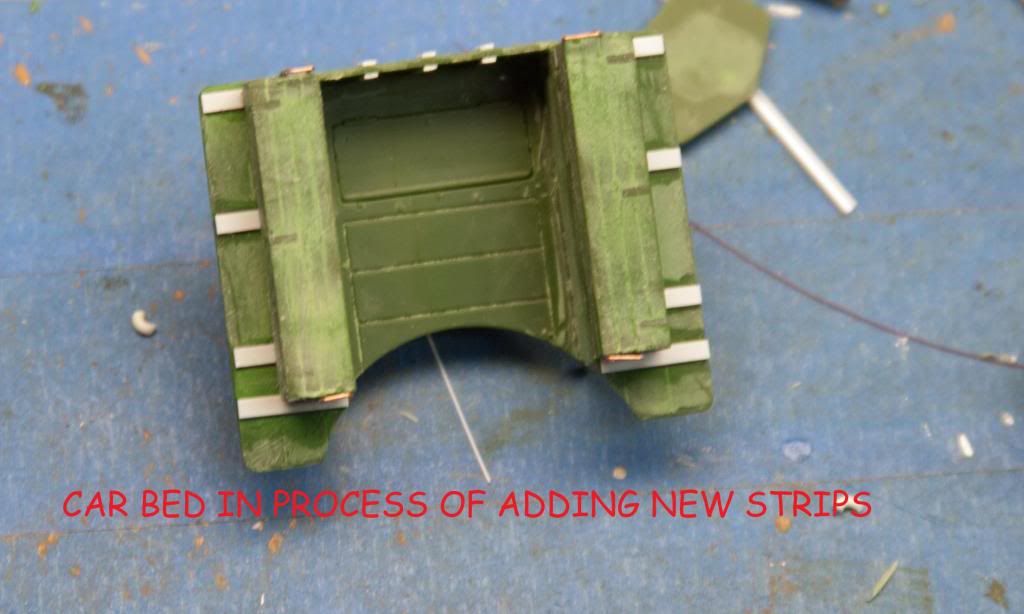
Next is a picture of the parts in the build process.
The box handles were replaced with wire.
Bones
|
|
|
|
Post by Teabone on Apr 26, 2013 17:05:55 GMT -5
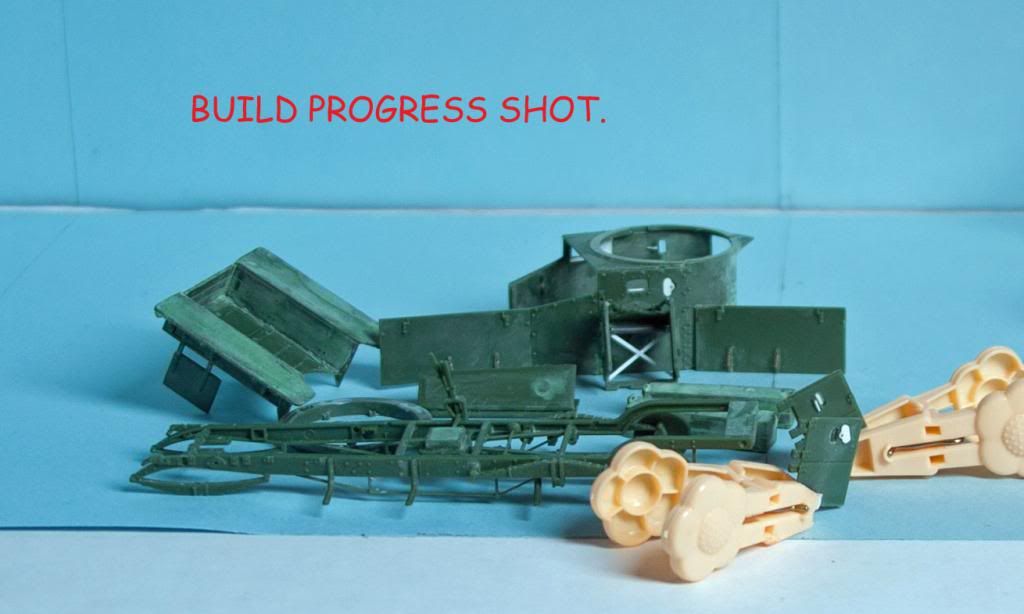
Another progress picture.
|
|
|
|
Post by Teabone on Apr 26, 2013 17:07:17 GMT -5
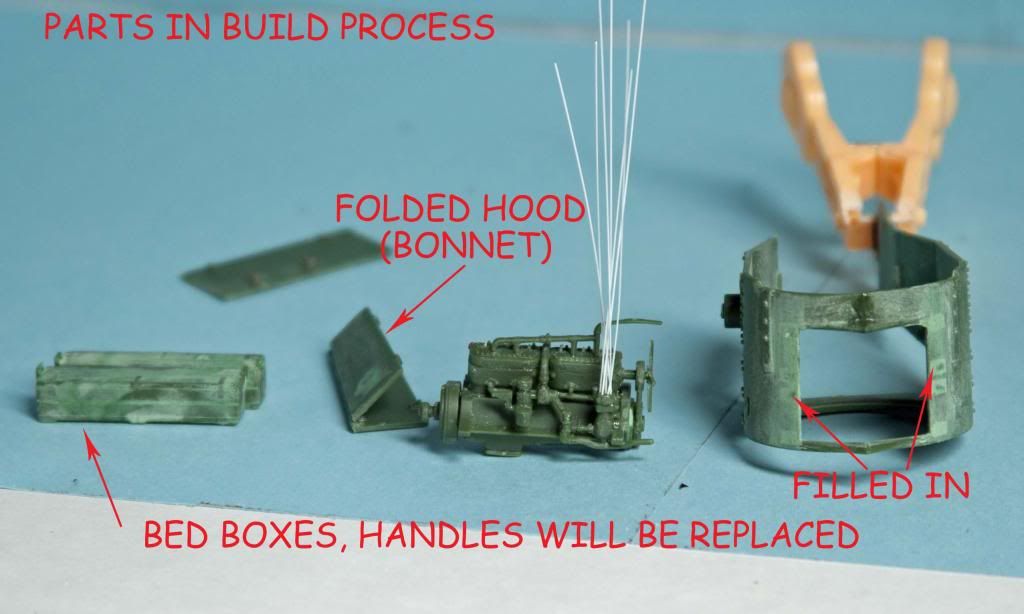
And one more.
|
|
|
|
Post by Teabone on Apr 26, 2013 17:16:49 GMT -5
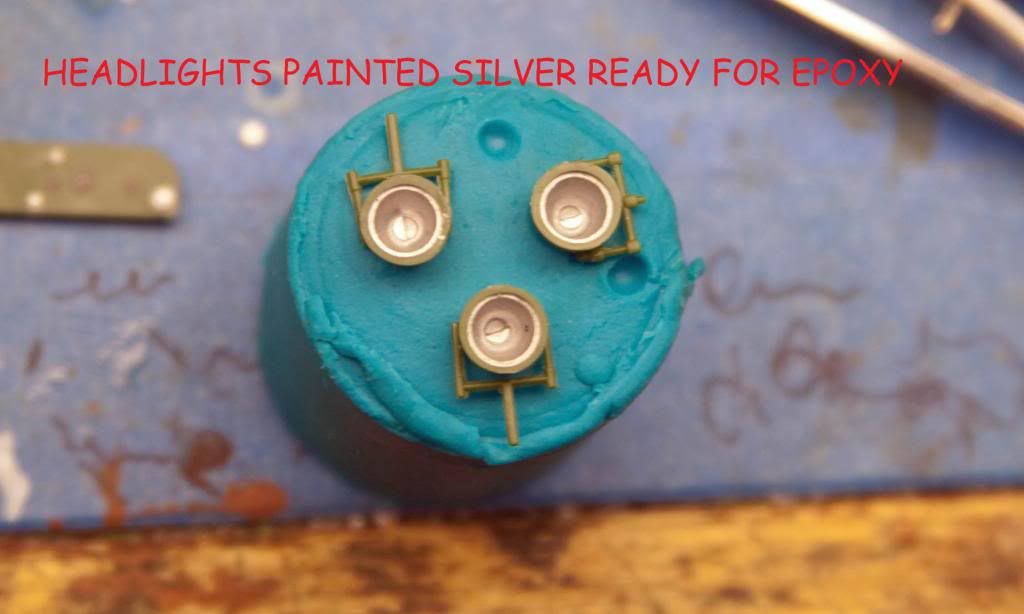
The headlights presented a small challenge because of their size. I normally use MV lights to replace all kit lights but the large size of these caught me with none to use so I though I would try to do something I saw that someone else did with 5 minute epoxy. In to smaller side lights I painted the inside of the light housings silver and poured in the epoxy and was so impressed wit the results I decided to do the large lights shown. They finished lights will be in a another post.
Well when I did two small ones it only required a small batch of epoxy and it was no problem but when I went to do the three larger lights I did not want to have it set up on me so I hurried a little in the mixing and developed some air bubbles which I could have done with out. If I ever do this again it will be one light at a time. Other than the (damn) air bubbles they came out fine.
Bones
|
|
|
|
Post by Teabone on Apr 26, 2013 17:23:20 GMT -5
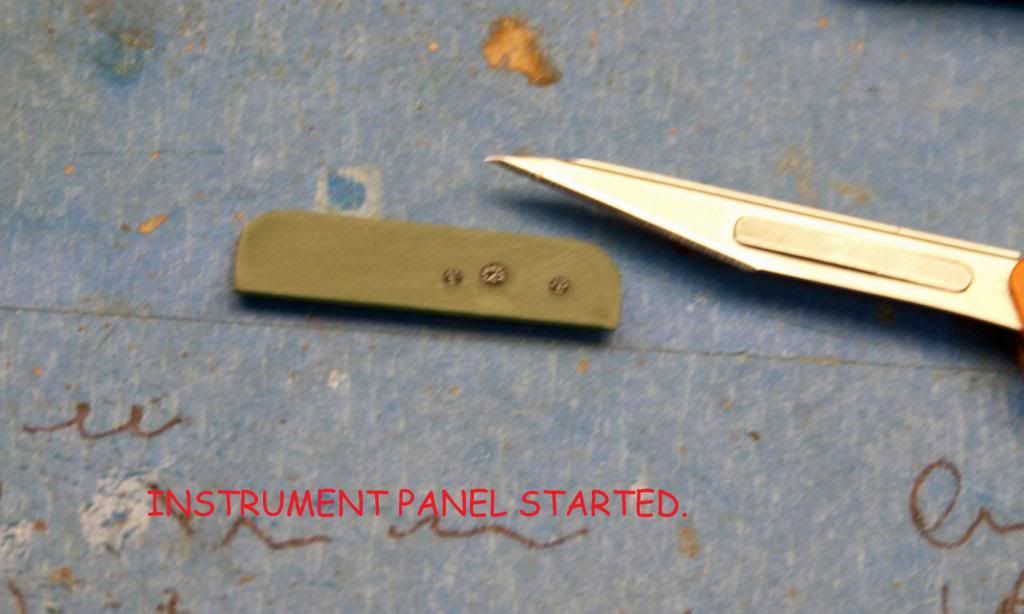
Next is my start with the instrument panel which I began with some Archer Gauges on the kit supplied panel. Here they look fine later posts will show a slight problem I run into with another fine idea, like the old woman said the road to hell is paved with good ideas or something like that.
Bones
|
|
|
|
Post by Teabone on Apr 26, 2013 17:26:59 GMT -5
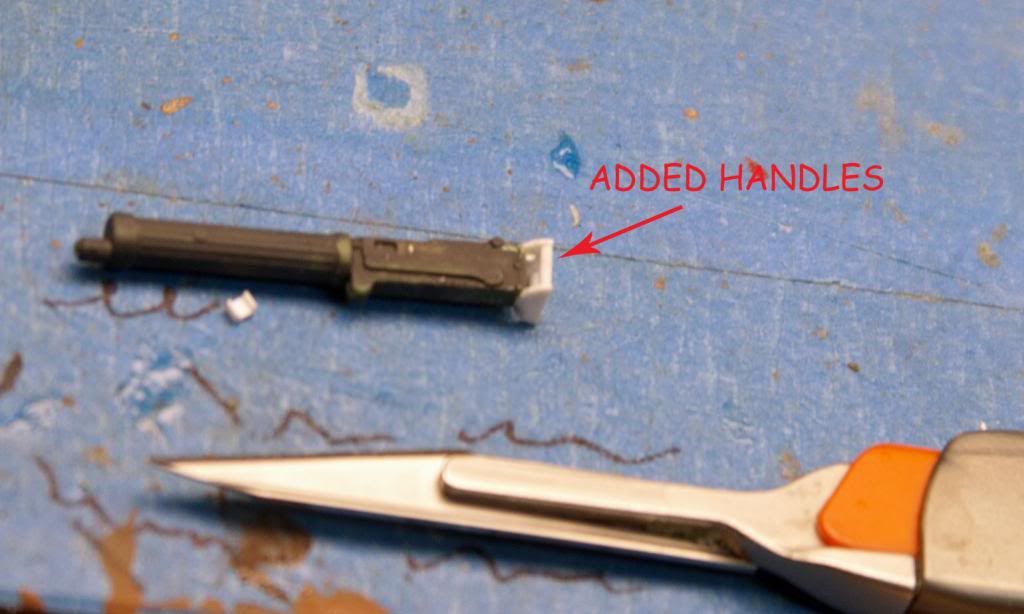
Finally for today will be two pictures showing some styrene handles I made for the kit machine gun which came without any and I thought it sure needed some.
Bones
|
|
|
|
Post by Teabone on Apr 26, 2013 17:29:13 GMT -5
This is it for today.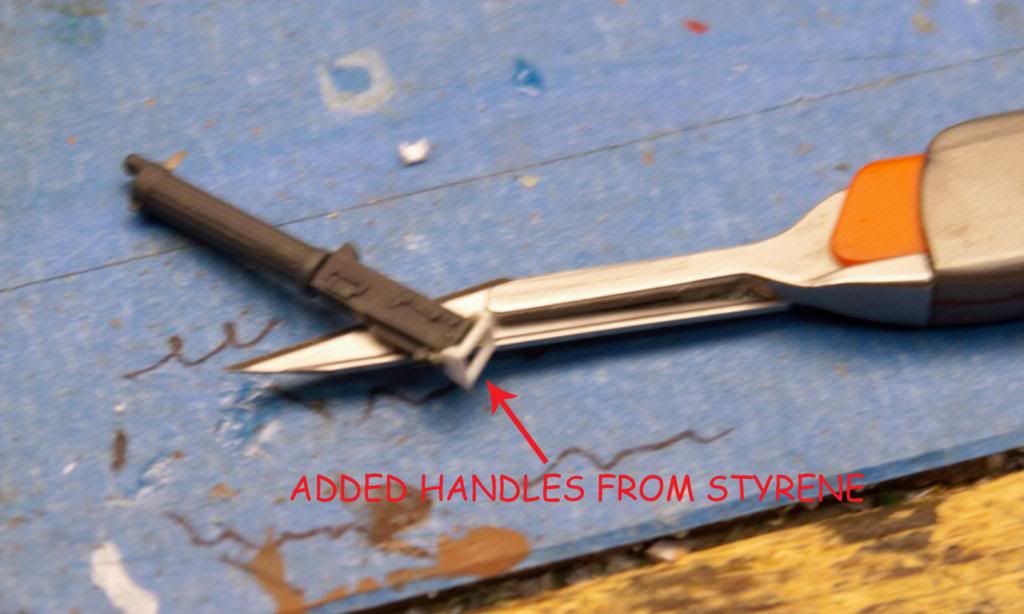
|
|
|
|
Post by bullardino on Apr 27, 2013 0:07:46 GMT -5
Great progress Teabone. I love all the details you added.
|
|
|
|
Post by deafpanzer on Apr 27, 2013 0:16:01 GMT -5
Looking great... huge improvements made to the MG!!!
|
|
|
|
Post by Leon on Apr 27, 2013 9:52:36 GMT -5
Agree with Andy on the MG.This progressing nicely.
|
|
|
|
Post by wbill76 on Apr 27, 2013 10:24:39 GMT -5
Definitely like all the modifications and details you're adding to dress up this kit properly Bones, it's all paying off.
|
|
|
|
Post by Teabone on Apr 27, 2013 14:23:55 GMT -5
Great progress Teabone. I love all the details you added.
Bones
|
|
|
|
Post by bullardino on Apr 27, 2013 14:26:29 GMT -5
Great progress Teabone. I love all the details you added.
Bones
I agree, details and paint bring models to life  |
|